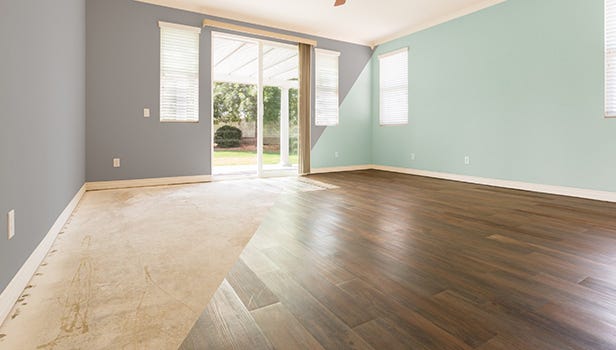
How To Install Laminate Flooring
Installing your own flooring is a great way to minimize renovation costs and give you major bragging rights. For most spaces, laminate flooring can be DIY’ed in an afternoon with a little help from your local KENT Project Centre. Choose from a wide range of laminate flooring, grab your gear, and start loving your floors again!
How to Install Laminate Flooring
1
Before Installing
Cover a few prep steps before you start installing new laminate flooring:
Measure your space to determine the amount of new flooring you’ll need, allow for 10-15% extra to account for waste.
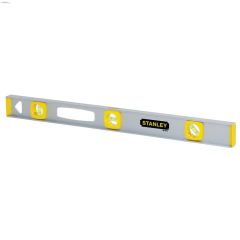
Gather your tools: a measuring tape, hand & eye protection, mallet, pry bar, utility knife, flooring cutter of your choice, level, and a square corner measure. Our handy flooring installation kit includes all the necessary tools besides your saws!
Gently remove any baseboards or vent covers and thoroughly clean your floor.
Ensure the floor you’ll be covering is smooth and dry. This may be wood, concrete, or other existing flooring. Level your surface with gentle sanding if necessary.

2
More About Laminate
Laminate is the perfect option for an easy, inexpensive upgrade that will transform your space. Laminate boards snap into place, so there’s no need for nails, glue, or mortar. Improved technology gives new laminate better wood designs and texture at a fraction of the cost of hardwood. It is durable and low maintenance, but susceptible to moisture: avoid laminate in damp areas like laundry rooms, and excessive moisture from mopping. Always install your flooring following manufacturer instructions, and consult with our Project Centre for any extra help.
3
Installation Tips
If you’re installing flooring in a new space, you’ll need to lay your vapour barrier and underlay on your clean, dry subfloor. This will keep your floor dry and insulated.
Test fit your first row before locking it down.
Use your laser level to ensure the first row is straight and square against your perimeter. Use shims as needed to adjust and maintain space for baseboards.
In your first row, ensure the groove & tongue sides of your planks are facing the proper direction.
4
Laying Laminate
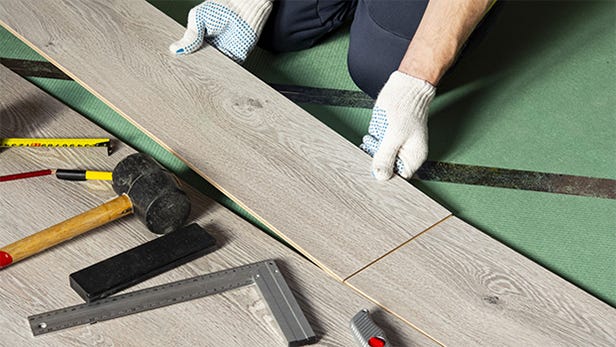
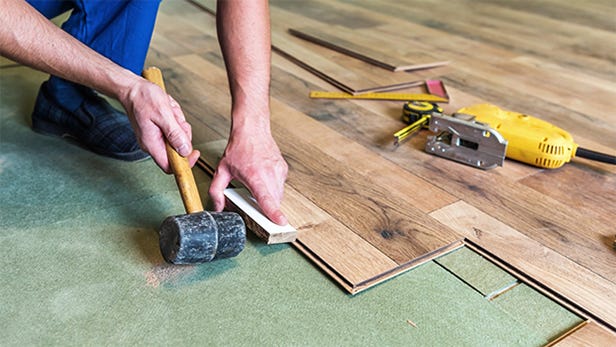
Begin laying your flooring with help from your tapping block and mallet. Continue to measure and trim sections as needed to stagger joints. Ensure there is at least 6-8” of overlap between seams
When you reach your last row, carefully measure and trim boards with a ¼” allowance for expansion.
Once all your flooring is laid, reinstall any baseboards or trim and clean any debris.
DIY your new floors for a more beautiful, functional home! Explore KENT laminate flooring here. Contact your local KENT Project Centre with any questions or inquire about our installation services!
-
$37.98
- Ready to Deliver
- 26 Available for pick up at
-
 Stanley1" x 25' LeverLock Tape Measure$3.24
- Ready to Deliver
- 0 at
-
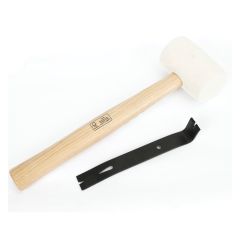 Home Products Source16 oz Rubber Mallet with 7 Inch Pry Bar$19.99
- Ready to Deliver
- 51 Available for pick up at
-
$19.99
- Ready to Deliver
- 4 Available for pick up at
-
 King Canada13" Professional Laminate Flooring Cutter$199.99
- Ready to Deliver
- 2 Available for pick up at
-
$19.89
- Ready to Deliver
- 3 Available for pick up at
-
 Bunzl SafetyHobby Clear Safety Glasses$9.59
- Ready to Deliver
- 52 Available for pick up at


Looking for more DIY Projects?


Recommended Articles
-
Upgrading your bathroom can be one of your home's most valuable DIY projects. It enhances the value of your home and provides the everyday convenience you've been missing. Say goodbye to unpleasant paint colours and inefficient vanities. Whether you’re looking for a refresh or a major renovation, our Project Center is here to assist you in handling DIY projects of any scale.
-
It’s the little things that count! Put the finishing touch on all your fall DIYs with easy trim and moulding updates. If your look is out of date, new trim can give the perfect boost to bring your style up to speed. Ditch your dated doors and trim and opt for a fresh fall look that will look great in every season!
-
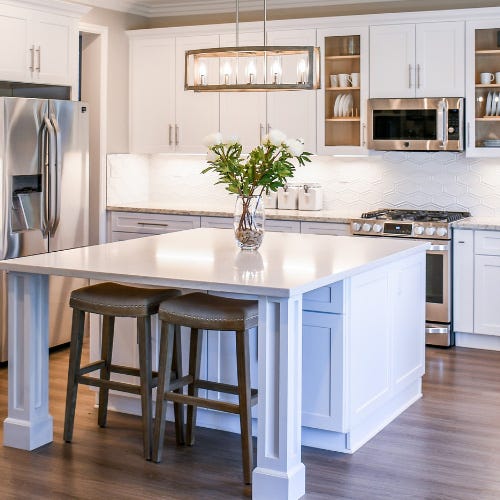
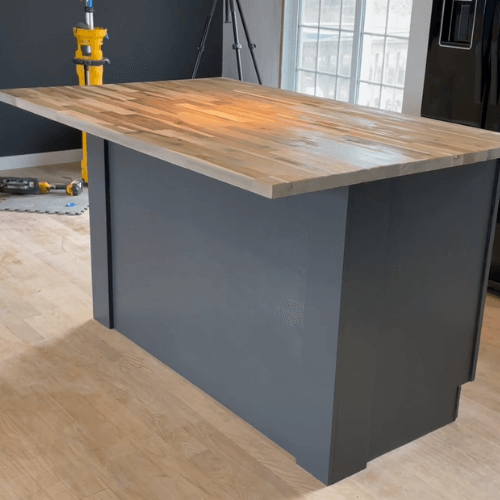
Few things compare to the joy of comfort food, but if your cooking area lacks that Pinterest-worthy charm, why not give it a makeover? Luckily, numerous kitchen elements can be effortlessly enhanced to transform your kitchen into a functional and aesthetically pleasing area. Whether you're adding new features, giving it a fresh coat of paint, or making replacements, our Project Centre is here to assist you in discovering all the guidance and equipment required for your DIY kitchen project!
-
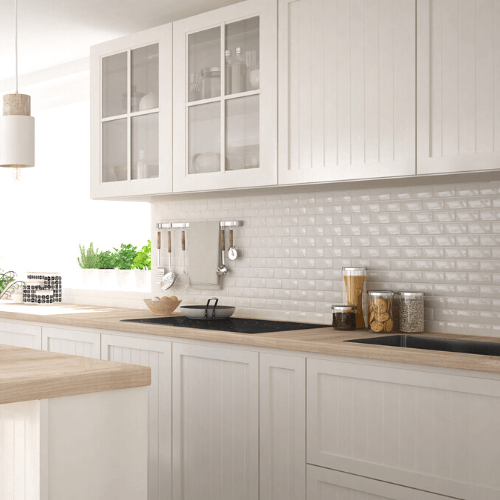
A backsplash is like jewellery for your kitchen. The look just isn’t complete without it! If you’ve outgrown your old style or are starting with a blank slate, it’s time to try your hand at tiling! Tile your DIY backsplash with the help of our Project Centre and give your kitchen a facelift this weekend.