How to Install Shiplap
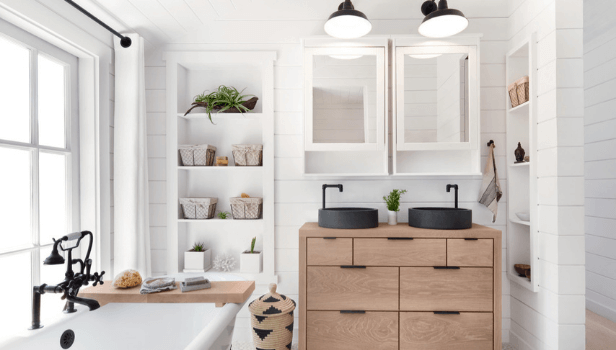
Shiplap is an easy way to spruce up any wall! If paint or wallpaper just isn’t cutting your need for texture, add shiplap to your modern farmhouse style, minimalist den, or shabby chic powder room. Choose natural wood boards or customize your shiplap with the paint or stain of your choice to score major DIY bragging rights. Find everything you need to complete this project at you local KENT project centre.
Supplies
Ensure you have all the tools you need before starting any installation:


How to Install Shiplap
Measure First
Measure your wall and determine how much product you will need in square feet, plus a little extra. Make sure your base floor trim is installed and all your edges are level and square. If your wall or floor is uneven, your shiplap may need extra adjustment to appear straight.
To further customize your shiplap, you can cut custom boards from plywood to fit your square footage. If you choose this option, ensure your total square footage is divided evenly to the width of each board. Use all necessary personal protective equipment when sawing, and cut your boards lengthwise. Sand your boards smooth after cutting, and paint as desired.


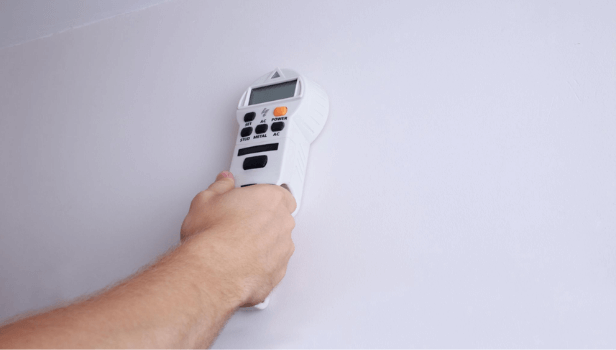

Remove all trim carefully with your putty knife before marking where your boards will be placed. Using a stud finder, mark out where your studs are on the wall and mark them with a vertical chalk line. You will also need to mark a horizontal chalk line as an install guide that will allow room for the wood to expand/contract, ~¼ inch above the floor.
Lock It In
Familiarize yourself with how the shiplap boards connect and lock into place, and always use personal protective equipment when cutting any boards. Double check the fit of each section before installing, and work across from one side to the other using two evenly spaced two inch nails above each chalk line with your nail gun. When possible, try to nail into the seams to eliminate nail holes on the front panel.
Set and lock the boards into each other while staggering your seams as you move up the wall. If you’ve opted to cut your own boards, use ⅛” spacers along each row, removing and replacing them as you work. When you reach your last board, it may need to be cut further to fit.


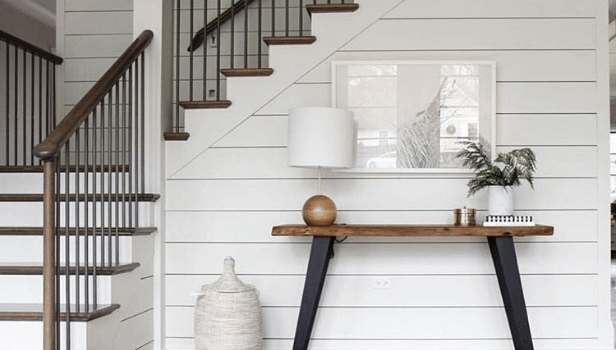

Polish It Off
Once the wall is complete, fill and sand any nail holes and reattach any trim or baseboards. Smooth away any rough patches with 400-grit sandpaper, caulk the edges, and apply any extra paint or stain to customize to your taste.
Create your dream design with a little help from KENT, and DIY your own shiplap this weekend.
