How to Install Laminate Flooring on your Ceiling
Adding laminate flooring to your ceiling is a unique and modern way to update the look of any room in your home. Whether you’re looking for a subtle addition to enhance the décor or you want to make a bold statement, laminate flooring is an affordable and relatively easy DIY project that can be completed in a single day, depending on the size of the area you are working with.
For This Project You Will Need:

To begin, make sure you have the right tools and materials for the job. You'll need laminate flooring planks, underlayment, a circular saw, tape measurer, laminate roller, and laminate glue. All of these items can be found at your local KENT Building Supplies store or on our website. Additionally, if you're going to be working with laminate flooring that has a tongue-and-groove system, you'll need to purchase laminate glue.
For laminate glue-down floors, you’ll need to use a special laminate glue on the back of each plank before attaching it to the ceiling. Keep in mind that laminate adhesives come in different types, so be sure to read the instructions carefully to get the right one. Also, make sure that you’re using laminate glue specifically designed for laminate flooring and not one meant for hardwood floors.
For laminate click lock, it’s much simpler – just click each plank into place without any adhesive. Once all of your planks are in place, you’ll want to add a few finishing touches. You can use laminate trim pieces along the edges of your ceiling to give it a polished look, as well as laminate transition strips at doorways and other openings.
Here’s how it’s done:
How to Install Laminate Flooring on your Ceiling

1
Prepare the Ceiling for Installation
First, measure your space and purchase enough laminate flooring to cover the entire area. Make sure you also buy extra pieces in case of measuring errors or a damaged piece. Next, remove any existing ceiling treatments like wallpaper or paint in order to get an even surface for installation.

2
Measure and Cut your Laminate Flooring
Once you have everything you need, begin by measuring the area on the ceiling where laminate flooring will be installed. It's important to cut the planks so they fit snugly together, so be sure to measure twice and cut once. Take your circular saw and cut your planks to your desired length. Be sure to trim the laminate planks to fit around any wall corners or other objects on the ceiling like pot lights, vents, and fans. Once done, take your circular saw and trim your laminate planks.
3
Glue your Planks
Apply laminate flooring glue onto the ceiling. Make sure you follow the instructions carefully and evenly spread the glue with a laminate roller or a notched trowel. Allow the adhesive to dry before proceeding. Once it's dried, you can lay down the laminate planks in a staggered pattern. Be sure to start at one side of the ceiling and work your way across. Make sure you leave a small gap between each laminate plank to allow for expansion. Use your laminate roller to apply pressure to your panels for maximum hold.

4
Clean Up & Admire Your Work
And that's it – you've successfully installed laminate flooring on your ceiling. Now all you need to do is wipe down your laminate flooring with a washcloth to get rid of any excess glue. Now, you can show off your handy DIY skills and take a step back to admire your work! Who said laminate flooring was only for floors?
Now you can take all the laminate flooring knowledge you’ve gained and put it to use elsewhere in your home. Have fun, be creative, and enjoy your laminate-covered ceilings!
Need help with your project? Our Project Centre team is ready to answer all your questions, no matter how big or small your project is. Consult our Project Centre today to find the perfect laminate solutions in your dream colour and budget!
-
Starting at$34.13
-
 Starting at$47.69
 -
$99.99
- Ready to Ship
- 2 Available for pick up at
-
$18.49
- Ready to Ship
- 4 Available for pick up at
-
 Miracle-GroMiracle-Gro 5' Bamboo Stake-4/Pack$4.00
- Ready to Ship
- 0 at
-
Starting at$10.93


Looking for more DIY Projects?


Recommended Articles
-
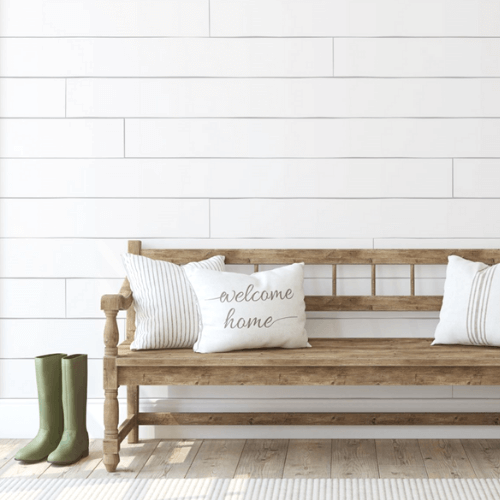
Shiplap is an easy way to spruce up any wall! If paint or wallpaper just isn’t cutting your need for texture, add shiplap to your modern farmhouse style, minimalist den, or shabby chic powder room. Choose natural wood boards or customize your shiplap with the paint or stain of your choice to score major DIY bragging rights. Find everything you need to complete this project at you local KENT project centre.
-
Installing your own flooring is a great way to minimize renovation costs and give you major bragging rights. For most spaces, laminate flooring can be DIY’ed in an afternoon with a little help from your local KENT Project Centre. Choose from a wide range of laminate flooring, grab your gear, and start loving your floors again!
-
Put the finishing touch on your beautiful new floors when you DIY your floor trim! Most floors require some sort of trim or baseboard to conceal gaps between your flooring and walls. Choose from modern and classic options from KENT for trim as elaborate or simple as your personal style. Find your trim, tools, and expert DIY advice at your local KENT!