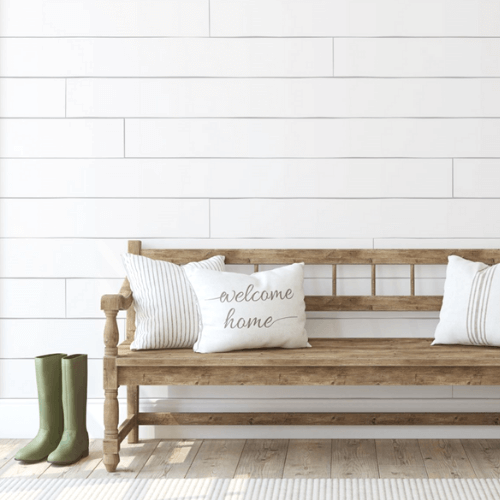
Cutting the wood

Using my mitre saw I cut my lumbar in half to give me two 4’ pieces. Set one aside as it will be used for the top of the bench. Using a table saw or circular saw cut the second piece into

4x — 17” x 2.5” pieces (legs)

2x — 4” x 2.5“ pieces (bottom support)

2x — 2.5” x 2.5” pieces (top support)

Using your mitre saw cut a 5-degree angle on all 4 legs and bottom support and top support pieces.

Janine Young standing in front of a large wall with a knotty pine plank. She is seen wearing ripped jeans, a black top, and a ball cap. On the left, a large tree in a wooven planter.Janine Young standing in front of a large wall with a knotty pine plank. She is seen wearing ripped jeans, a black top, and a ball cap. On the left, a large tree in a wooven planter.

Aging the wood

Using my chisel and hammer I distress the wood to my liking.

Next, I took my reciprocating saw to the edges of the boards to leave some nice deep cuts and saw marks

Once I was happy with the distressing, I sanded all the pieces with 60 grit, then 80 grit and finished it off with 120 grit sandpaper.

And lastly, the true trick to aging wood… a wire brush. Go over the wood with your wire brush to scuff it up as much as possible.

Aging the woodAging the wood

Building the bench

I created two “A” shapes using 1 top support, 1 bottom support, and 2 legs. I secured the “A” frame with wood glued and screws.

Next, I took my A” shaped legs and attached them to the bottom of your bench using glue, and screws.

Knotted Pine wooden planks on a hardwood floor cut and placed to mimic a completed bench.Knotted Pine wooden planks on a hardwood floor cut and placed to mimic a completed bench.

Staining the bench

To achieve an aged look, I first stained the bench with Minwax’s Simply White (this helps to remove the yellow out of the wood) and using a rag I applied a coat of Minwax’s early American. Really rub the stain into the creased you created by distressing. Then, I quickly sanded everything down again (you can always skip this step, but it really helps create deeper tones in the wood to make it look aged). Next using a rag, I applied a second coat of early American, really rubbing it in. After the stain has cured for a day apply a coat of Minwax’s polyurethane.

Janine Young putting together the bench and staining it using a rag. Tools can be seen on her right like a chisel, screwdriver, and can of stain. Janine Young putting together the bench and staining it using a rag. Tools can be seen on her right like a chisel, screwdriver, and can of stain.

Need help with your project? Our Project Centre team is ready to answer all your questions, no matter how big or small your project is.  Consult our Project Centre today to find the perfect solutions in your dream color and budget!

Looking for more DIY projects?

Stain Buying GuideStain Buying Guide
How to Install ShiplapHow to Install Shiplap
How to Install Faux BeamHow to Install Faux Beam
Stain Buying GuideStain Buying Guide
How to Install ShiplapHow to Install Shiplap
How to Install Faux BeamHow to Install Faux Beam