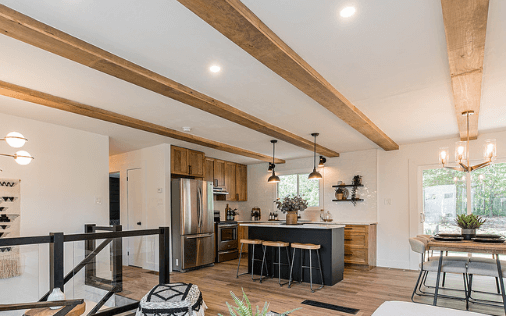
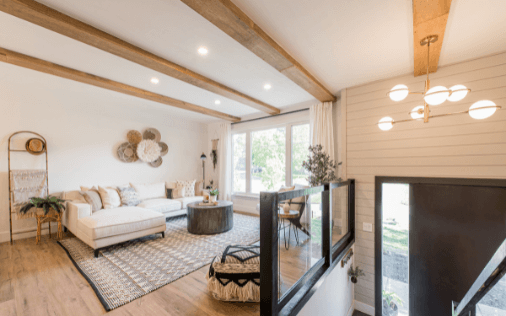
How to Install Faux Beams
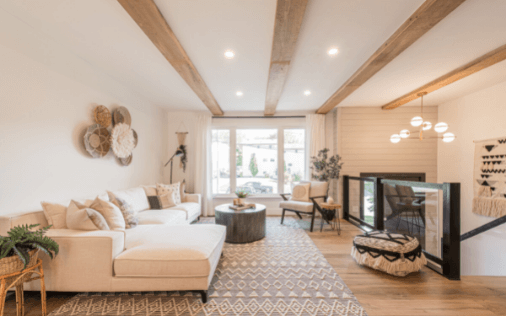
Wooden exposed beams can give your home a subtle rustic touch and a cozy vibe. This highly sought-after architectural feature can be easily replicated with an easy DIY and you can add faux wooden beams to your ceiling! By using a nice wood stain, you can make your faux beams look like reclaimed wood, which will add even more character to your space!
For This Project You Will Need:
1
Determine Your Placement
First you need to determine which way the joists in your ceiling are running. For the easiest installation, you should install your beams parallel to your joists. This is because the strapping under the drywall will be running in the opposite direction from the joists, so this will give you something to screw your beams into every 16 inches for a secure hold.
The number of beams you need really depends on the size of your space and the look you are going for. For this project, we installed the beams 4 feet apart from each other and they are just under 10 inches wide, which resulted in 4 beams in total.
Using a straight edge, such as a level, draw lines on your ceiling where you want your beams to go. Be sure to also mark the spots where the strapping is located, so you know where to screw your boards into.
TIP
If you are planning on staining your boards, we recommend that you do this BEFORE you attach them to the ceiling. It will be much easier to stain them on the ground than it will be to stain them when they are on the ceiling.
2
Install Your Bracing
Rip down several boards to be 1.5 inches smaller than the desired width of your beams. You want your boards to be smaller than the width of your beams to account for the two sides of the beams. Then you need to cut them to 2 to 3 feet wide, so you can glue and screw them into 1-2 pieces of strapping.
Using a construction grade adhesive, apply some to your boards and place them on your ceiling along your marked lines. Screw your boards into the strapping for a secure hold. Make sure that the wood screws you are using are long enough to screw through your board, the drywall, and the strapping. We recommend at least 3-inch wood screws for this project, but it will depend on the thickness of your wood.
Now you want to rip your pine boards down to the desired thickness you want your beams to be. We chose to do 2 inches, because the ceiling is not that high and we do not want them hanging down too much.
TIP
You can choose to run a piece of wood the full length of your ceiling to screw into every piece of strapping, but it’s not required. By using only a few boards to screw into the strapping, you will still get a very secure hold while saving on costs.
3
Installing Your Beams
Now we can start installing the beams! Apply more of the construction grade adhesive to the sides of the boards that you already screwed into the ceiling, then attach your ripped pine boards to each side of the board and secure them with some screws. You can use wood filler to fill the screw holes for a seamless finish. Repeat this process on all of your beams until you are finished.
Rip your pine boards down to the width of your beam, and these are going to be the face of your beams. Apply adhesive to the bottom of the side pieces you just attached, then attach your pine boards to the bottom of those side pieces, screwing them in to secure them. Depending on how heavy your boards are, you may want someone to hold up the boards while you screw them in. Repeat this process with all of your boards until your beams are done!
Now you can sit back, relax, and enjoy your new faux rustic wood beams!
Recommended Articles
-
We’re ready to make a statement this fall! Ditch your bland walls in favour of more colour and patterns to give any room a style boost. Create more interest and definition in your space with our 3 DIY super heroes: paint, wallpaper, and paneling!
-
Make chores one of the most beautiful parts of your day! Enjoy washing your freshly unpacked fall sweaters with a laundry room makeover in one weekend. No matter what kind of laundry space you have, you can find supplies at KENT to update floors, walls, and countertops.
-
It’s the little things that count! Put the finishing touch on all your fall DIYs with easy trim and moulding updates. If your look is out of date, new trim can give the perfect boost to bring your style up to speed. Ditch your dated doors and trim and opt for a fresh fall look that will look great in every season!
-
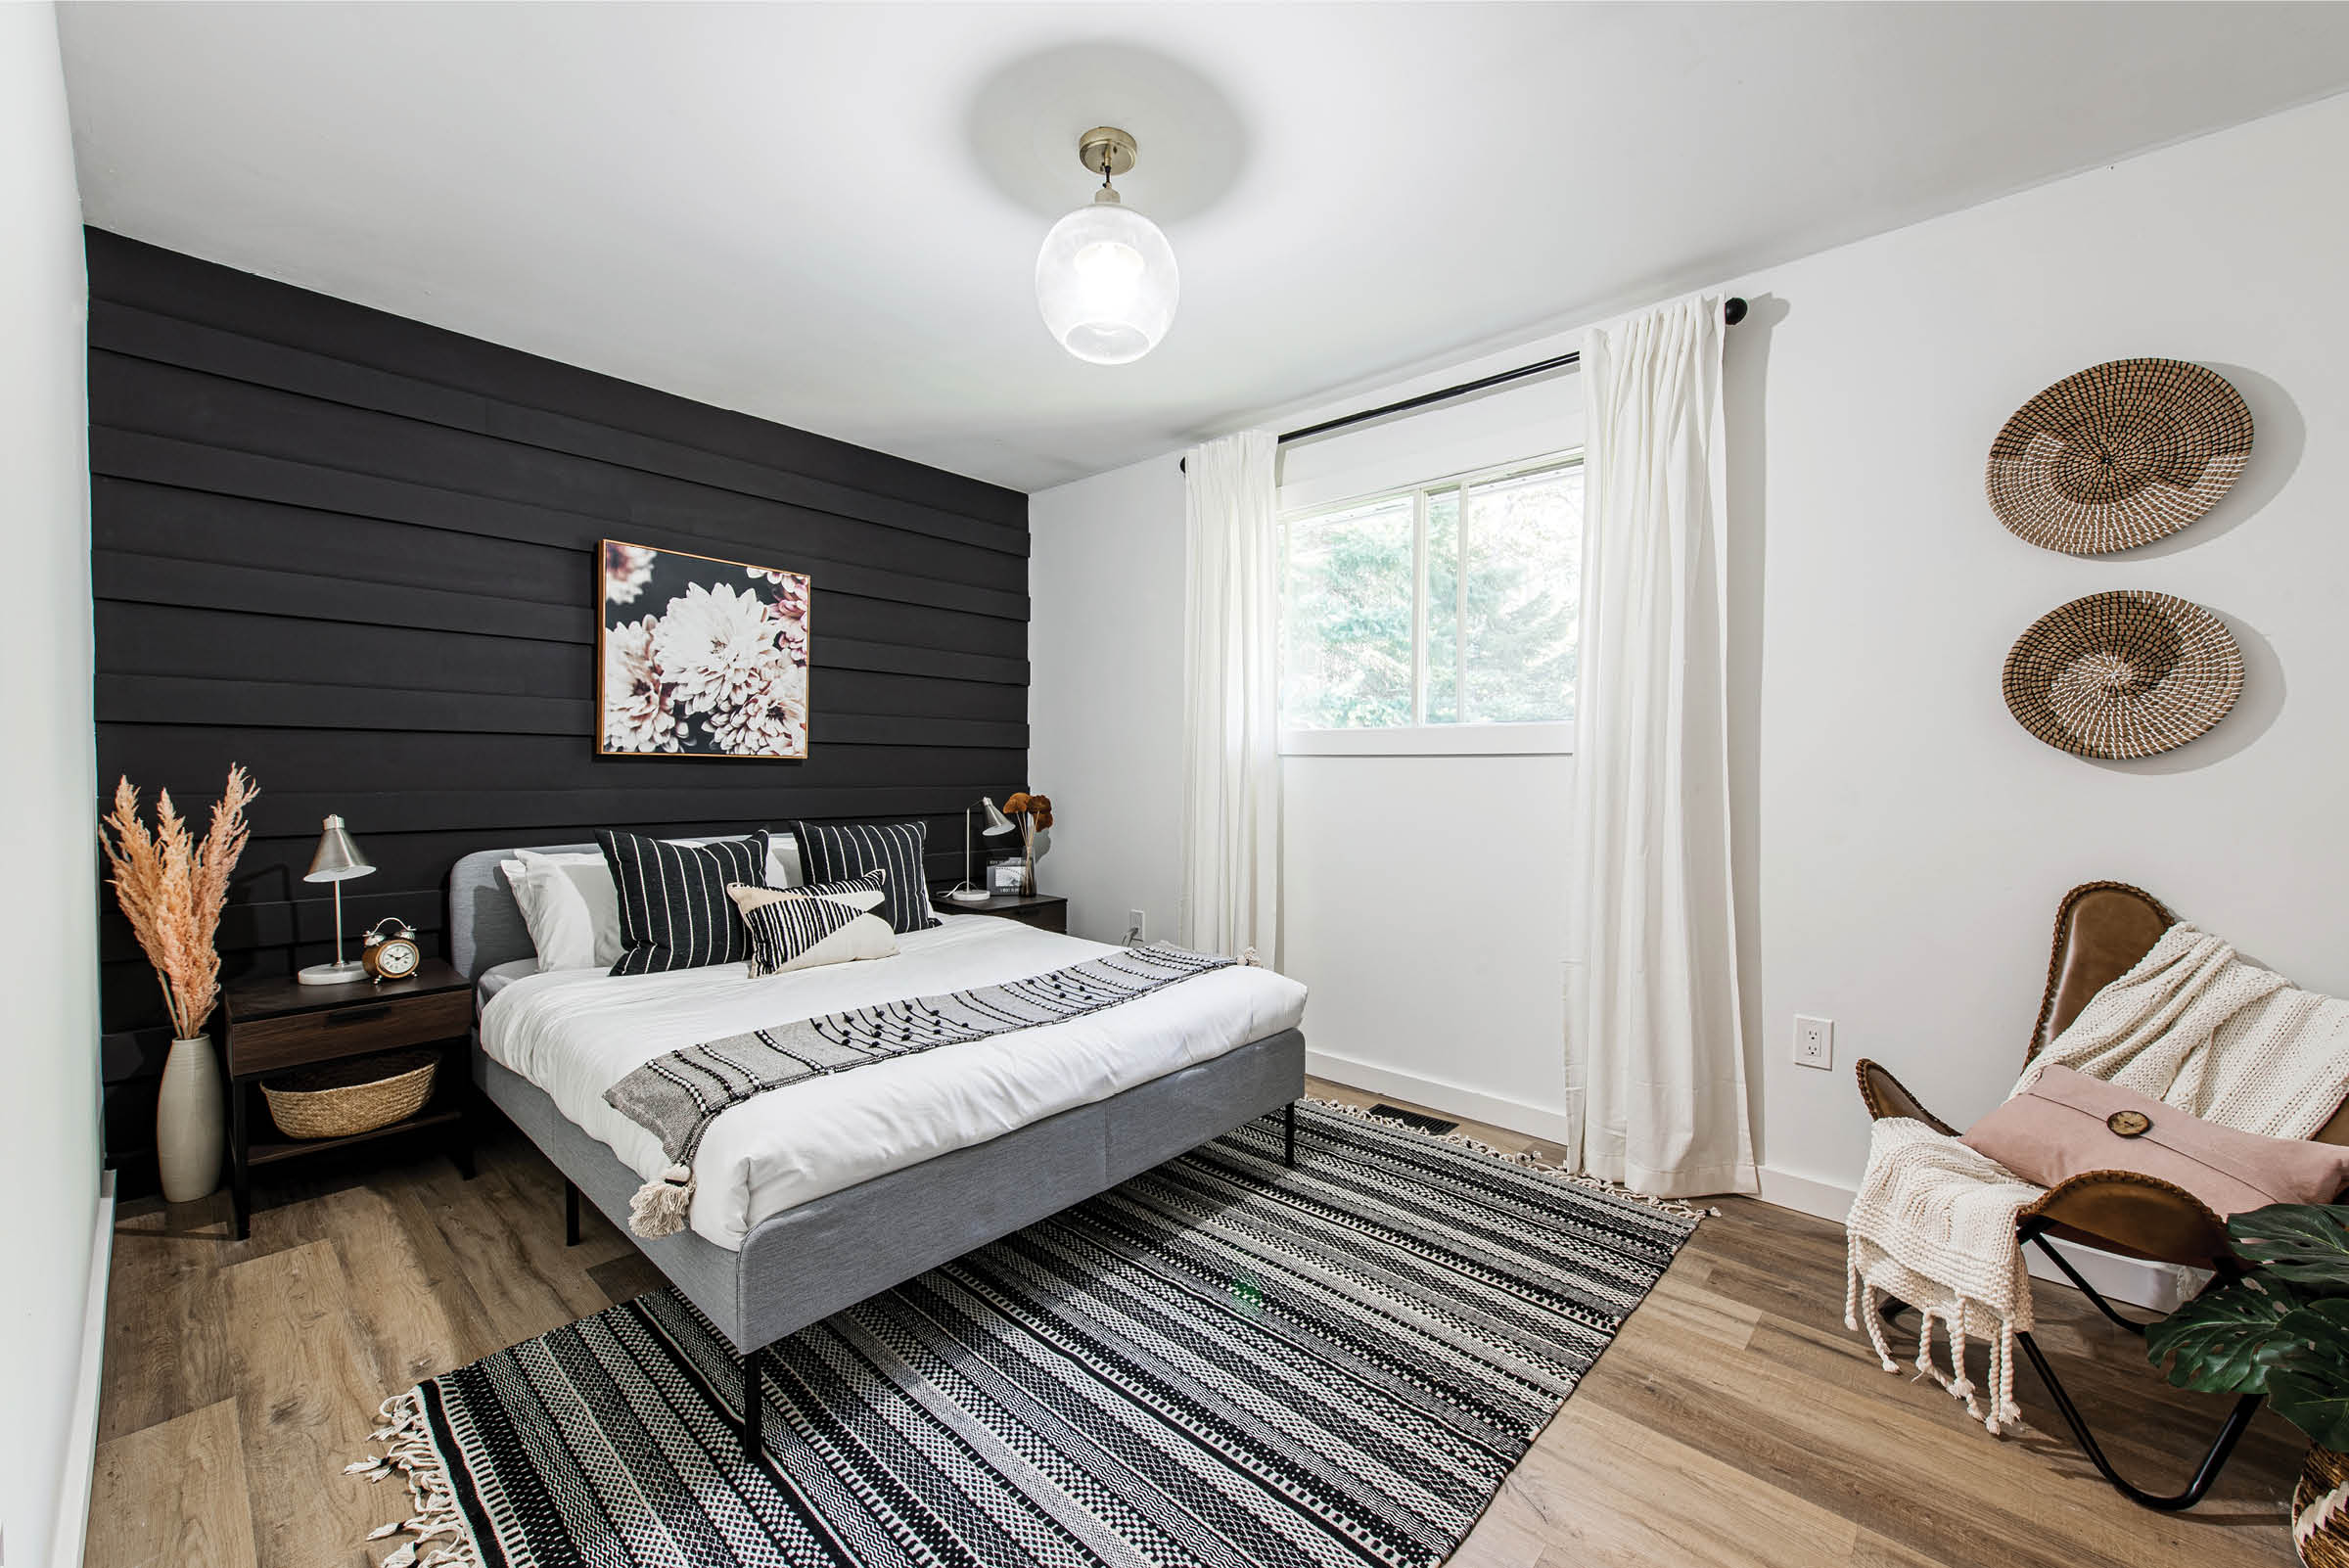
Spending time indoors doesn’t have to leave you feeling cooped up when you have a beautiful space to enjoy! This fall, tackle the bottom of your to-do list to make your wasted space functional and inviting. Finish or refinish your basement, office, or bedroom and ditch your drab rooms with some easy DIYs!