Beyond Paint Kitchen Cabinet DIY
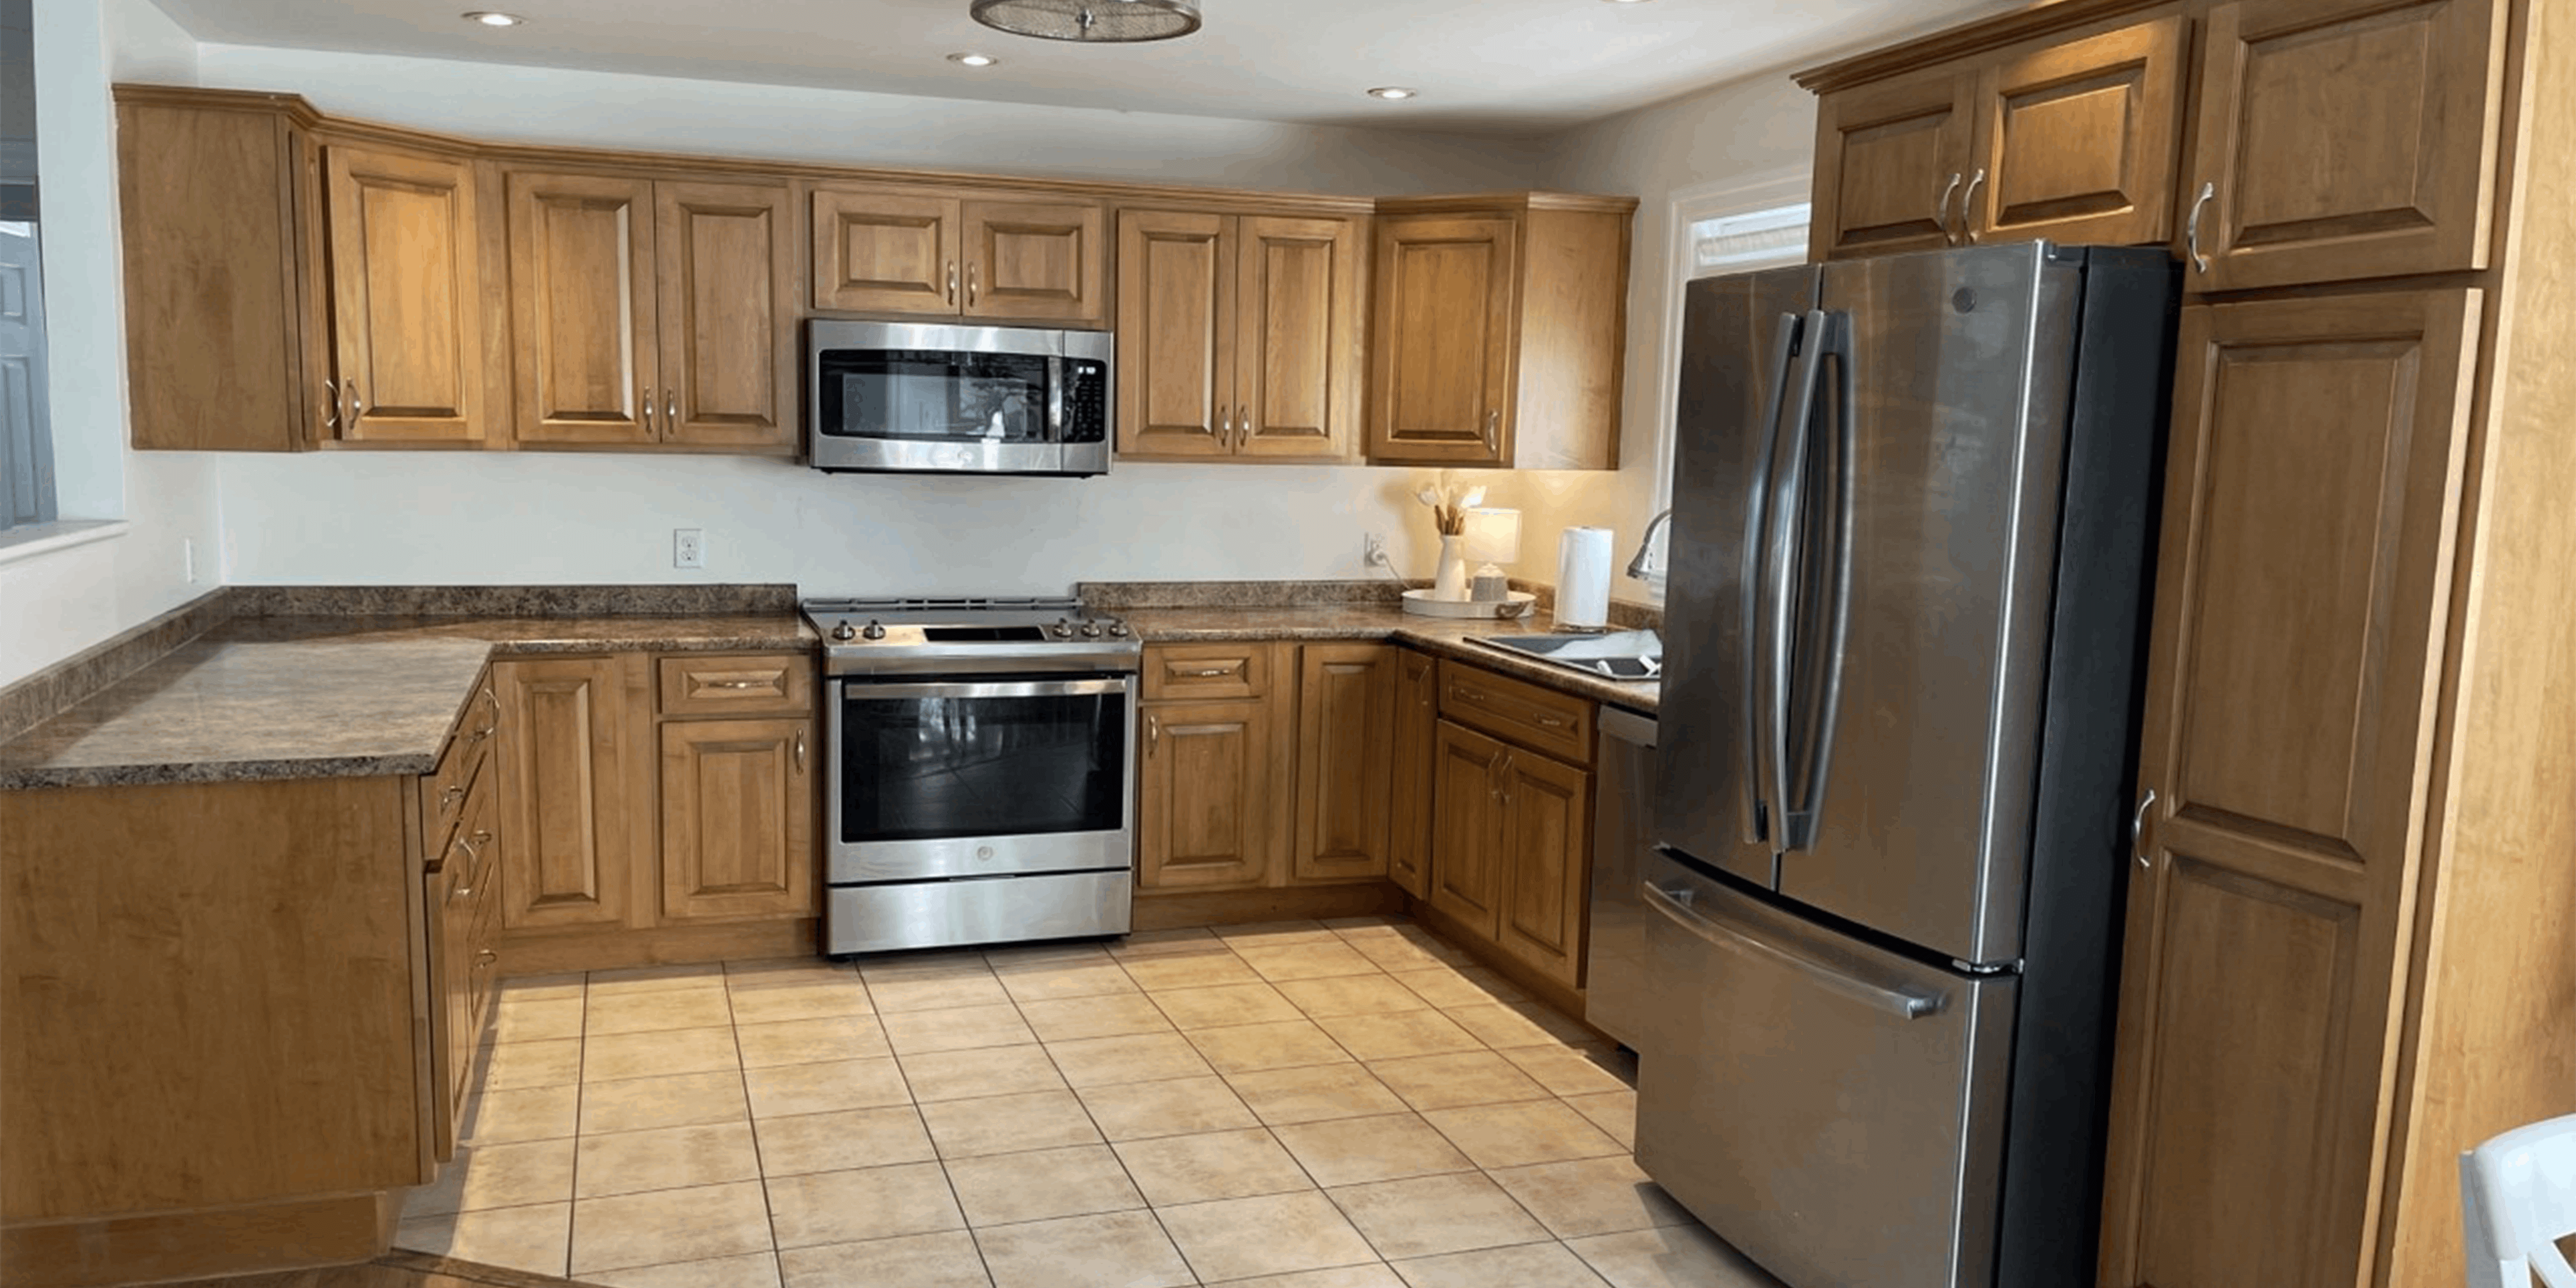
Beyond Paint can do wonders for your Kitchen. Take your outdated cabinets and elevate them with a fresh coat. It is easy to apply and will enhance your cooking and dining experience. Follow these steps to see how you can paint your cabinets.
For This Project You Will Need:


1
Prep the working space
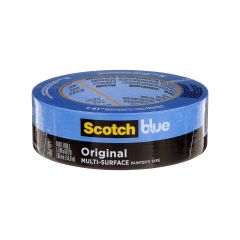
- Using painter’s tape, tape off all areas that are not being painted. Tip: Cover an extra amount as this makes it easier when rollering.
- Remove cupboard fronts and hardware.


2
Clean surfaces to be painted
- Using TSP, wipe down all surfaces that will be painted. This will remove any grease and ensure a full bonding of the Beyond Paint. After cleaning, wipe down with water to remove any TSP residue. Tip: Following the TSP instructions, add the solution to a spray bottle. Spray down the surface and then wipe away with a rag.


3
Painting
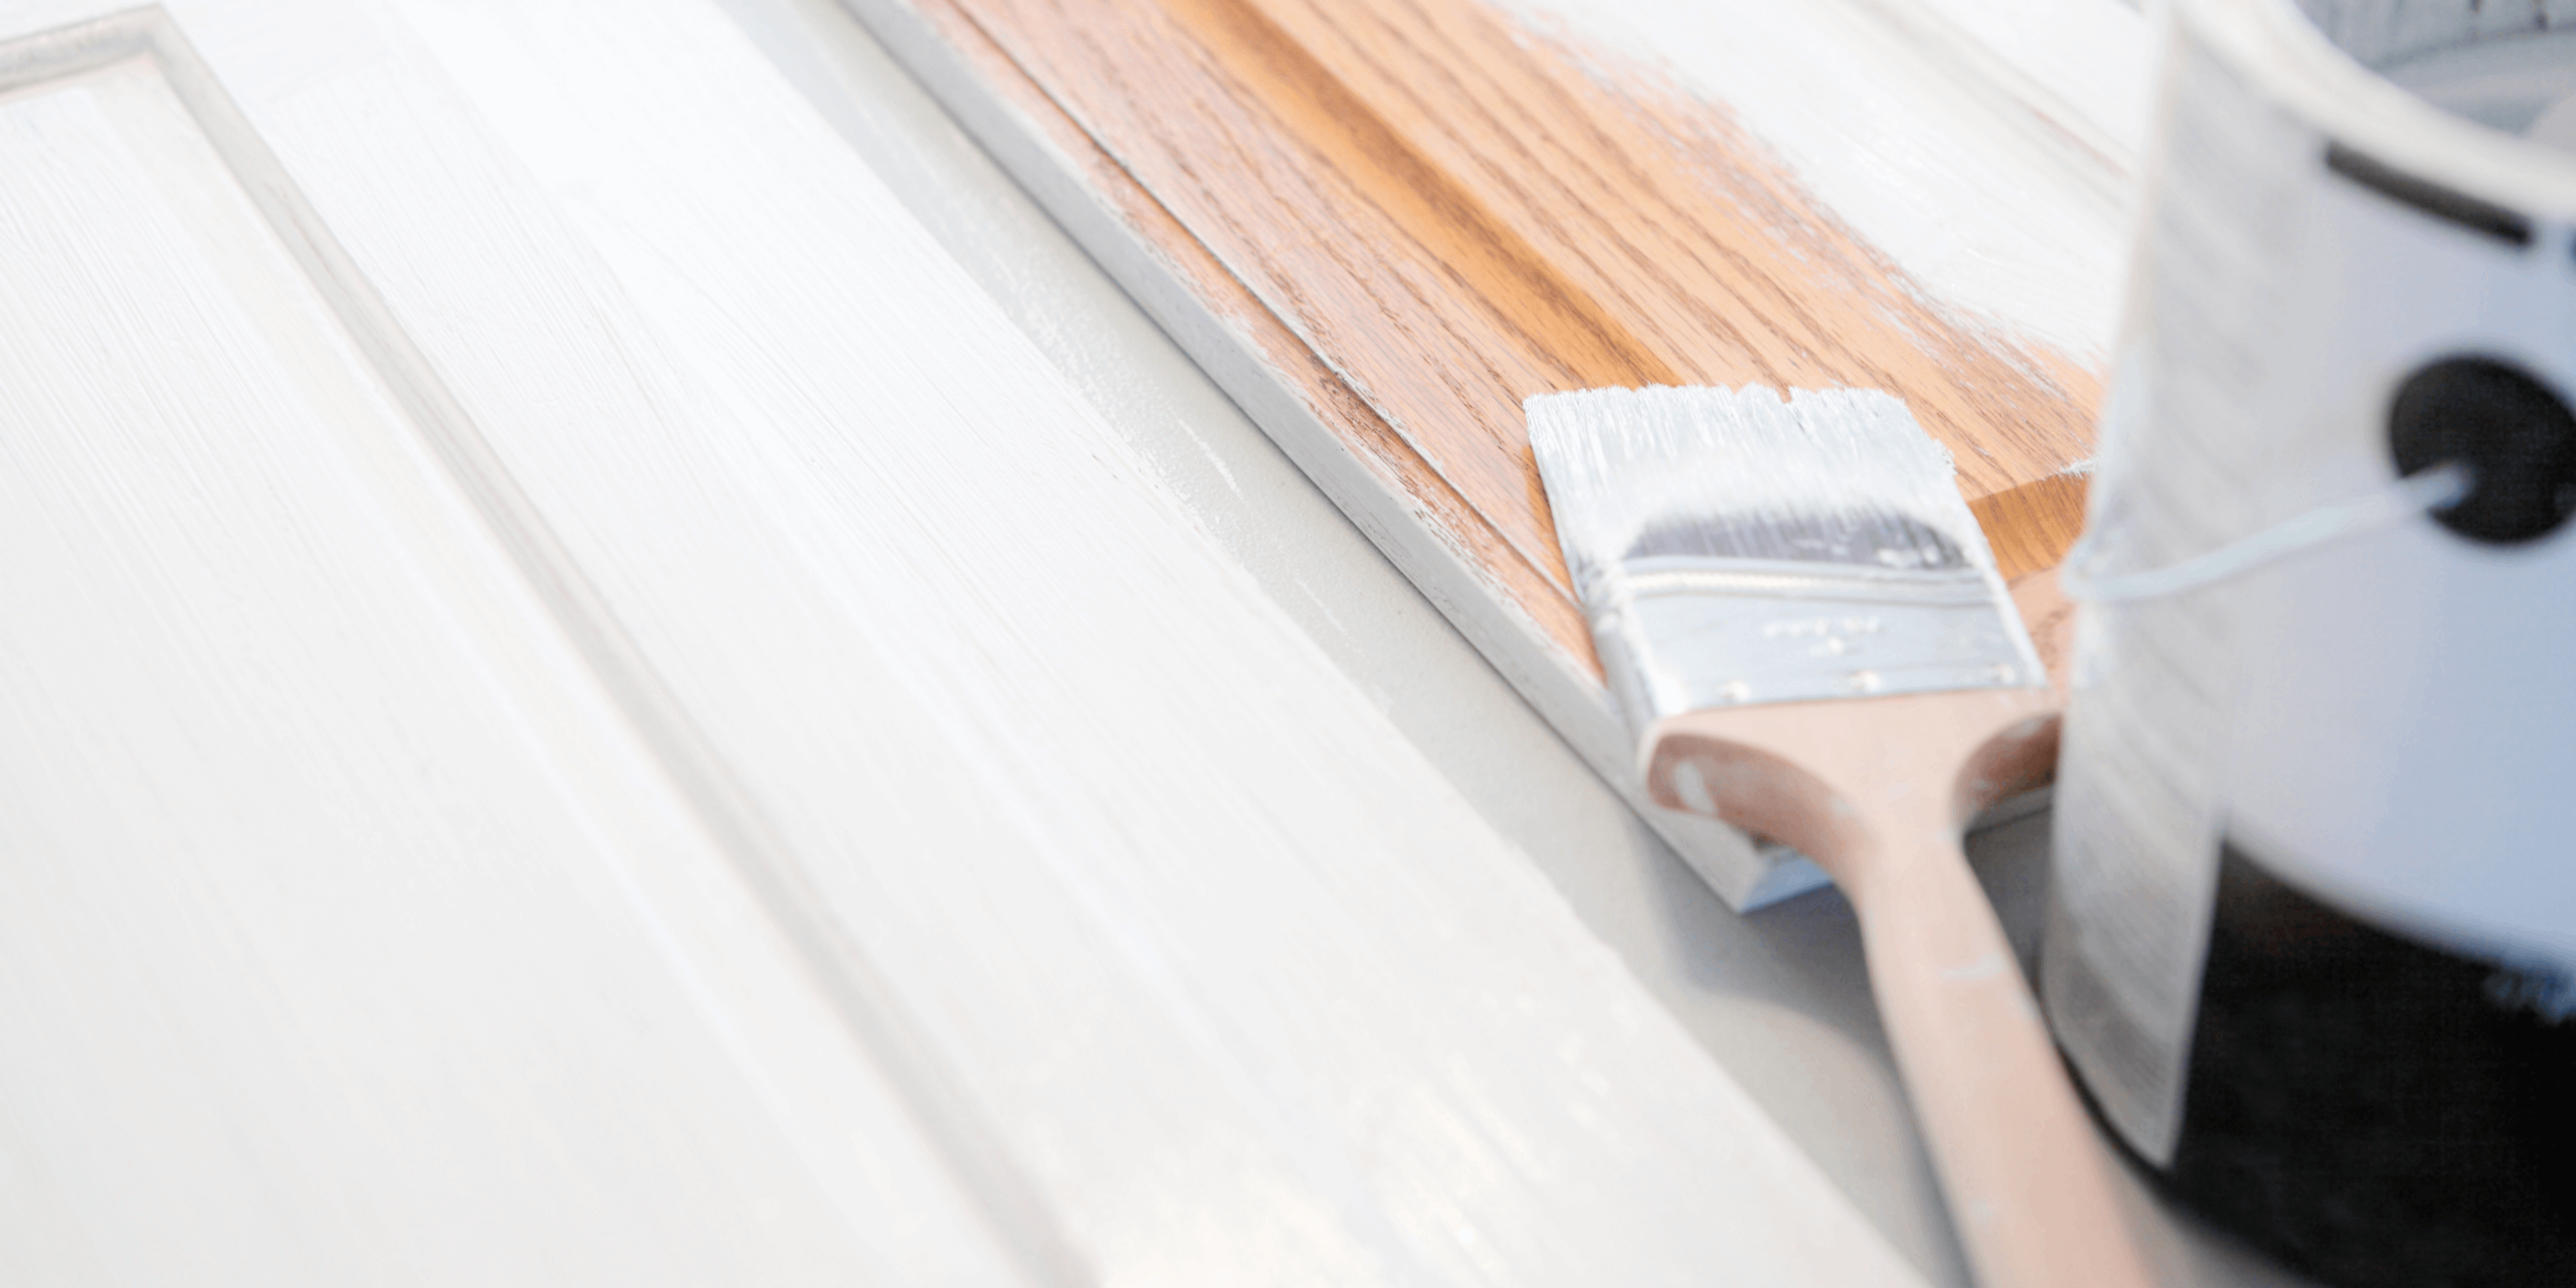
- Using the paint brush, stipple (not brush strokes, but rather apply with a tapping motion) paint into any areas that the roller will not easily cover.
- Immediately following the brush, roll paint evenly over the remainder of the area. This includes areas where the brush was used to create an even and blended look.
- Provide a minimum of 2-4 hours dry time between coats. Per Beyond Paint recommendation, if a third coat is needed, allow a weeks dry time before applying.
- Beyond Paint is considered cured after 30 days.


4
Reinstalling Hardware
- Once all painted surfaces are completely dry, add hardware and hinges, then hang.
Need help with your project? Our Project Centre team is ready to answer all your questions, no matter how big or small your project is. Consult our Project Centre today to find the perfect laminate solutions in your dream colour and budget!

