Seed Starting in the Spring
With the arrival of March, it’s time to start the seeds for most types of vegetables, herbs, and flowers indoors. There are many reasons to start your own seedlings but perhaps the best one is variety. When you plant seeds indoors you can choose from hundreds of varieties of vegetables, flowers, and herbs on the seed racks at your local Kent Building Supplies.

1
Preparation
To get started you’ll need seeds, containers like a seed starter kit, and a grow light. Using a grow light is an easy way to ensure that your seedlings get plenty of light for healthy growth. There are various grow lights you can use with LED grow lights among the most popular types. This is because they’re energy-efficient and last for many years.

2
Start Planting
When you’re ready to get planting, begin by filling pots or cell packs with moist seed starting mix. If using peat pellets, you’ll need to hydrate them by adding lukewarm water to the tray until they’re fully expanded. After a few minutes, the pellets will be ready for planting.
Plant one seed per pellet or cell, covering each seed with a thin layer of growing mix. Typically seeds are planted to a depth that is twice their diameter - don’t bury them deeply.

3
Germination
Once the seeds are planted, place a plastic dome over the tray to hold humidity and prompt good germination.This is left on until the seeds sprout. At that point, it should be removed to encourage good air flow. Move the tray or pots beneath your grow light, leaving it on for 16 hours each day. Providing 16 hours of light is ideal for most types of vegetables, herbs, and flowers.

4
Finishing Touches
Check the soil every day or two, watering to maintain a lightly moist growing mix. You don’t want it to be too wet. If you’re not sure, touch the soil with your finger to gauge moisture levels. Starting your own seeds is quick, easy, and very rewarding.
Need help with your project? Our Project Centre team is ready to answer all your questions, no matter how big or small your project is. Consult our Project Centre today to find the perfect solutions in your dream colour and budget!
-
 McKenzie SeedsAssorted Flower And Vegetable Seeds$3.49
- Ready to Deliver
- 755 Available for pick up at
-
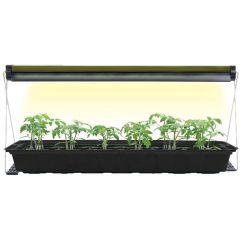 McKenzie SeedsGrow Light$69.99
- Ready to Deliver
- 11 Available for pick up at
-
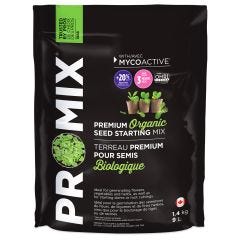 Premier Tech Home & GardenPro-Mix MycoActive Organic Seed Starting Mix 9L$9.59
- Ready to Deliver
- 3 Available for pick up at
-
 McKenzie SeedsHeat Mat$49.99
- Ready to Deliver
- 1 Available for pick up at
-
 McKenzie SeedsJiffy Tomato Greenhouse 36$10.73
- Ready to Deliver
- 3 Available for pick up at
Recommended Articles
-
What types of herbs, veggies or plants would you like to grow? This how-to will help you determine what seeds you need, growing method and timing needed to see your hard work pay off.
-
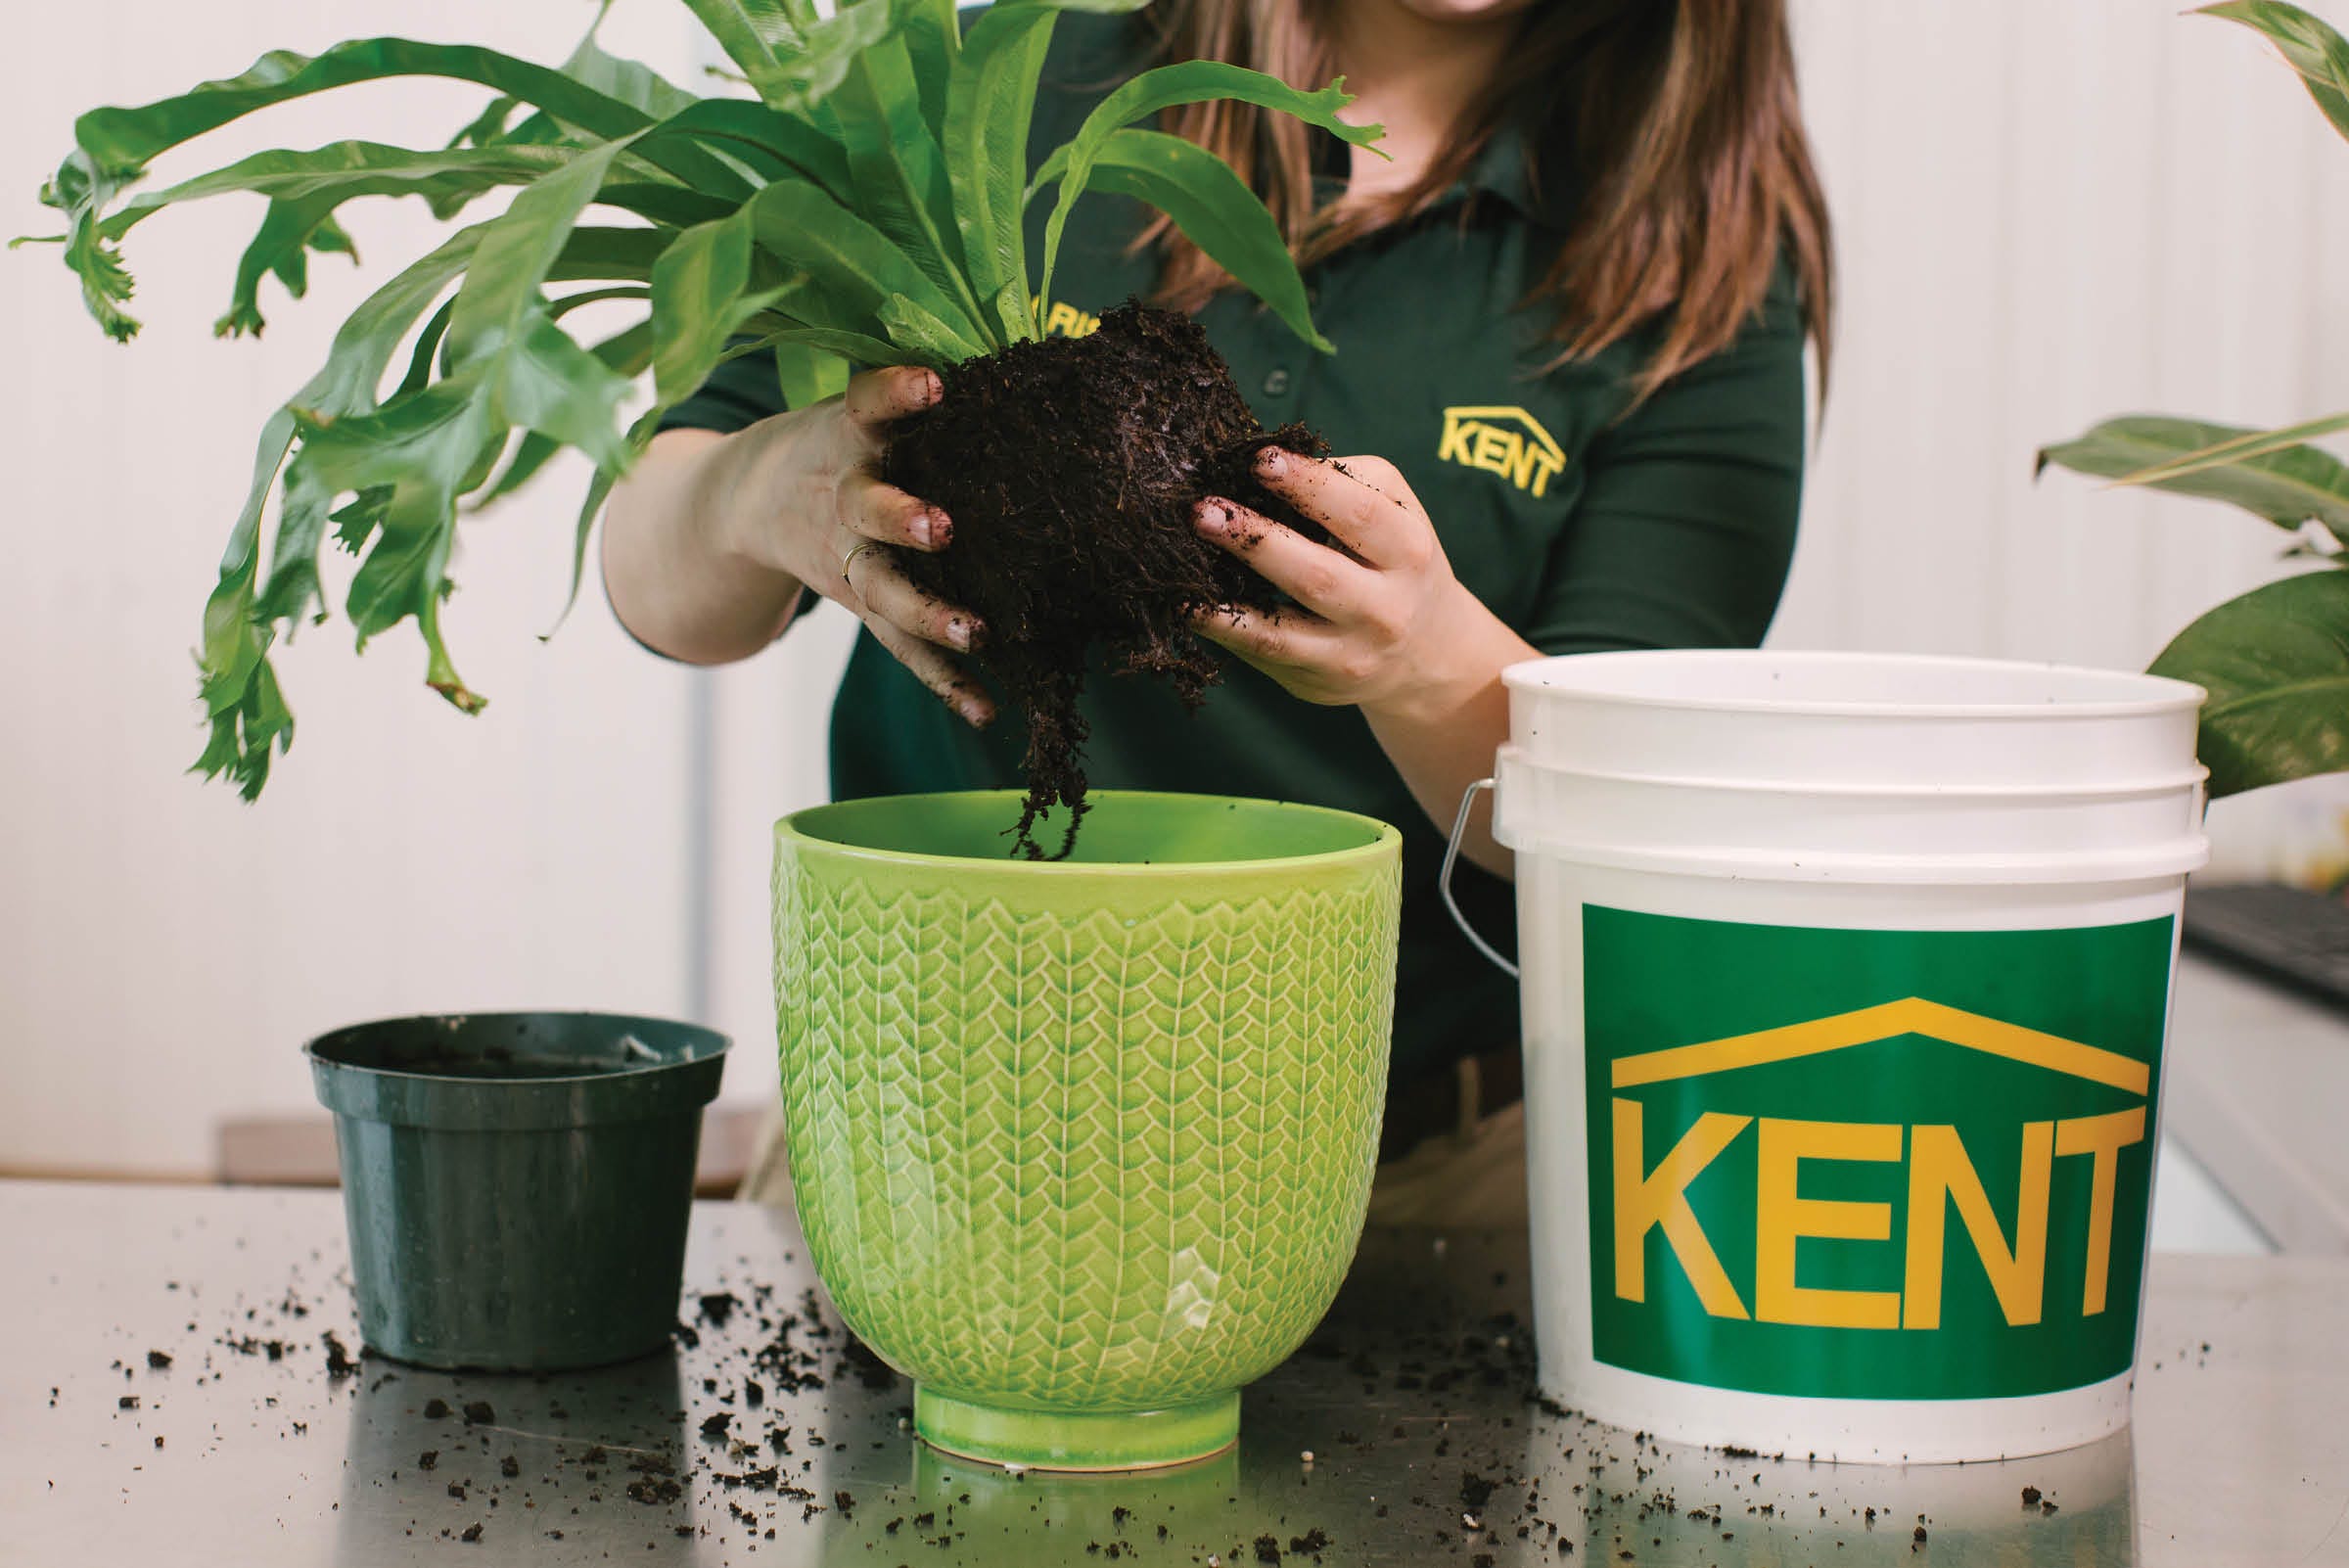
Your plant probably needs to be repotted if: it looks straggly and lackluster, with leaves turning yellow, it's roots are sticking out of the top of the soil or out of the drainage hole, or the soil doesn’t seem to be soaking up water.
-
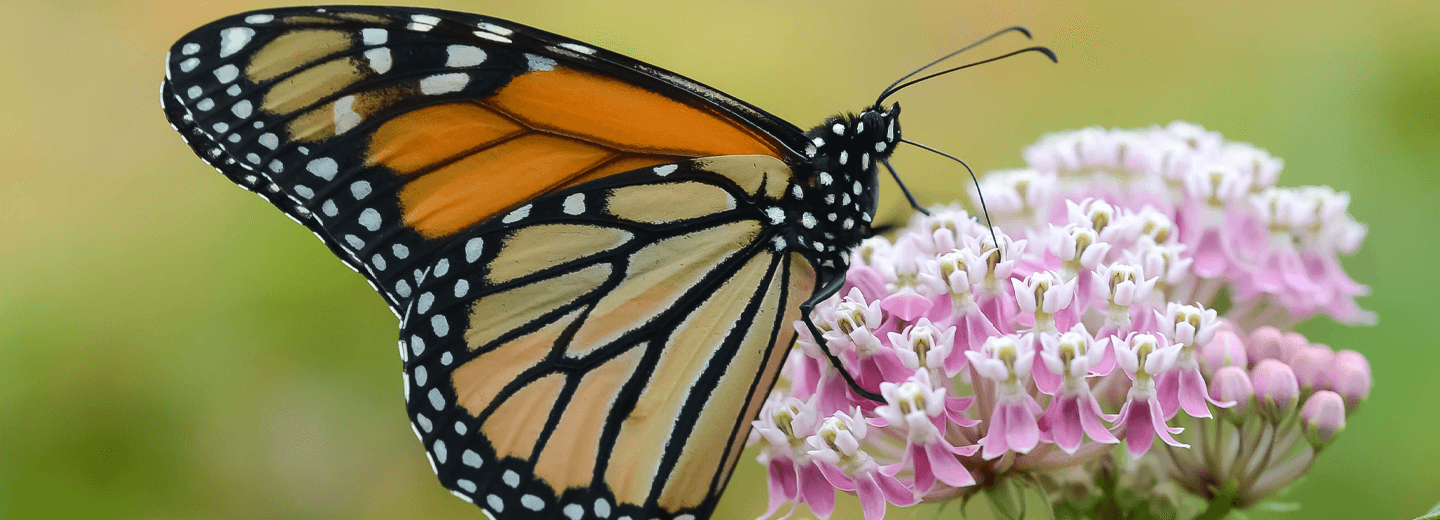
One of the biggest trends in gardening is planting for pollinators! Growing plants for the bees, butterflies, and other pollinators is a great way to increase biodiversity and provide food and shelter for these important insects.