How to Seed Plants
What types of herbs, veggies or plants would you like to grow? This how-to will help you determine what seeds you need, growing method and timing needed to see your hard work pay off.
The easiest vegetables and flowers to grow from seed
There are so many reasons to grow your own vegetables and flowers from seeds. Here are three great reasons:
- Variety - Starting your own seeds allows you to grow varieties not often available at local garden centres.
- Save money - Growing your own transplants can save money, especially if you have a large garden.
- It’s easy! - You don’t need to be an expert gardener to start seeds indoors. Anyone can do it and it’s a great DIY for kids.
For beginner seed starters, it’s best to begin with easy-to-grow vegetables and flowers like tomatoes, broccoli, basil, pansies, zinnias, and marigolds. Read the information listed on the seed packets carefully so you know the best time to start them indoors.
Once it’s the right time to plant the seeds, gather your supplies.
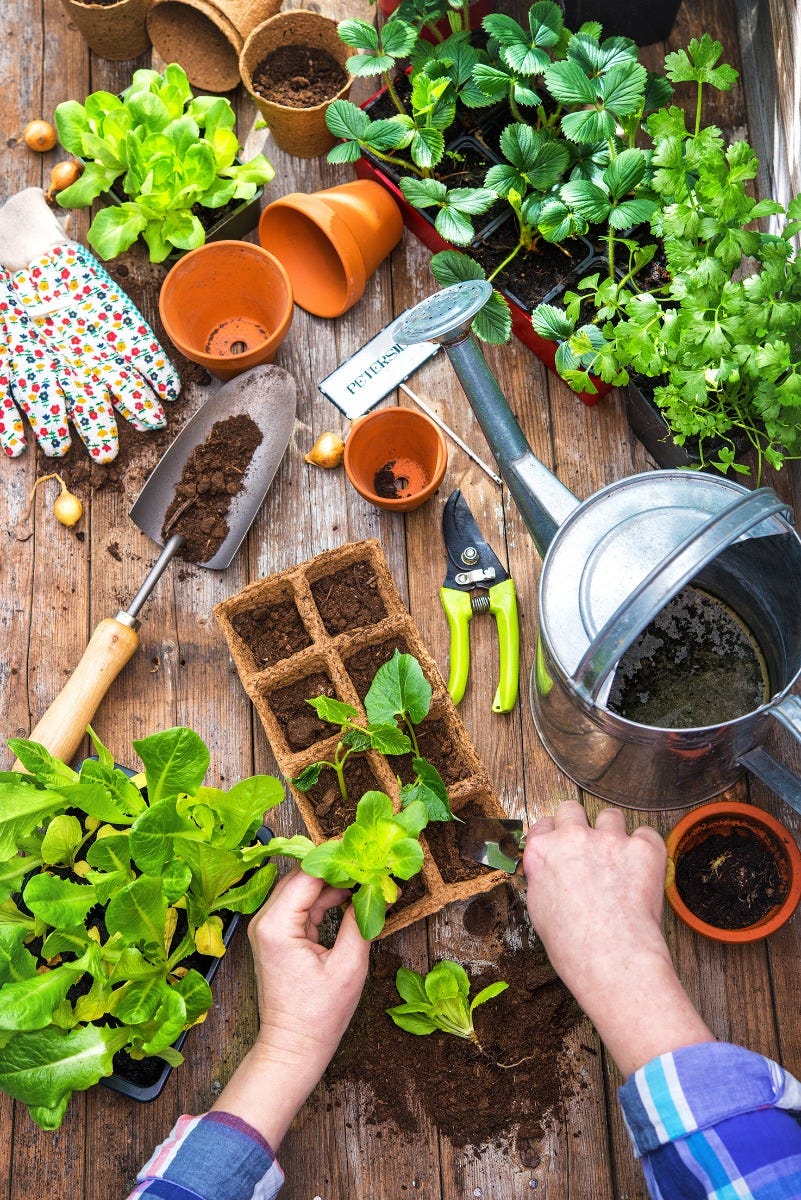
Here’s what you need to grow seeds indoors:
- A light source - While you can use a sunny window to grow seedlings, a grow light is the best way to grow strong, stocky plants. The Sunblaster Nanodome Mini Greenhouse includes an 18 inch long T5HO light and reflector, Nanodome, and 1020 tray. Turn grow lights on for sixteen hours each day.
- Containers - There are many types of containers you can use for seed starting: trays and cell packs, jiffy pellets, jiffy peat pots, plastic pots, or even recycled items like egg cartons. Just be sure they offer good drainage.
- Potting mix - Use a high-quality growing medium like Pro-Mix Premium Organic Seed Starting Mix. It’s lightweight, drains well, and is perfect for starting vegetable and flower seeds.
- Labels and a marker - Don’t forget to label your pots or containers.
- A heat mat - Certain seeds germinate best when the soil is warm. A heat mat is an easy way to provide ideal growing conditions to vegetables like tomatoes, peppers, melons, and basil.
Seed starting tips:
- Before you sow your seeds, pre-moisten the potting mix to ensure it’s evenly hydrated.
- Don’t plant seeds too deep. Most seeds should be planted at a depth of twice their diameter. Tomato seeds for example are only 1/8 of an inch across. Plant them 1/4 inch deep.
- Keep the soil lightly moist, but not wet.
- Once the seedlings are growing well, feed them with a liquid organic fertilizer every two weeks.
Happy Growing!
In order to start quality plants from seed indoors, you need to have a good seed starting mixture, small pots, growing trays and your favorite seed packet selections.


Step 1 - Decide what you want to grow:
What types of herbs, veggies or plants would you like to grow? This will determine what seeds you need, growing method and timing needed to see your hard work pay off.
Step 2 - Find your seeds:
Check your local KENT store or visit KENT.CA. We have convenient locations all across Atlantic Canada and carry a large selection of materials to assist you in growing your own food. Right here at home!
Step 3 - Check your seed packet:
Check your seed packet to determine when the plant should be started indoors or whether it is a seed variety that can be planted directly outdoors in the spring. The packets will provide the ideal amount of time to start the seeds indoors so the young plant will be ready to transplant after the risk of frost has passed for your area.
Step 4 - Pick a date to plant outdoors:
This is ideally after the frost risk has passed for your area. Research historical weather patterns on your local weather network website. From your chosen day, count back by the number of weeks indicated on the seed packet to give you the date for starting your seeds indoors.


Step 5 - Decide how you want to grow your seeds:
KENT offers many Jiffy products that provide all the best seed starting materials you will need to grow plants successfully. Mini-greenhouses with Peat Pellets or Peat Pots as well as Jiffy Heat Mats are the perfect solution to obtaining successful results. These products simplify transplanting and ensure rapid growth and healthy plants for gardeners everywhere and continue to be favourites among gardeners world-wide.
Step 6 - Plant your seeds & label your container:
Plant seeds as per package instructions. Consider watering newly planted seeds with a misting bottle using a very fine spray to avoid dislodging seeds. Remember to mark containers with the date planted and variety of seed.
Step 7 - Seed germination:
Seeds germinate quickly in a warm and humid location. Select a “Jiffy Greenhouse” to provide an optimal growing environment for newly planted seeds. Each greenhouse comes with a clear dome to trap in humidity and heat making it a valuable and positive seed starting selection. Remember to set the covered tray in a warm place making sure it is not in direct sun. To provide maximum results, the “Jiffy Heat Mat” is specifically designed for seed starting by maintaining a constant temperature in the greenhouse. Place the mat under the greenhouse, plug it in and your greenhouse is kept at a constant temperature aiding in successful germination.


Step 8 - Keep an eye on your plants:
Consider using fungicides to prevent “damping off” (which is the rotting of seedlings) often occurring early in seed germination and can be used shortly after planting to avoid disappointment and achieve the best possible results. As soon as seedlings begin to emerge, remove the “Jiffy Heat Mat’ from under the greenhouse and take off the plastic dome. Make sure to keep the seedling mixture moist but not wet. Seedlings can die if the soil becomes dry, even for a short time. Consider using a grow light to aid in providing light for stronger and healthier plants. When seedlings produce their second set of leaves, fertilize with a plant starting fertilizer at one-quarter its strength once a week.
Step 9 - Outdoor prep + frost date:
Prepare plants for outdoor temperatures by gradually hardening off young plants about a week before their transplant date. Placing them outdoors in a sheltered, shady area for a few hours and then gradually place in more sunlight as the week progresses. Be sure to bring indoors at night and keep well-watered to avoid drying out. Once the frost date has passed, transplant young plants into the garden by preparing garden soil and digging a hole for each plant that is wide and deep enough for roots to spread. Jiffy Pots and Jiffy Peat Pellets can be planted directly into the soil. Note that the root-ball can be gently broken apart to allow the roots to easily and quickly spread into the soil. After planting, gently pack the soil around the plant making sure the roots are firmly covered.
Step 10 – On-going plant care:
For better results consider transplanting on a cloudy or cooler day or in the evening to give the young transplant time to acclimatize to the new soil. Plants need continual moisture and nourishment to grow to their full potential and remain healthy. Fertilize regularly to encourage the best results from your plants. Consider the addition of organic matter such as peat moss or compost to improve the soil’s nutrient levels.


