Installing Tile Flooring
When it comes to sturdy, damage resistant flooring, you can’t go wrong with tile. The long running favourite for kitchens and bathrooms, tile is one of the most moisture resistant and low maintenance flooring options. Installing tile flooring will take some intermediate DIY skills, and some tips from your local KENT Project Centre. Check out our overview before installing your new tile floors. If the idea of mortar is a little intimidating, opt for easy-to-install stick on tiles instead. For beginner DIYers and renters alike, stick on tiles can be an easy route to more beautiful floors.
Installation Guide
1
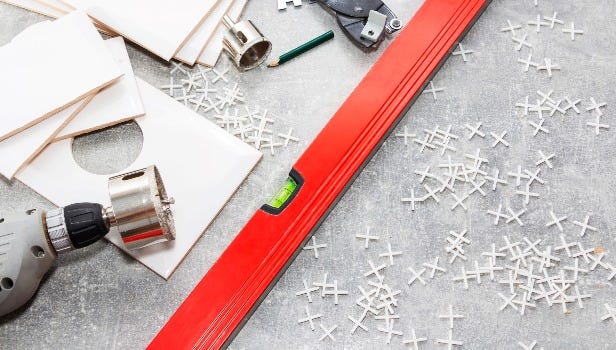
Collect Your Supplies
Before you start any demolition, have all your supplies ready to go! You’ll need the right amount of tile for your square footage, plus a little extra. It is a good idea to purchase extra tiles (usually 10% more than you need to cover your area) for cutting, waste, and mistakes. Ask our Project Centre for an exact list of all the supplies you’ll need including…
- personal protective equipment
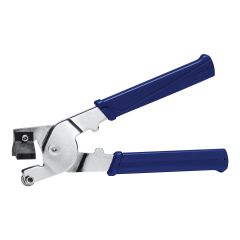
- tile cutter
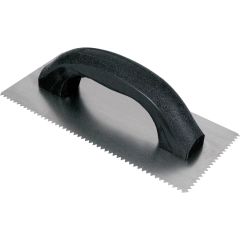
- notched trowel
- grout float
- tile spacers
- bucket and mixer for mortar
2
Subfloor
Check with your local KENT pro to ensure that your subfloor is suitable for tile. It may need additional plywood, mortar, and/or lining before tile may be laid on top. Make repairs as needed for a smooth, level surface. This point would also include any in-floor heating installation that may require a professional installation.
3
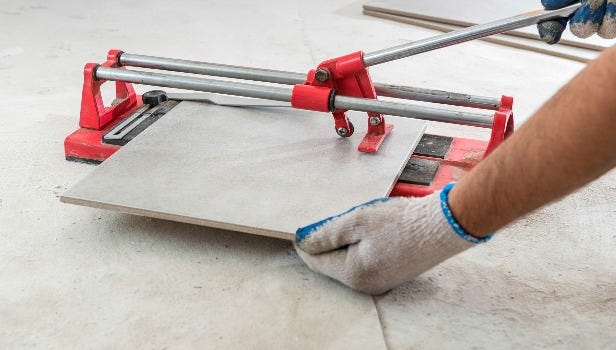
Installation
- Remove as many fixtures & furniture as possible.
- Dry fit your tile and begin aligning any patterns. Any large patterns should be centered in your room as opposed to starting from a wall for the most visually pleasing layout.
- Prepare your mortar following the manufacturer instructions.
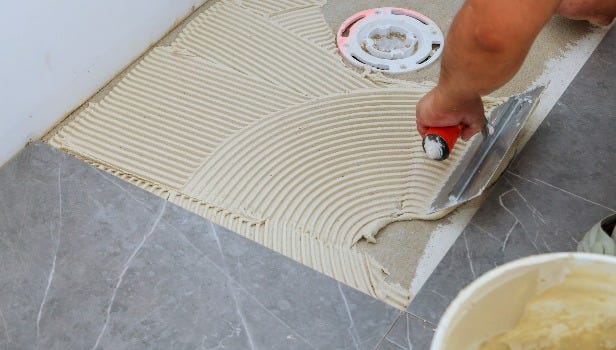
- Time to tile! Use the flat side of your trowel to spread a thin layer of mortar, then use the notched side to comb ridges in one direction.
- Work in small sections and use a wet sponge to clean up any mortar smudges.
- Set tile spacers and use a grout float to ensure everything is even and square.
- Measure twice and cut once for any custom trims around edges and corners.
- Allow your tile to set for 24 hours before grouting. Account for any extra sealing your tile choice may need.
- Remove your spacers and clean your tiles before grouting.
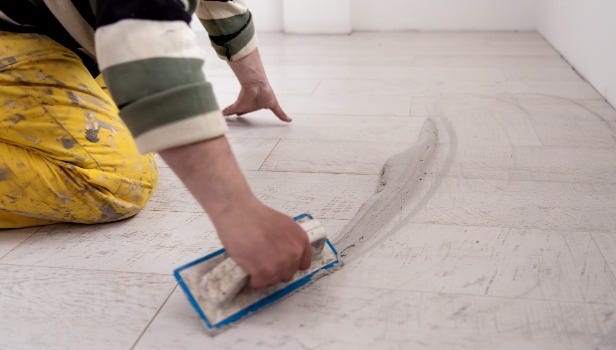
- Mix your grout as instructed and apply with a grout float. Work in small sections diagonally, cleaning your tiles with a damp sponge.
- After the grout has set, gently clean any remaining grout haze.
- Once fully dry, polish your handiwork off with any necessary sealant!
Installing tile flooring is a great way to flex your DIY skills and create beautiful, long lasting floors. When you’re ready for a flooring update, our KENT experts will be here to help you each step of the way!
Contact your local KENT Project Centre with any questions or inquire about our installation services!
Shop for Supplies Online or In-Store
-
 Starting at$6.49
 -
 Bunzl SafetyHobby Clear Safety Glasses$9.59
- Ready to Deliver
- 56 Available for pick up at
-
$12.09
- Ready to Deliver
- 4 Available for pick up at
-
$8.39
- Ready to Deliver
- 3 Available for pick up at
-
$20.59
- Ready to Deliver
- 2 Available for pick up at
-
$19.59
- Ready to Deliver
- 6 Available for pick up at
-
$8.39
- Ready to Deliver
- 6 Available for pick up at

Recommended Articles
-
Installing your own flooring is a great way to minimize renovation costs and give you major bragging rights. For most spaces, laminate flooring can be DIY’ed in an afternoon with a little help from your local KENT Project Centre. Choose from a wide range of laminate flooring, grab your gear, and start loving your floors again!
-
New faucet? No problem! Install your new faucet with a quick trip to KENT. Most models will easily fit your existing sink with easy to follow manufacturer instructions. Upgrade your outdated faucet with single or double handles, sprayer accessories, or a vintage bridge faucet for the perfect finishing touch. Grab your tools and install your new faucet this weekend.
-
Few things compare to the joy of comfort food, but if your cooking area lacks that Pinterest-worthy charm, why not give it a makeover? Luckily, numerous kitchen elements can be effortlessly enhanced to transform your kitchen into a functional and aesthetically pleasing area. Whether you're adding new features, giving it a fresh coat of paint, or making replacements, our Project Centre is here to assist you in discovering all the guidance and equipment required for your DIY kitchen project!