How to Remodel your Fireplace
The fireplace serves as the focal point of many homes. However, it can also be one of the most neglected areas in a home. An outdated or old fireplace can make an entire room feel dated and uninviting. Fortunately, a fresh coat of paint can bring new life to your fireplace and make it stand out again. This blog post will walk you through completing your DIY fireplace makeover with these simple steps to achieve the best results.
Let's get started!

Prep
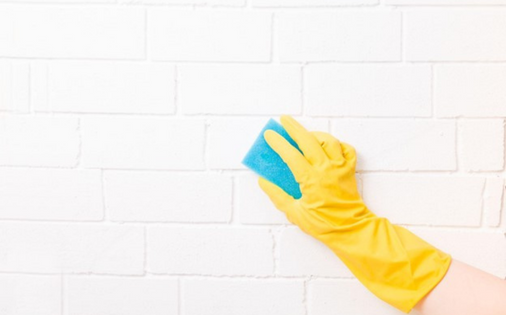
Removing as much dirt and debris from the surface as possible is critical before painting. This surface preparation will aid in the adhesion of the paint and result in a clean finish. So, the day before you start painting, thoroughly clean the area with a small amount of original dove dish soap, water, and a damp rag. Once the bricks are clean, we need to ensure that the soap residue has been removed by going over the entire surface with a clean rag with warm water. Then leave the brick to dry overnight before applying any paint.
1
Tape
To begin, use painter's tape to tape off the surrounding area. This will assist you in avoiding painting errors and increasing the productivity of your project.
The tape will provide a precise straight line and a protective border if spillover occurs, resulting in a more professional-looking DIY.

2
Prime
It is critical to use a primer whether the brick you paint is old or new. The Sico Duo primer-sealer is recommended. First, apply a light coat to all crevasses and edges a roller cannot reach. Then, prime the rest of your surface using a roller, and allow four hours for it to dry. Because brick and tile are porous, a second coat of primer will be required, along with another four hours of drying.

3
Paint
When your primer has completely dried, it's time to paint! Three coats of paint are likely to be required for the best results. Make sure to wait at least 6 hours between coats. After all your paint has dried, it's time to remove the painter's tape. To do this, score the seams with a razor blade to ensure smooth removal.

Recommended Articles
-
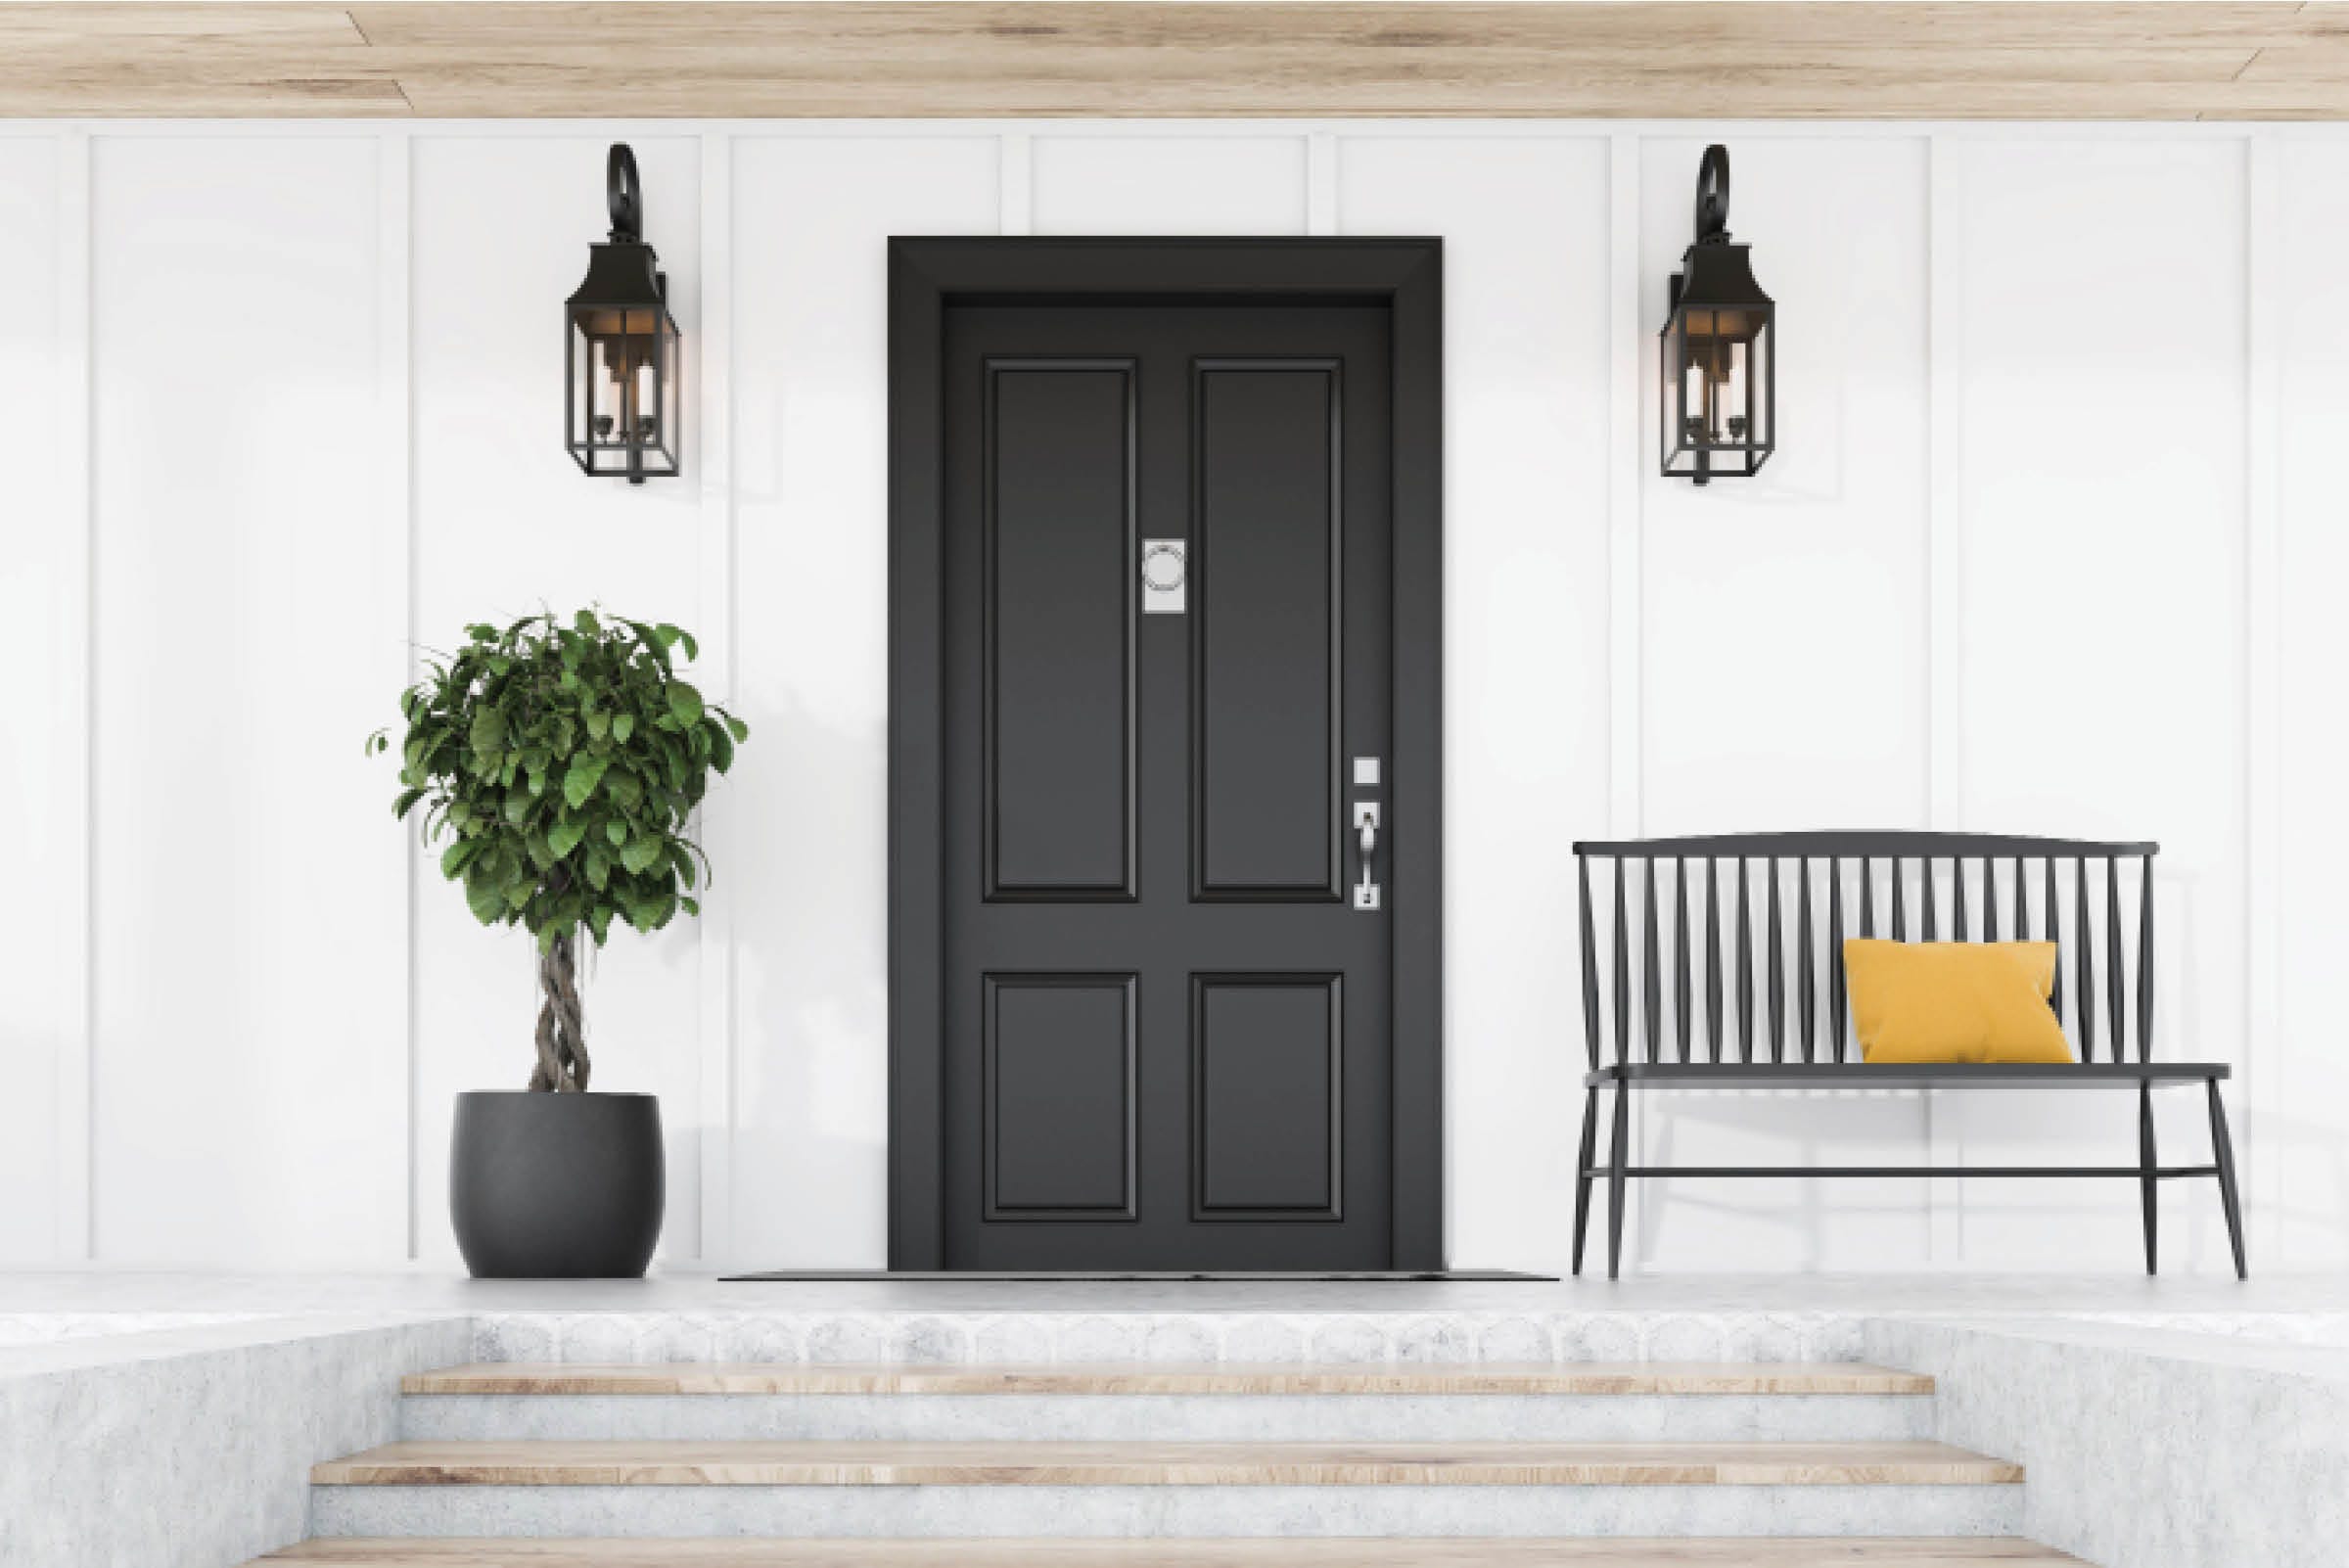
Whether you knock, ring, or “door’s open!”, your home’s door should give a warm welcome! Changing the style can pack some powerful curb appeal, and weatherproofing technology will get rid of all your most annoying rattles and drafts! Replacing doors you use everyday is a worthwhile DIY that you’ll get to enjoy every time you come home.
-
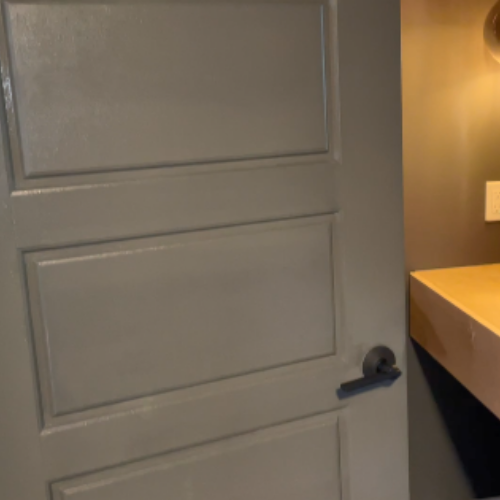
A freshly painted door can add a nice touch and compliment your home’s existing décor. It’s amazing how a new coat of paint can make such a difference! Here’s how to paint an interior door like a pro with a few painting tips and tricks to help you get a smooth and blemish-free finish.
-
It’s the little things that count! Put the finishing touch on all your fall DIYs with easy trim and moulding updates. If your look is out of date, new trim can give the perfect boost to bring your style up to speed. Ditch your dated doors and trim and opt for a fresh fall look that will look great in every season!
-
Spending time indoors doesn’t have to leave you feeling cooped up when you have a beautiful space to enjoy! This fall, tackle the bottom of your to-do list to make your wasted space functional and inviting. Finish or refinish your basement, office, or bedroom and ditch your drab rooms with some easy DIYs!