Summer of DIY: Doors
Whether you knock, ring, or “door’s open!”, your home’s door should give a warm welcome! Changing the style can pack some powerful curb appeal, and weatherproofing technology will get rid of all your most annoying rattles and drafts! Replacing doors you use everyday is a worthwhile DIY that you’ll get to enjoy every time you come home.


There are a few styles of doors to choose from depending on the material and styles of doors: prehung doors may be steel, fiberglass, or wood. Prehung doors tend to be easier to install as you are fitting the wood or metal frame into your wall instead of the door into the frame. Sliding or garden doors provide easy access to back yards when carrying coolers or barbecue gear, and also provide better visibility for supervising kids! Consult with our Project Centre to find the best combination of all of these features for your needs. Once you’ve found your dream door, it’s time to get DIY’ing!

First things first:
You’ll need to measure the interior door jamb and exterior brickmould. These measurements will be needed to shop in-store options or choose from dozens of options for order! Now is the best time to pick out any lighting or accessories you may need to order as well.
Ensure you have all of your new supplies on site before beginning any removal, you don’t want to end up with a hole in your home any longer than planned!
Always follow all manufacturer instructions for installation! Instructions will vary between models, read carefully!


Now that you are prepped and ready, it's time to start removal!
1. Remove any doorbells or extras like screen doors.
2. Score along any interior and exterior trim to pry it off. Feel free to use as much force as you need, your new door will come with new trim! Cut through any exterior caulk to avoid damaging any siding it’s secured to.
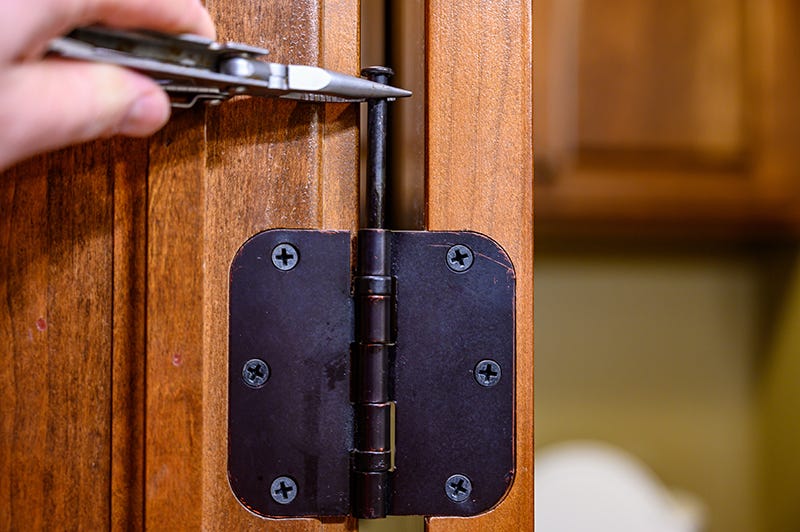
3. Remove your door’s hinge pins with a hammer and screwdriver, and get a partner to help you lift it out of the frame.
4. Finish off by removing the door latch, and carefully sawing through the nails in the existing frame (get help with this from our Project Centre!).
If your old door is in good condition, consider donating it to a local charity or community organization!

Preparing for installation
5. Prepare the opening with waterproof membrane along the edge bottom and part way up the sides. You may add more, but building codes require the bottom and part of the sides as a minimum.
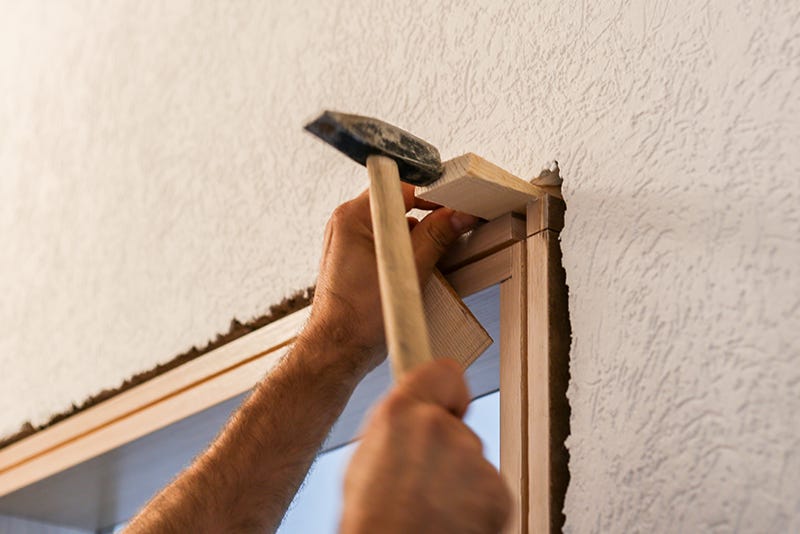
6. Ensure that your subfloor and sides are level and plumb, and that your corners are square. Add any shims you need to line everything up.
7. Dry fit your sill pan along the bottom edge of your floor, glue it together and use two generous beads of caulk along the bottom sill and part way up the sides to seal it down.
8. Drill any holes needed for doorbell wiring or accessories before installing your door.

9. Remove any transport gear from your door & door frame, and line the brickmould with a bead of caulk.
10. This is the big moment: have a partner help you lift and set your door!
11. Run your doorbell wires as needed.
12. Add shims above and below each hinge to help keep your door level, and at the top, bottom, and middle of each side. Add two above and below the strike plate as well.

13. Drill a couple of screws part way into your frame (top, middle, and bottom) to hold your door while you double check that everything is level. Once everything is aligned, go ahead and finish securing your screws and hinges. Follow the manufacturer instructions for securing your frame, the mounting methods will be different for different door materials.
14. Check that your weatherstripping is secure against your door, and use shims to secure your frame at the top, middle around your latch plate, and bottom.
15. Test the weatherstripping on the bottom edge by pulling a piece of paper under the door. If you can pull it with some resistance, but no tearing, that’s where to secure the adjustable bottom cap.
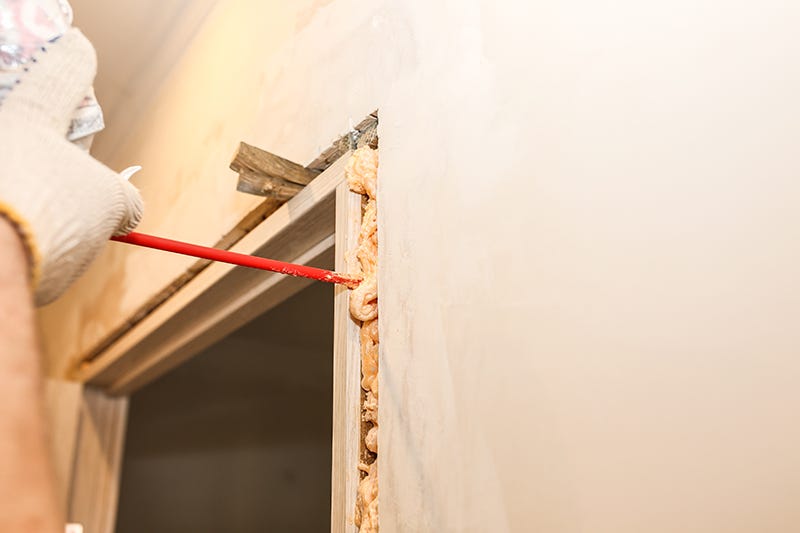
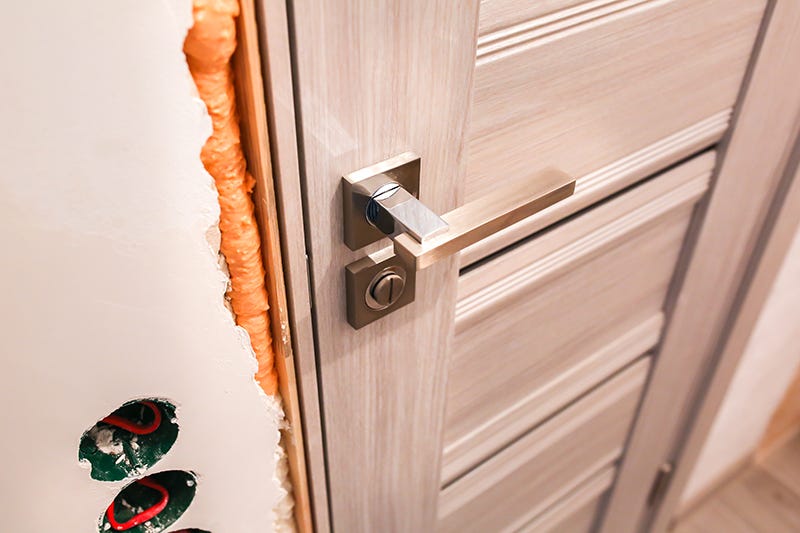
16. To finish off, trim your shims, use low expansion foam insulation in the crevices, and add any trim desired on the interior and exterior!


If you already love the look of the door you have, it may still be worth replacing to increase your home’s energy efficiency. Nearly all exterior doors have an Energy Star “R-value” efficiency rating based on the number of glass panes, core materials, and better fit weatherstripping. You can also improve your door’s efficiency by ensuring the frame around your door is snug with proper insulation.
If your door’s look and function is still going strong, try upgrading accessories! There are dozens of combinations of windows, hardware, and paint to choose from for the best match for your home. Switching out your house number, sconces, or door knobs is an easy way to refresh your front step. Make daily life easier with smart locks, bulbs, or doorbells: linking smart home technology to your smartphone is perfect for anyone running businesses in their homes, or with the main living area distanced from the front door. We love number code door locks that will never leave you forgetting your keys!
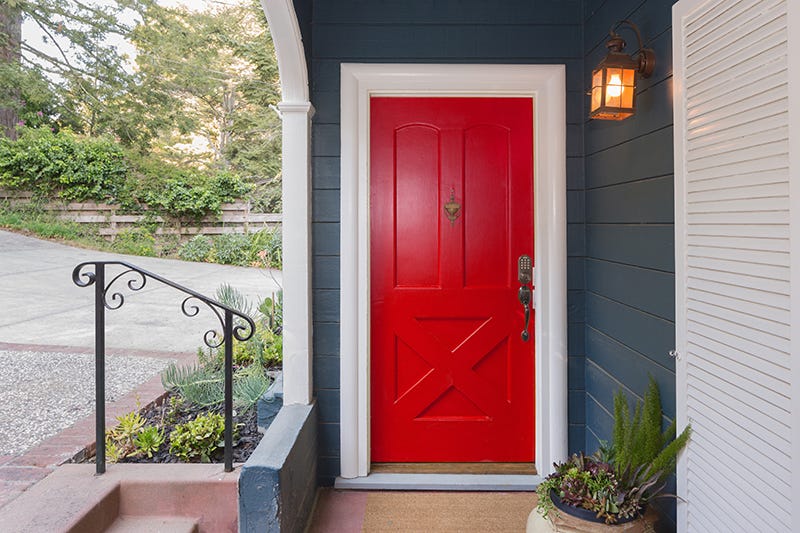

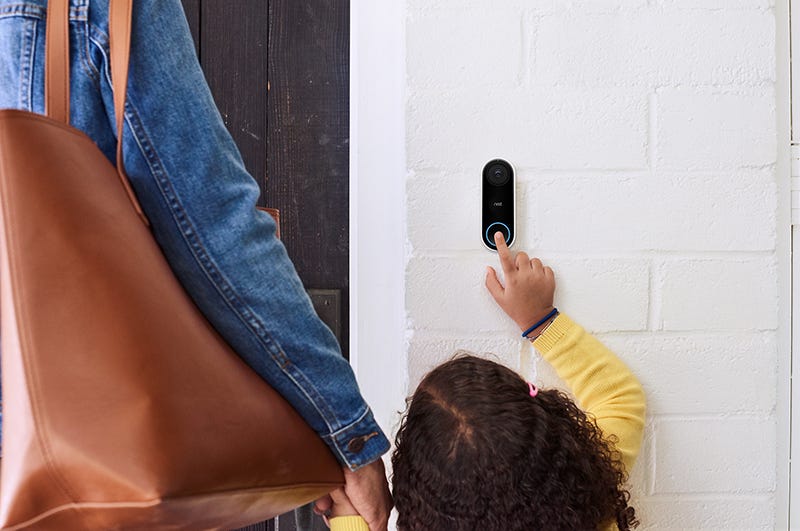

Make the most of coming and going with a door that works for your home and family. Whether you’re renovating, replacing, or refreshing, give yourself a door you’re happy to come home to!
