How to Paint a Door
A freshly painted door can add a nice touch and compliment your home’s existing décor. It’s amazing how a new coat of paint can make such a difference! Here’s how to paint an interior door like a pro with a few painting tips and tricks to help you get a smooth and blemish-free finish.
1
Prep is Key!
If you are painting existing doors, prep is key! The first step is making sure your door is clean by wiping it down a few times before painting. If there is any dust in the grooves of the door, your paint will collect it and it will cause clumps in the paint, which will not result in a smooth finish.
The door we are using was hung during a recent renovation, so it’s already primed and ready to go! If you are working with a new door, be sure to check if it has already been primed before you paint it!
Make sure you prep your painting space with a drop cloth or plastic sheet to protect the floors. This will ensure that your floors stay clean and free of any paint.
To start getting your door ready to paint, be sure to tape off or remove any doorknobs or hardware. This will ensure that you do not get paint on any unwanted surfaces.

TIP
If you aren't taping off your doorknob or other hardware, keep a damp rag near you. This way, you can paint all the way up to the door hardware. You can use your rag to wipe the paint off the door hardware to get a tight painted seam.
2
Painting Your Door
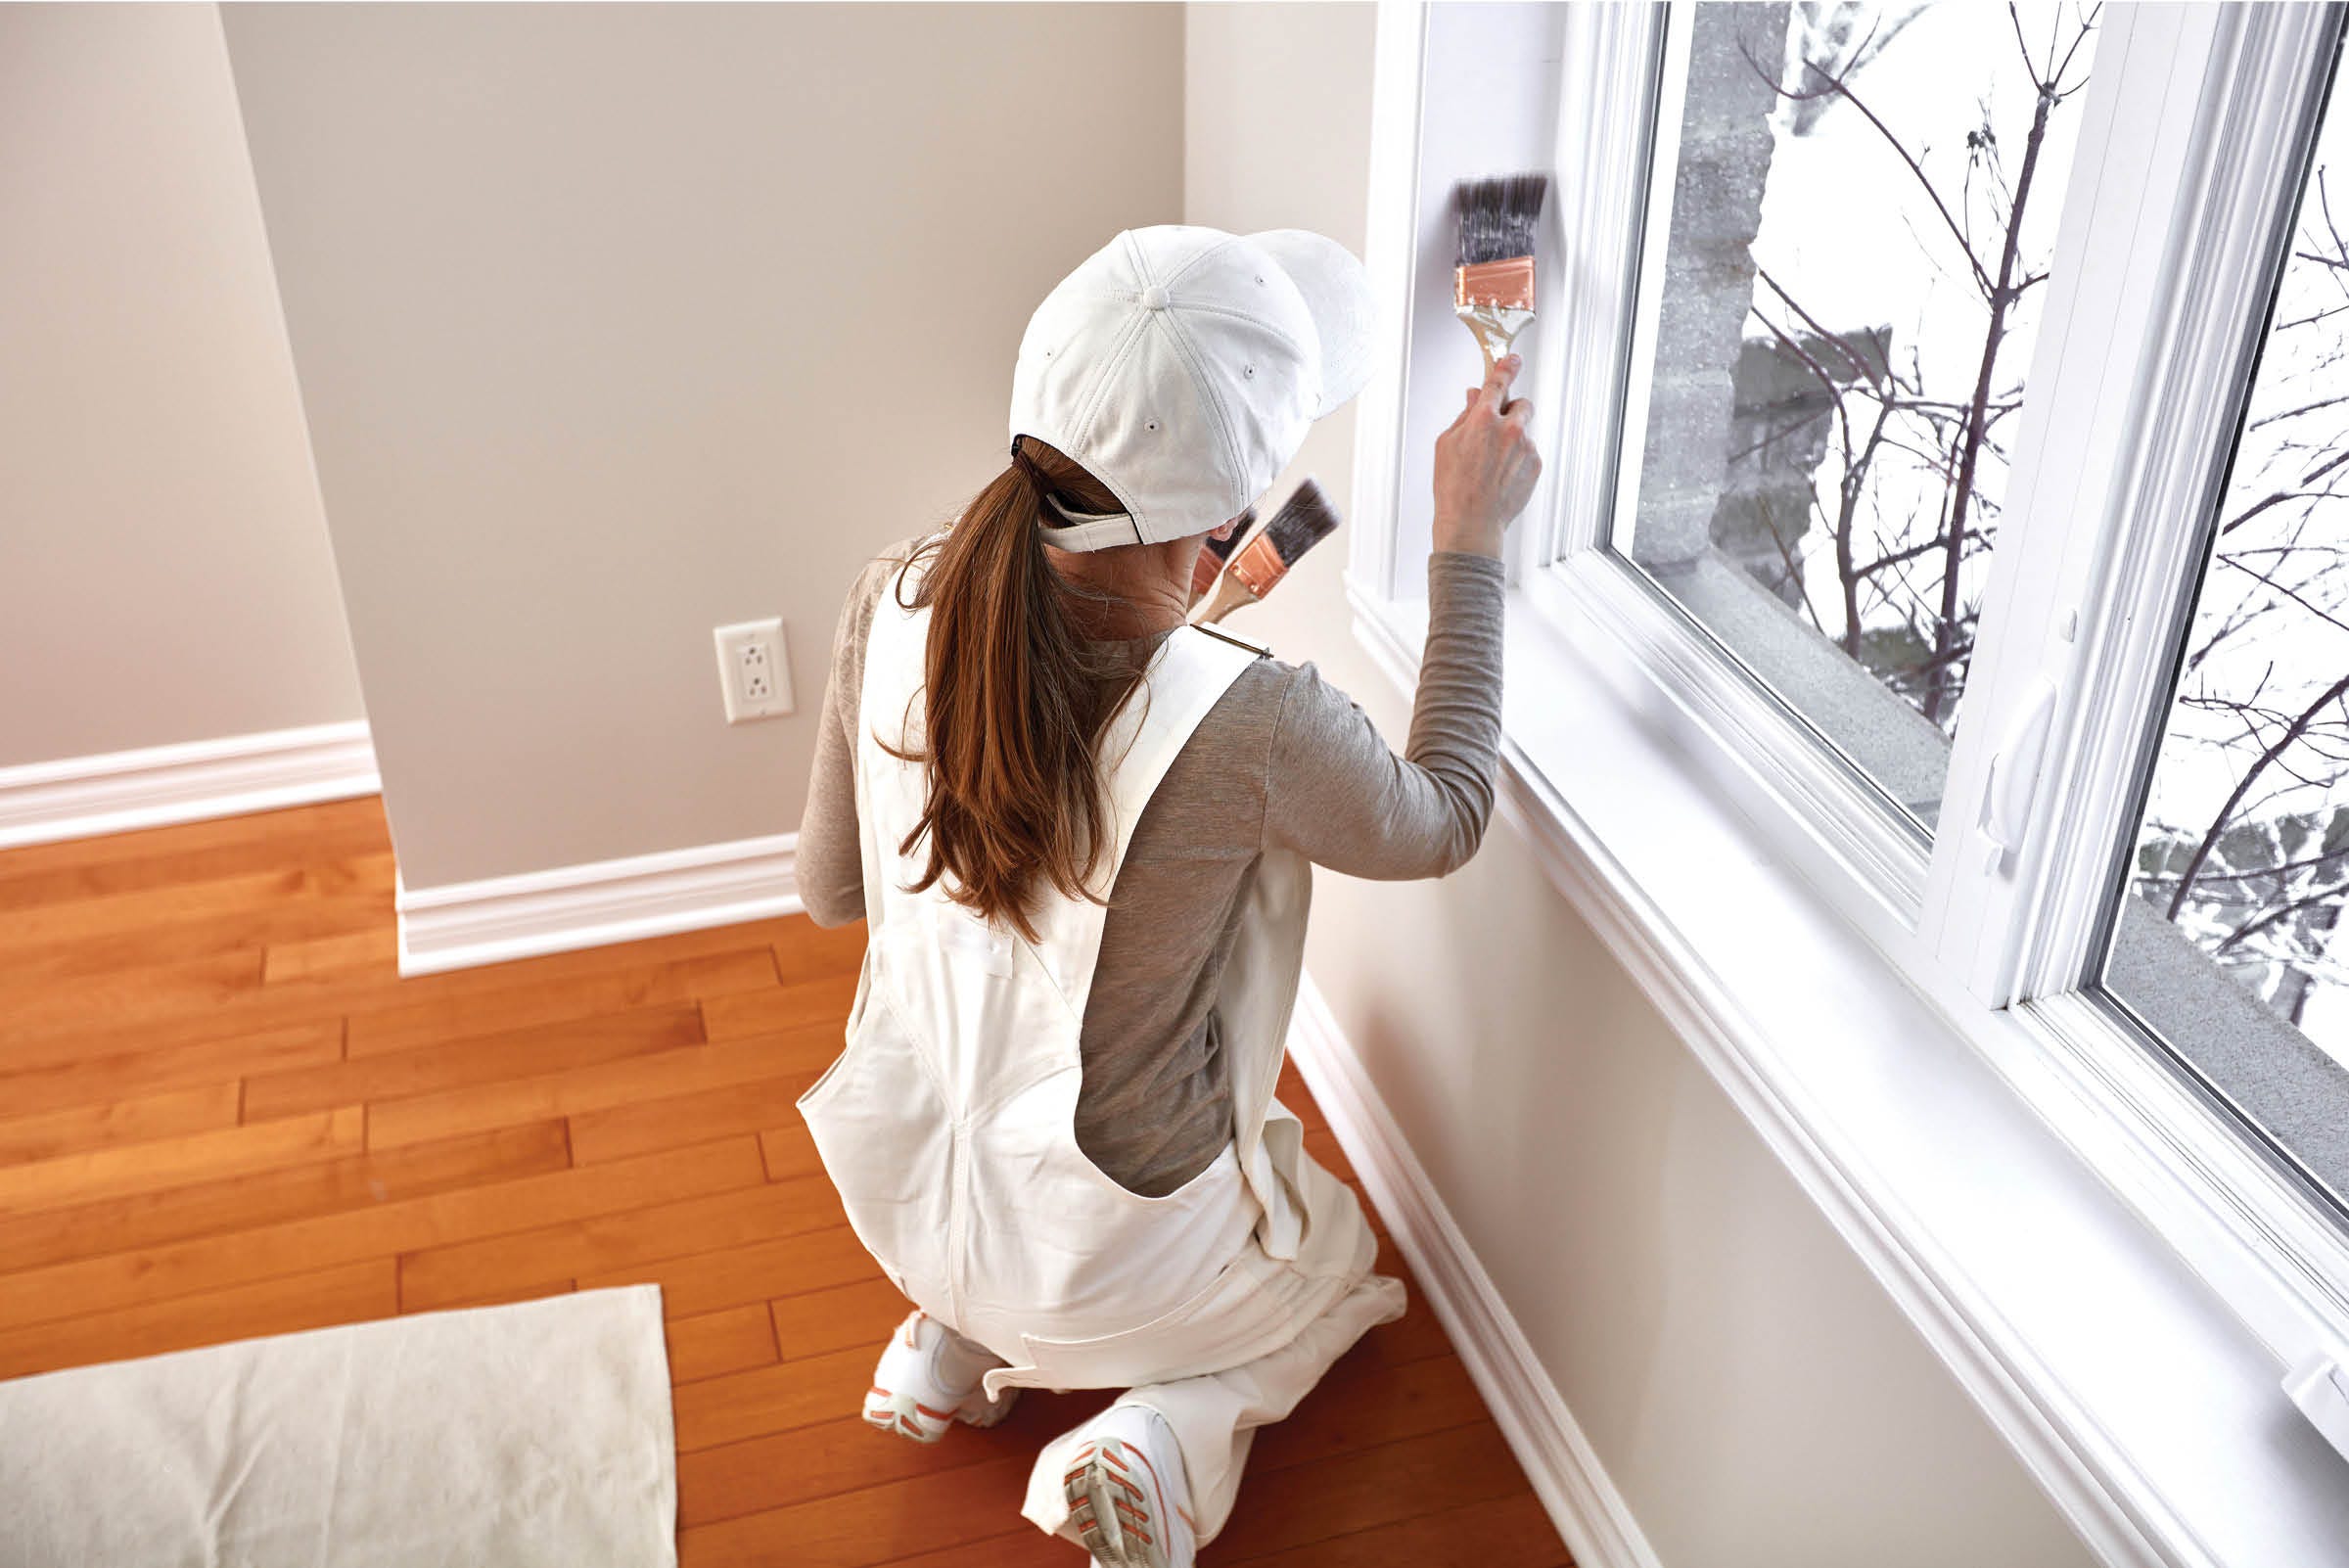
Start off by painting in the corners of the grooves in the door (mitres) using an interior latex paint. It is important that your brush strokes go outwards from the corner, so that excess paint that gets collected in the corners doesn’t drip down. If any excess paint drips down and dries, it will create a blemish in the door, resulting in an uneven finish.
To avoid this, be sure to feather it out with your paint brush before it dries. This ensures that there is not as much build up when you paint over the door with a paint roller later on.

TIP
Brush size is key when painting a door. The bigger the brush, the sloppier it can get – using a smaller brush no bigger than 2 inches will help you paint inside the grooves of the door without making a mess.
3
Paint the bottom of your door first, this way you do not get any paint on your floor when you apply the rest of the paint with the paint roller.
If you are only painting one side of the door, make sure that the side of the door you see when you swing open the door is the same colour as the door panel.
Once you have all the corners and edges painted, now you can start painting the rest of your door! Easy right? Using a paint roller, start by doing horizontal lines first, and then finish with the longest vertical lines for the cleanest finish.
Once you have one coat of paint done, be sure to repeat this process and do a second coat. This will ensure a smooth and blemish-free finish.


Now your door is done! How easy was that? Be sure to tag @kentbuildingsupplies on social media if you complete this project.
-
$15.79
- Ready to Deliver
- 16 Available for pick up at
-
 Simms3 Piece Value Set$13.69
- Ready to Deliver
- 15 Available for pick up at
-
Starting at$74.99
-
 Tremor8' x 12' Plastic Drop Cloth$5.39
- Ready to Deliver
- 54 Available for pick up at
-
 Simms5 Piece Paint Set$17.89
- Ready to Deliver
- 14 Available for pick up at
-
 Canadian Technical TapePaintPro 24 mm x 55 m Green 10 Day Masking Tape$5.89
- Ready to Deliver
- 23 Available for pick up at


Recommended Articles
-
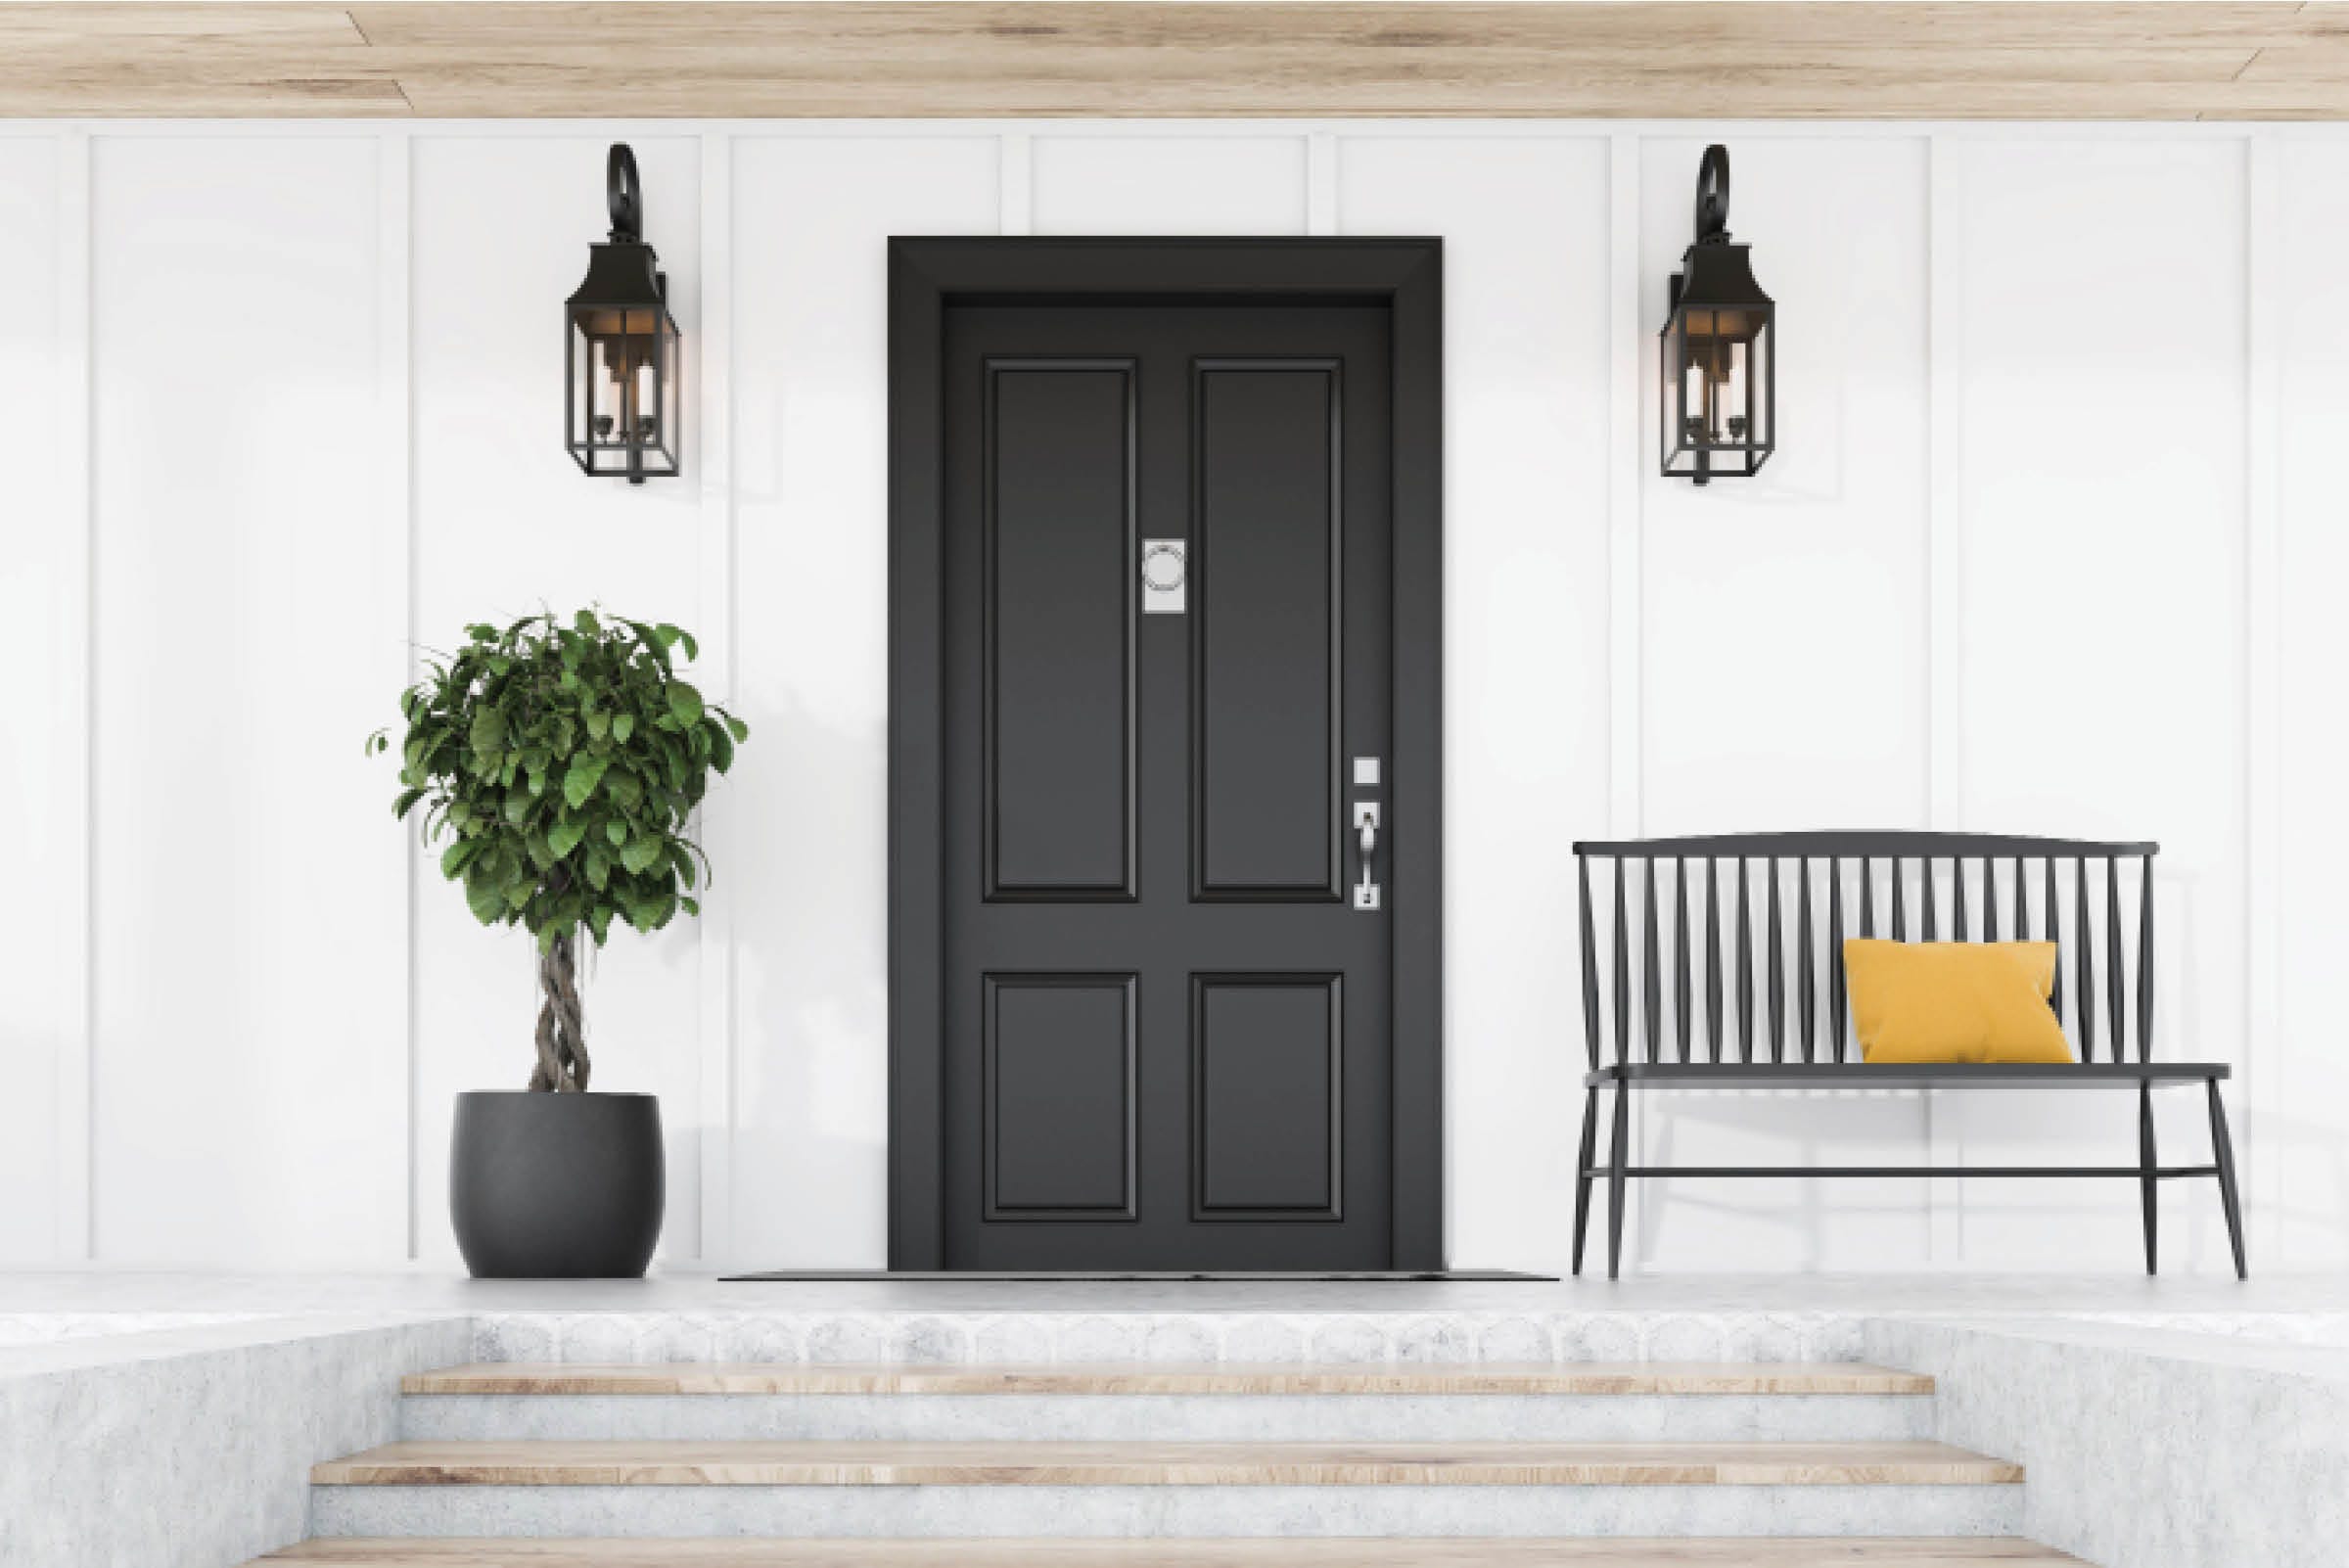
Whether you knock, ring, or “door’s open!”, your home’s door should give a warm welcome! Changing the style can pack some powerful curb appeal, and weatherproofing technology will get rid of all your most annoying rattles and drafts! Replacing doors you use everyday is a worthwhile DIY that you’ll get to enjoy every time you come home.
-
There are hundreds of hues to choose from when it comes to painting, but your paint choice includes so much more than the colour! The type of paint best suited for your project should first depend on its formula and durability, then its finish best suited to different spaces, and third, any special requirements for craft paints, spray paint, or furniture paint. For smaller creative projects & DIYs, there is a rainbow of options and finishes like chalk or metallic you won’t find in wall paint choices. No matter where or what you’re painting, our Paint Buying Guide and KENT experts can help you find the right paint for the job!
-
It’s the little things that count! Put the finishing touch on all your fall DIYs with easy trim and moulding updates. If your look is out of date, new trim can give the perfect boost to bring your style up to speed. Ditch your dated doors and trim and opt for a fresh fall look that will look great in every season!
-
Spending time indoors doesn’t have to leave you feeling cooped up when you have a beautiful space to enjoy! This fall, tackle the bottom of your to-do list to make your wasted space functional and inviting. Finish or refinish your basement, office, or bedroom and ditch your drab rooms with some easy DIYs!