How to Install a Prehung Door
In this how-to, we are going to show step-by-step how to install a prehung door. Prehung doors come ready to install and you will be surprised at how easy it is! Adding a new door to your living space is a great way to freshen up your home and give it a new style.
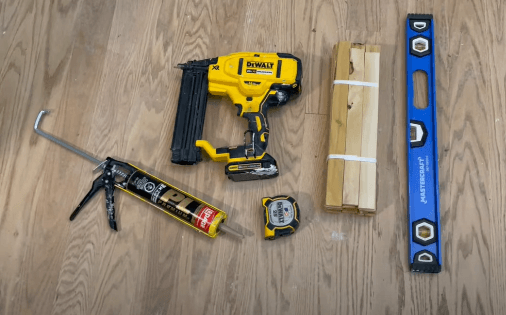
For This Project You Will Need:

1 Choose Your Style
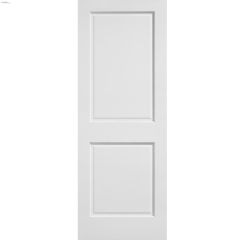
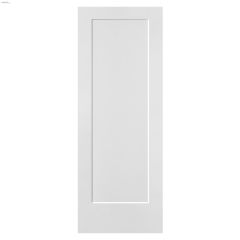
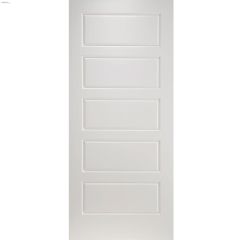
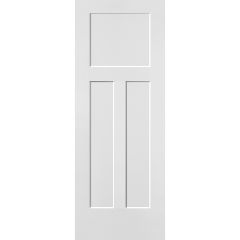
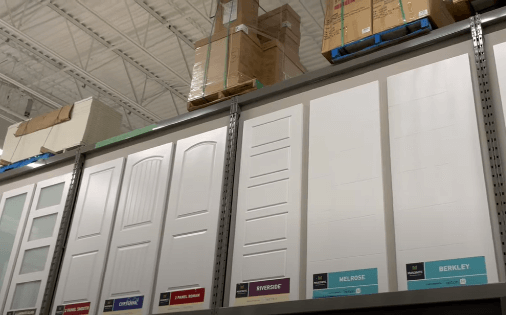
KENT has a wide variety of interior prehung doors to choose from, and it might be a bit overwhelming if this is the first time you’re installing a new door.
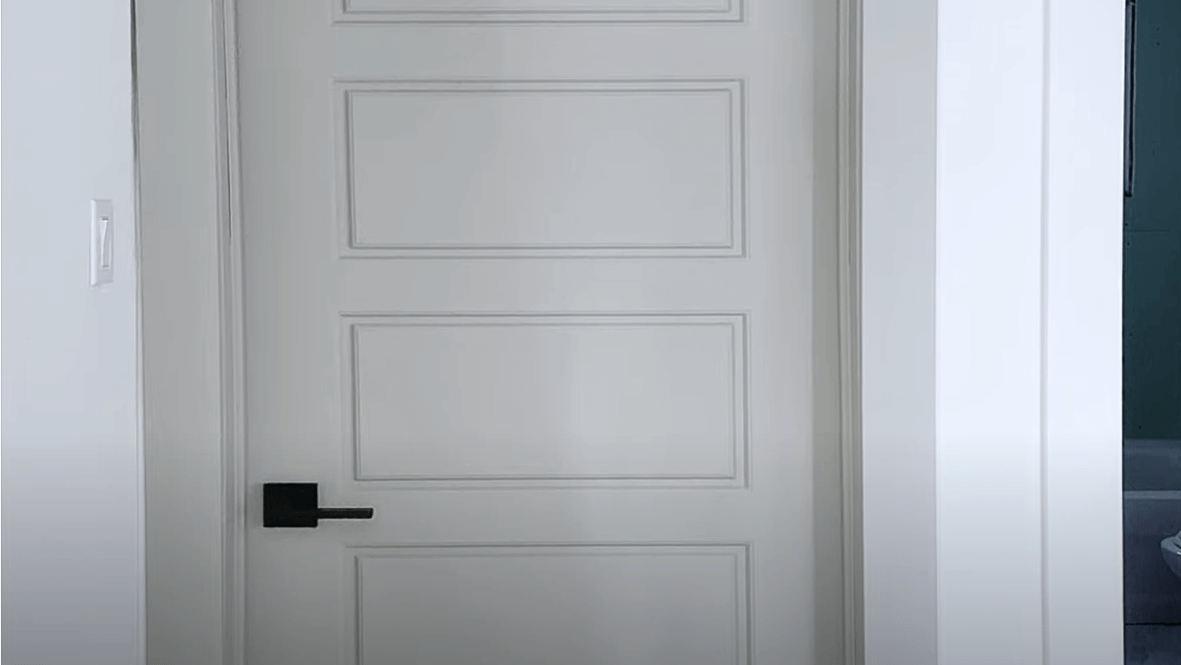
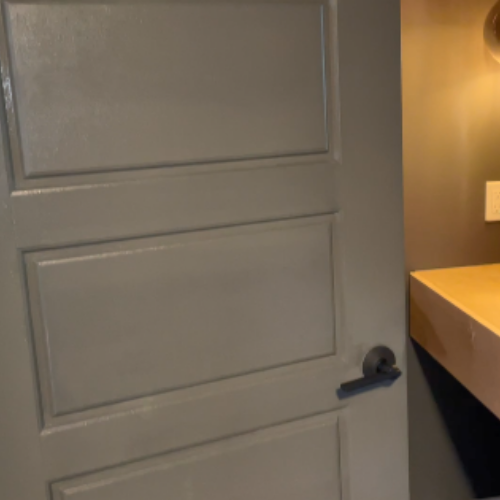
For this tutorial, we will be using Metrie’s 5-Panel Riverside Door, but you can use the style of door you prefer.

2 Determine Size & Swing
Once you’ve chosen your preferred style of door, you need to determine what size you need and how the swing of the door will open.
To determine the size, you need to measure the size of the rough opening - this is the width of your doorway. Our space is 32 inches wide, but we need to make sure there is enough room for the trim and the shims, so we sized down to a 30-inch prehung door.
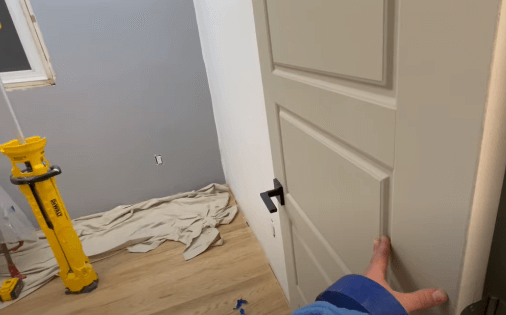
To choose the swing direction, stand on the outside of the room and take a step in, looking left and right. Will the door back onto a piece of furniture or cover a light switch? There is no wrong way for it to swing, but it is important to take into consideration anything that might be blocked by the door. Ideally, when the door is open you want it tucked away in a space that makes sense in the room.



3 Installing Your Door
Now that you have your door and you determined the swing, you’re ready to install!
Place your door in the rough opening and try your best to center it. Use a level to make sure the door jamb is plumb – this means that the door is standing completely straight up.
4 Leveling Your Door
Tuck some shims in between the door and the jamb, then nail them in. Be sure to cut off the ends of the shims with a utility knife or a saw.
Once one side is level, you can move onto the other side. It’s important to keep the door shut while you’re doing this.
You’ll notice that there is a little latch in the hole of your door, and this is very important because it holds the door together with the jamb. It also ensures that your door stays square and opens properly once it’s installed.
5 Securing Your Door
When your door is hung, you can apply some PL Premium to your shims and tuck them in on the top of the door then nail them in. Once you’re done with this step, leave the door overnight so the PL Premium can dry.
PL Premium is not necessary, but it will ensure a stronger and more sturdy fit.
6 Add Your Trim
Now that your door is up and secure, you can add your trim!
First, you want to measure from the floor to the top corner of the door on both sides. This will tell you what size you need to cut your trim to.
Add your trim to the side of your door, and use a level to make sure the trim is straight, then nail it to the door jamb and the wall. Use wood filler for any nail holes and use caulking to fill in where the trim meets the wall and to fill in any small holes.
For this door, we are using a trim style called “picture framing,” where we cut each piece of trim at a 45-degree angle. Picture framing is a great style because it gives a clean and sleek look.
Trim Styles
Picture framing isn’t the only style of trim, there are so many different ways you can trim out a door! Other examples include a straight cut with a straight header, or you could go for a classier style and do a Boston header. The style of trim you choose really ties back to the final look you’re going for, so there is no right or wrong way to trim a door.
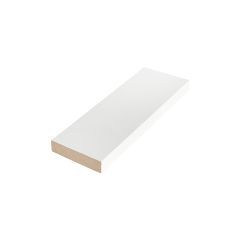
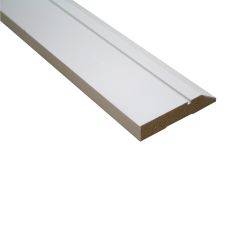
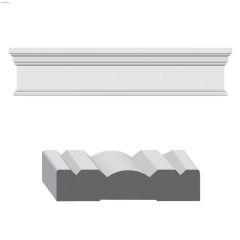
All of these trim styles will all look different depending on the type of trim you’re using. We used a flat stock trim, but you can use beveled trim for an alternative look.
7 Add Your Door Handle
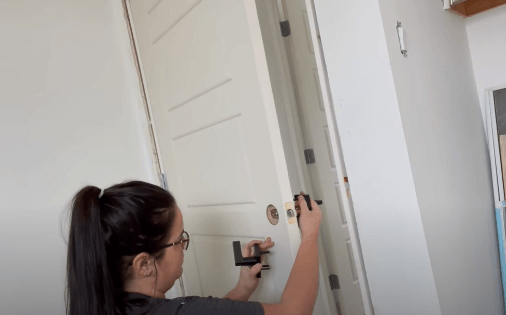
Once your door is hung, now you can add your door handle. Prehung doors make installing a door handle very easy because they come with predrilled holes. All you need to do now is follow the instructions on your door handle box, and if you’re comfortable with a screwdriver you’ll have no problem attaching your doorknob!

8 Paint Your Door
Now that your door is finished, you can paint it if you would like. Prehung doors are already primed, so all you need is a can of paint! Check out our guide on How to Paint a Door!
