How to Paint Your Kitchen Cabinets
The first step in any kitchen upgrade is properly measuring your space. Whether you’re installing open shelving, new floors, or countertops, the perfect fit relies on the right measurements to determine the size and quantity of your new install materials. Our handy Kitchen Planning Booklet is here to help you get the perfect fit with KENT Installation Services!
Should You Paint Your Cabinets?
Before buying you first can of paint you should examine your cabinets carefully. Peeling or delaminated veneers broken shelves, sagging particle board, broken rails and hinges will all be better off being replaced.
But if everything is looking good, then these easy steps will help you give a facelift to your old cabinets.

Choose the Right Paint
The biggest hassle when it comes to painting cabinets is all the prep work stripping the finish off, sanding and priming the cabinet boxes, door, shelves, and drawers is a lot of labour. Choosing a paint like Beyond Paint can save you time and money.
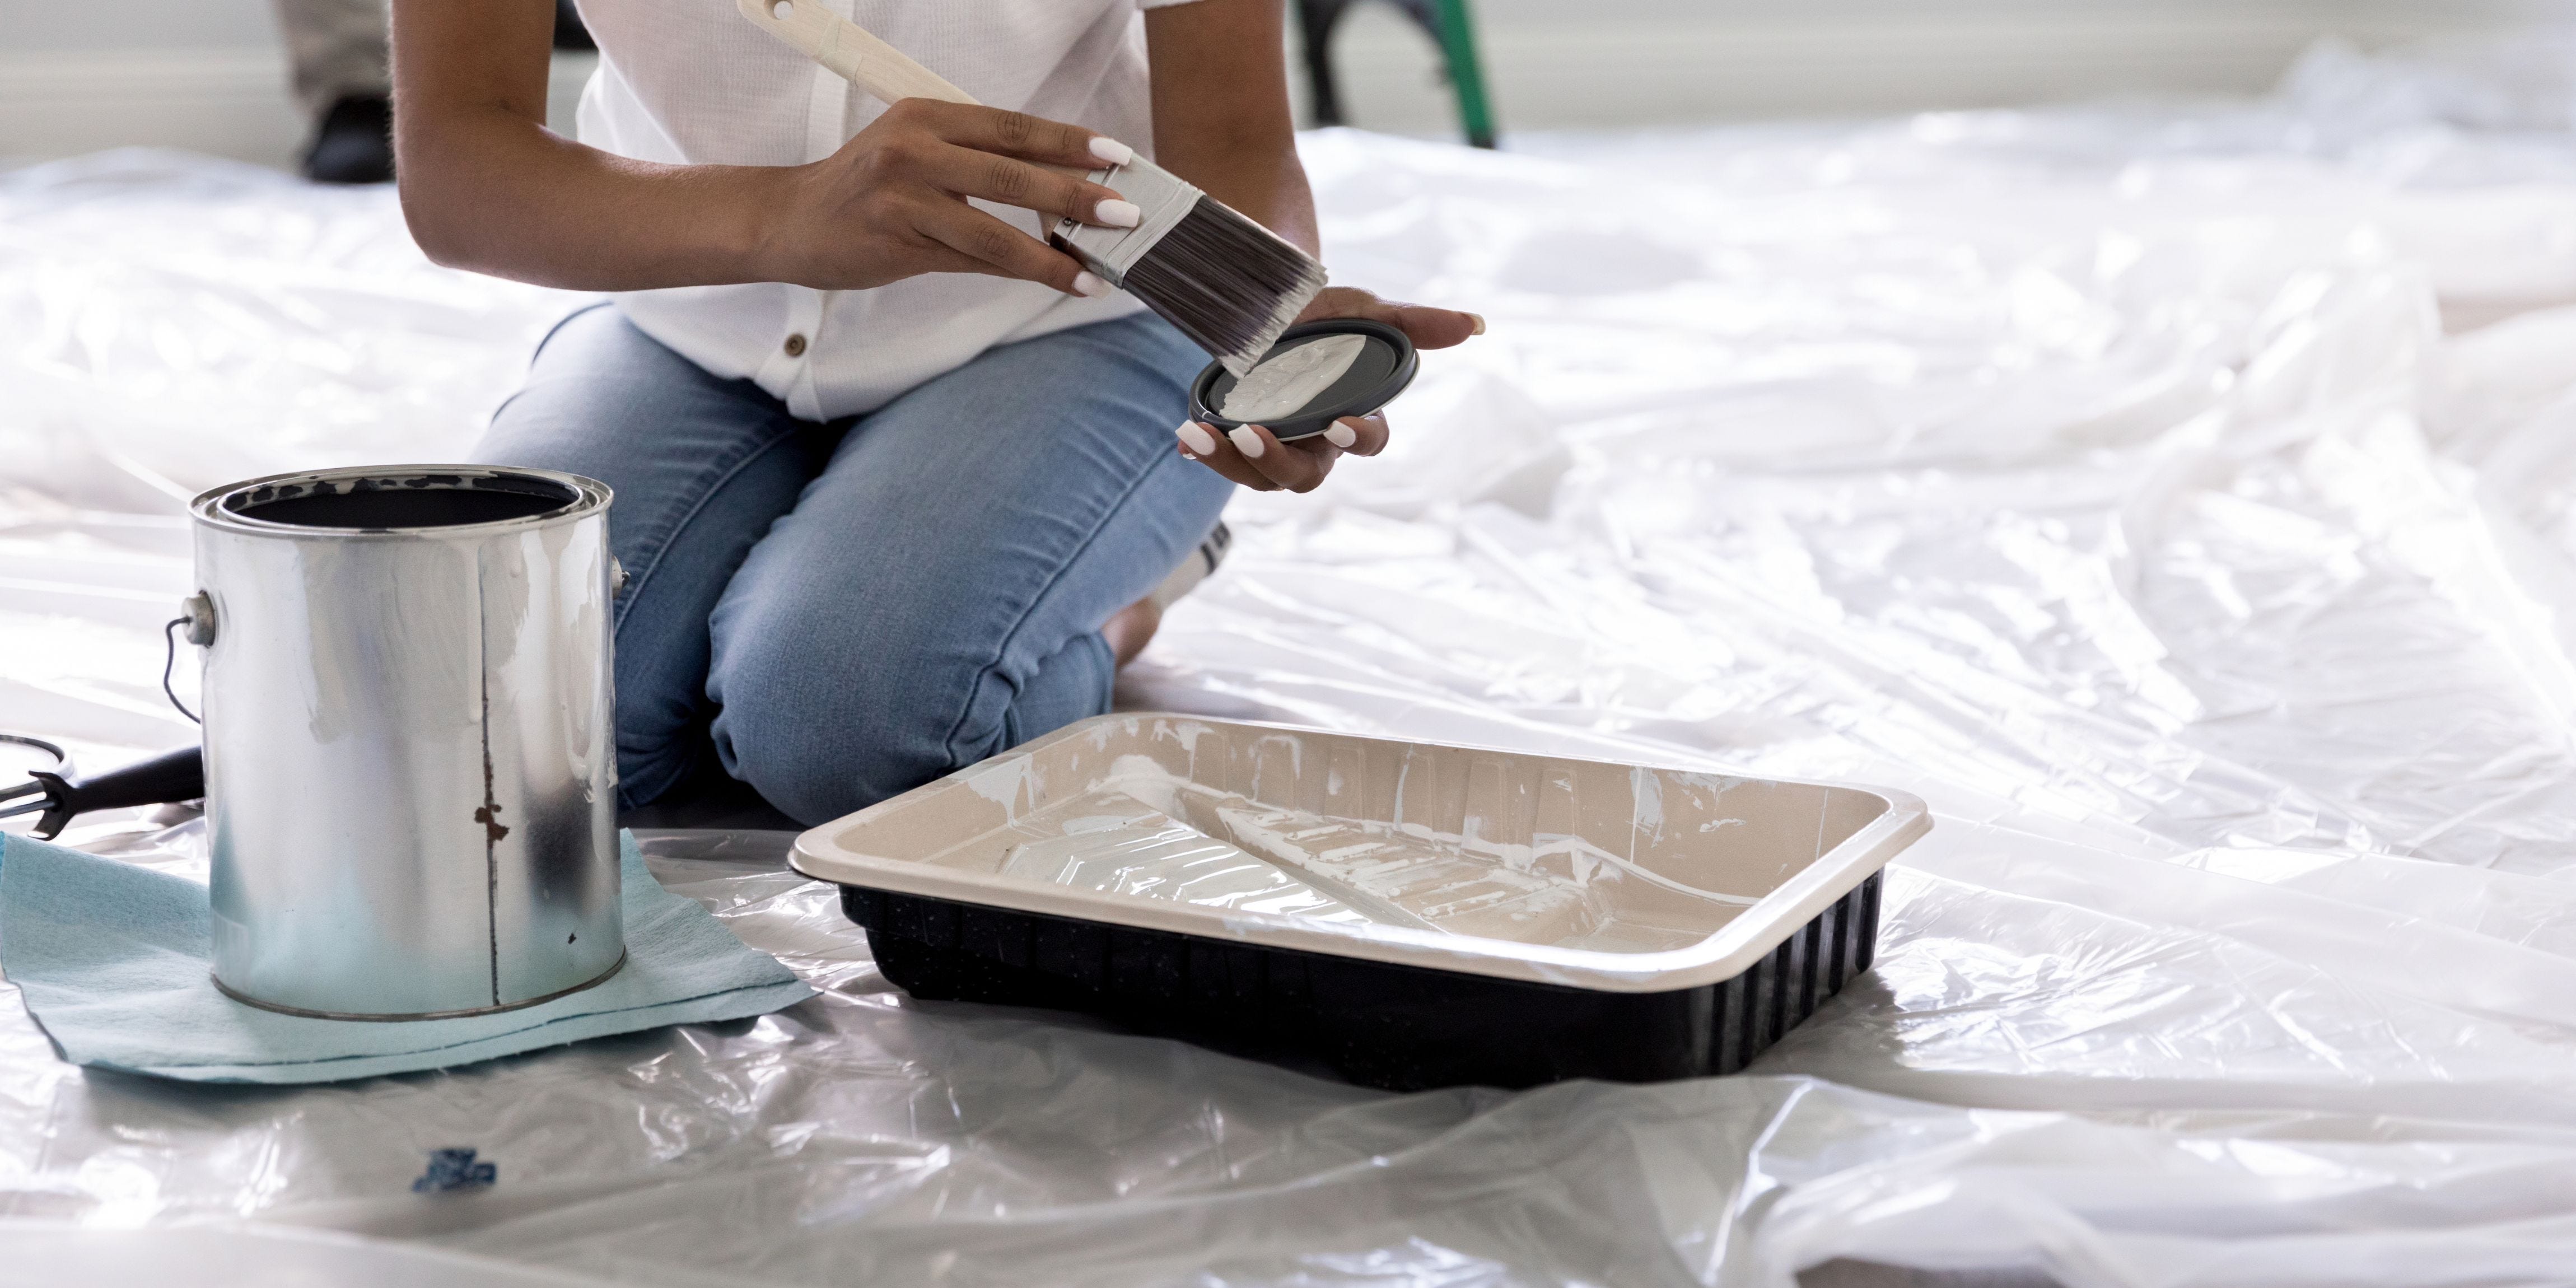
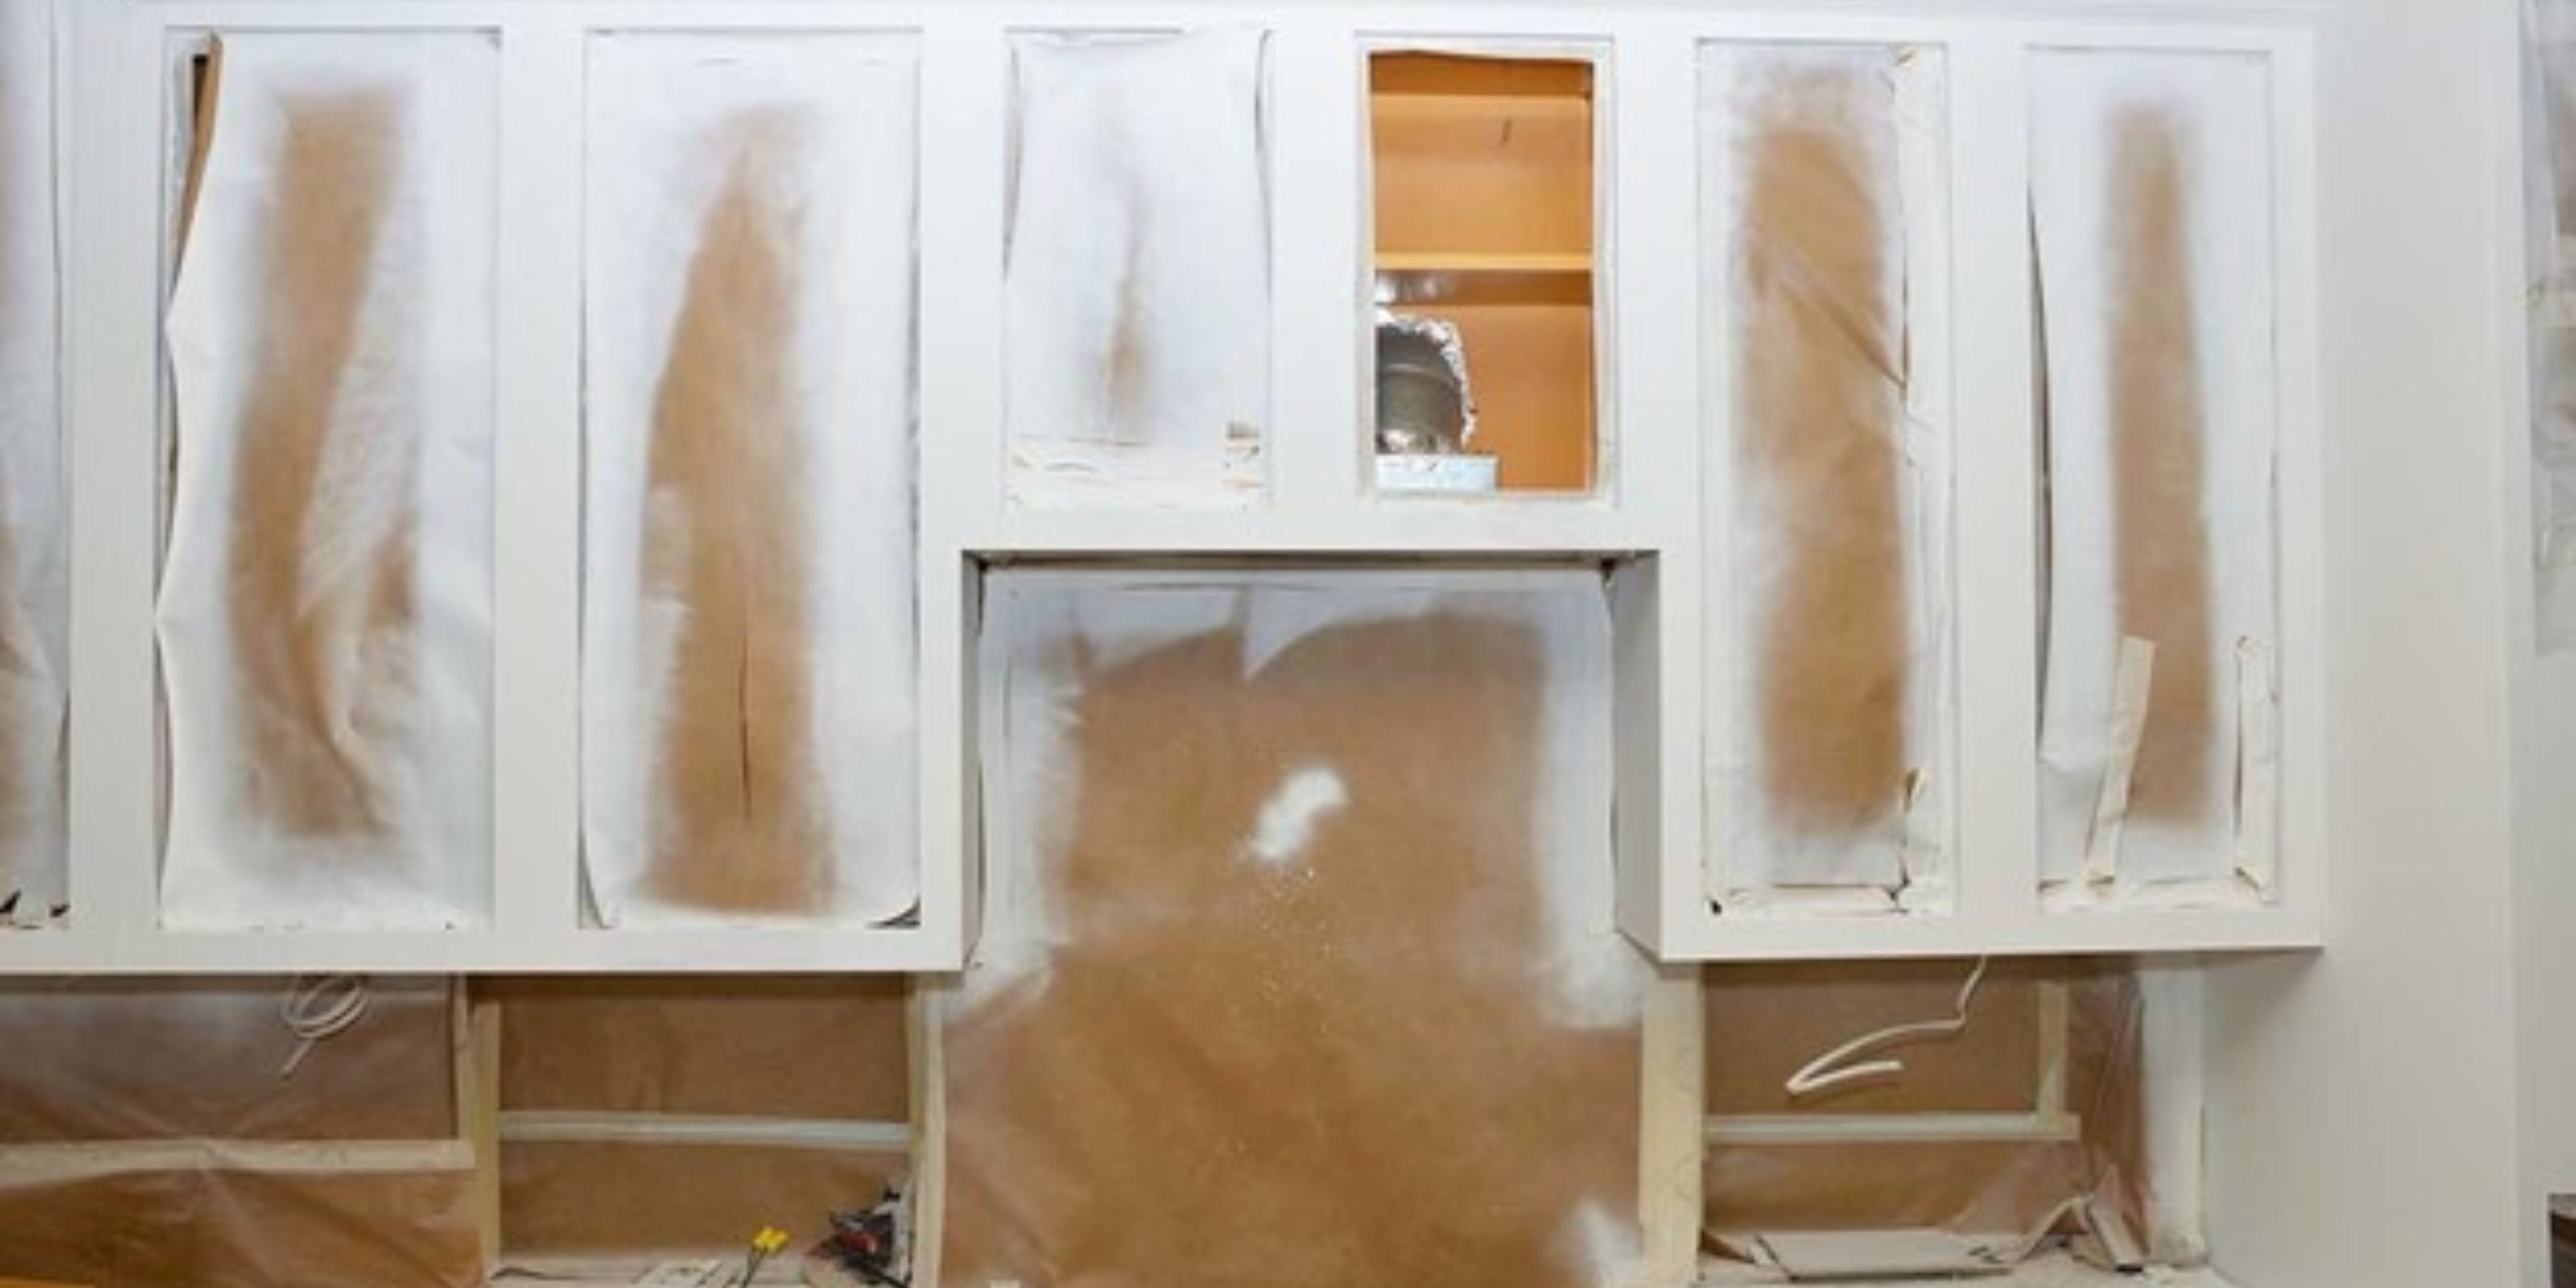
Step 1 Prepping the room
- Emptying cabinets
- Clear off the counters
- Move furniture out of the room
- Cover the floor and appliances
- Mask off the countertops and walls around the cabinets
- Set up a work spaceworkspace for painting doors, drawers, and shelves

Step 2 Remove the doors, drawers, and shelves
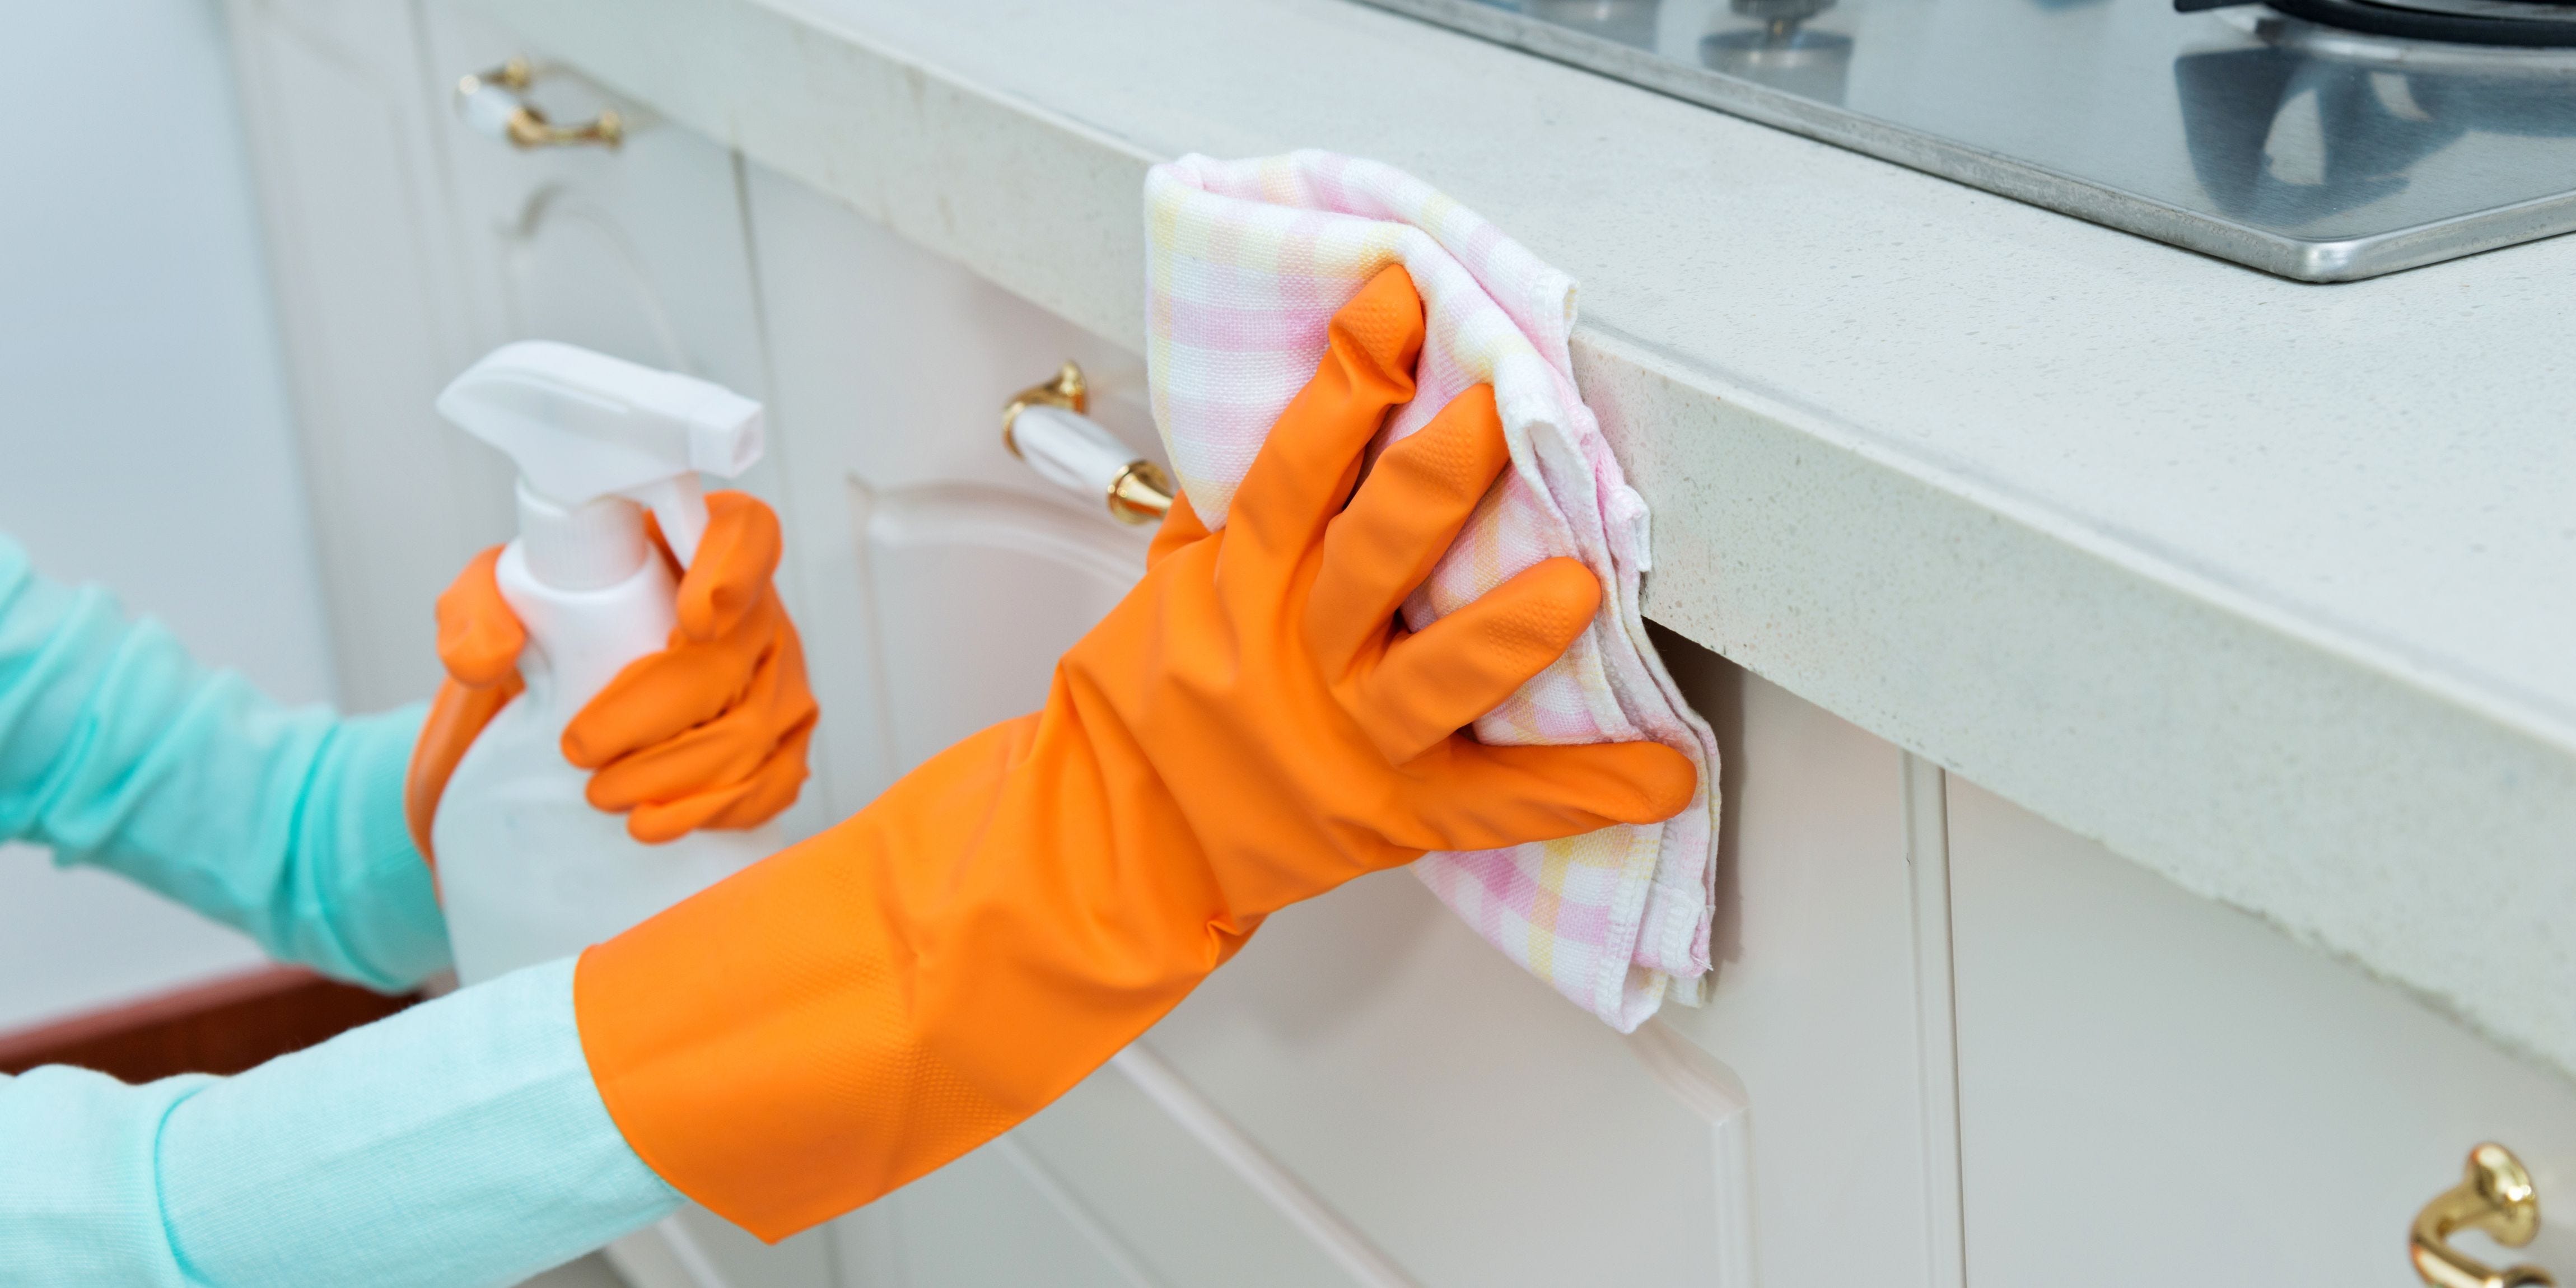
Step 3 Clean all Surfaces
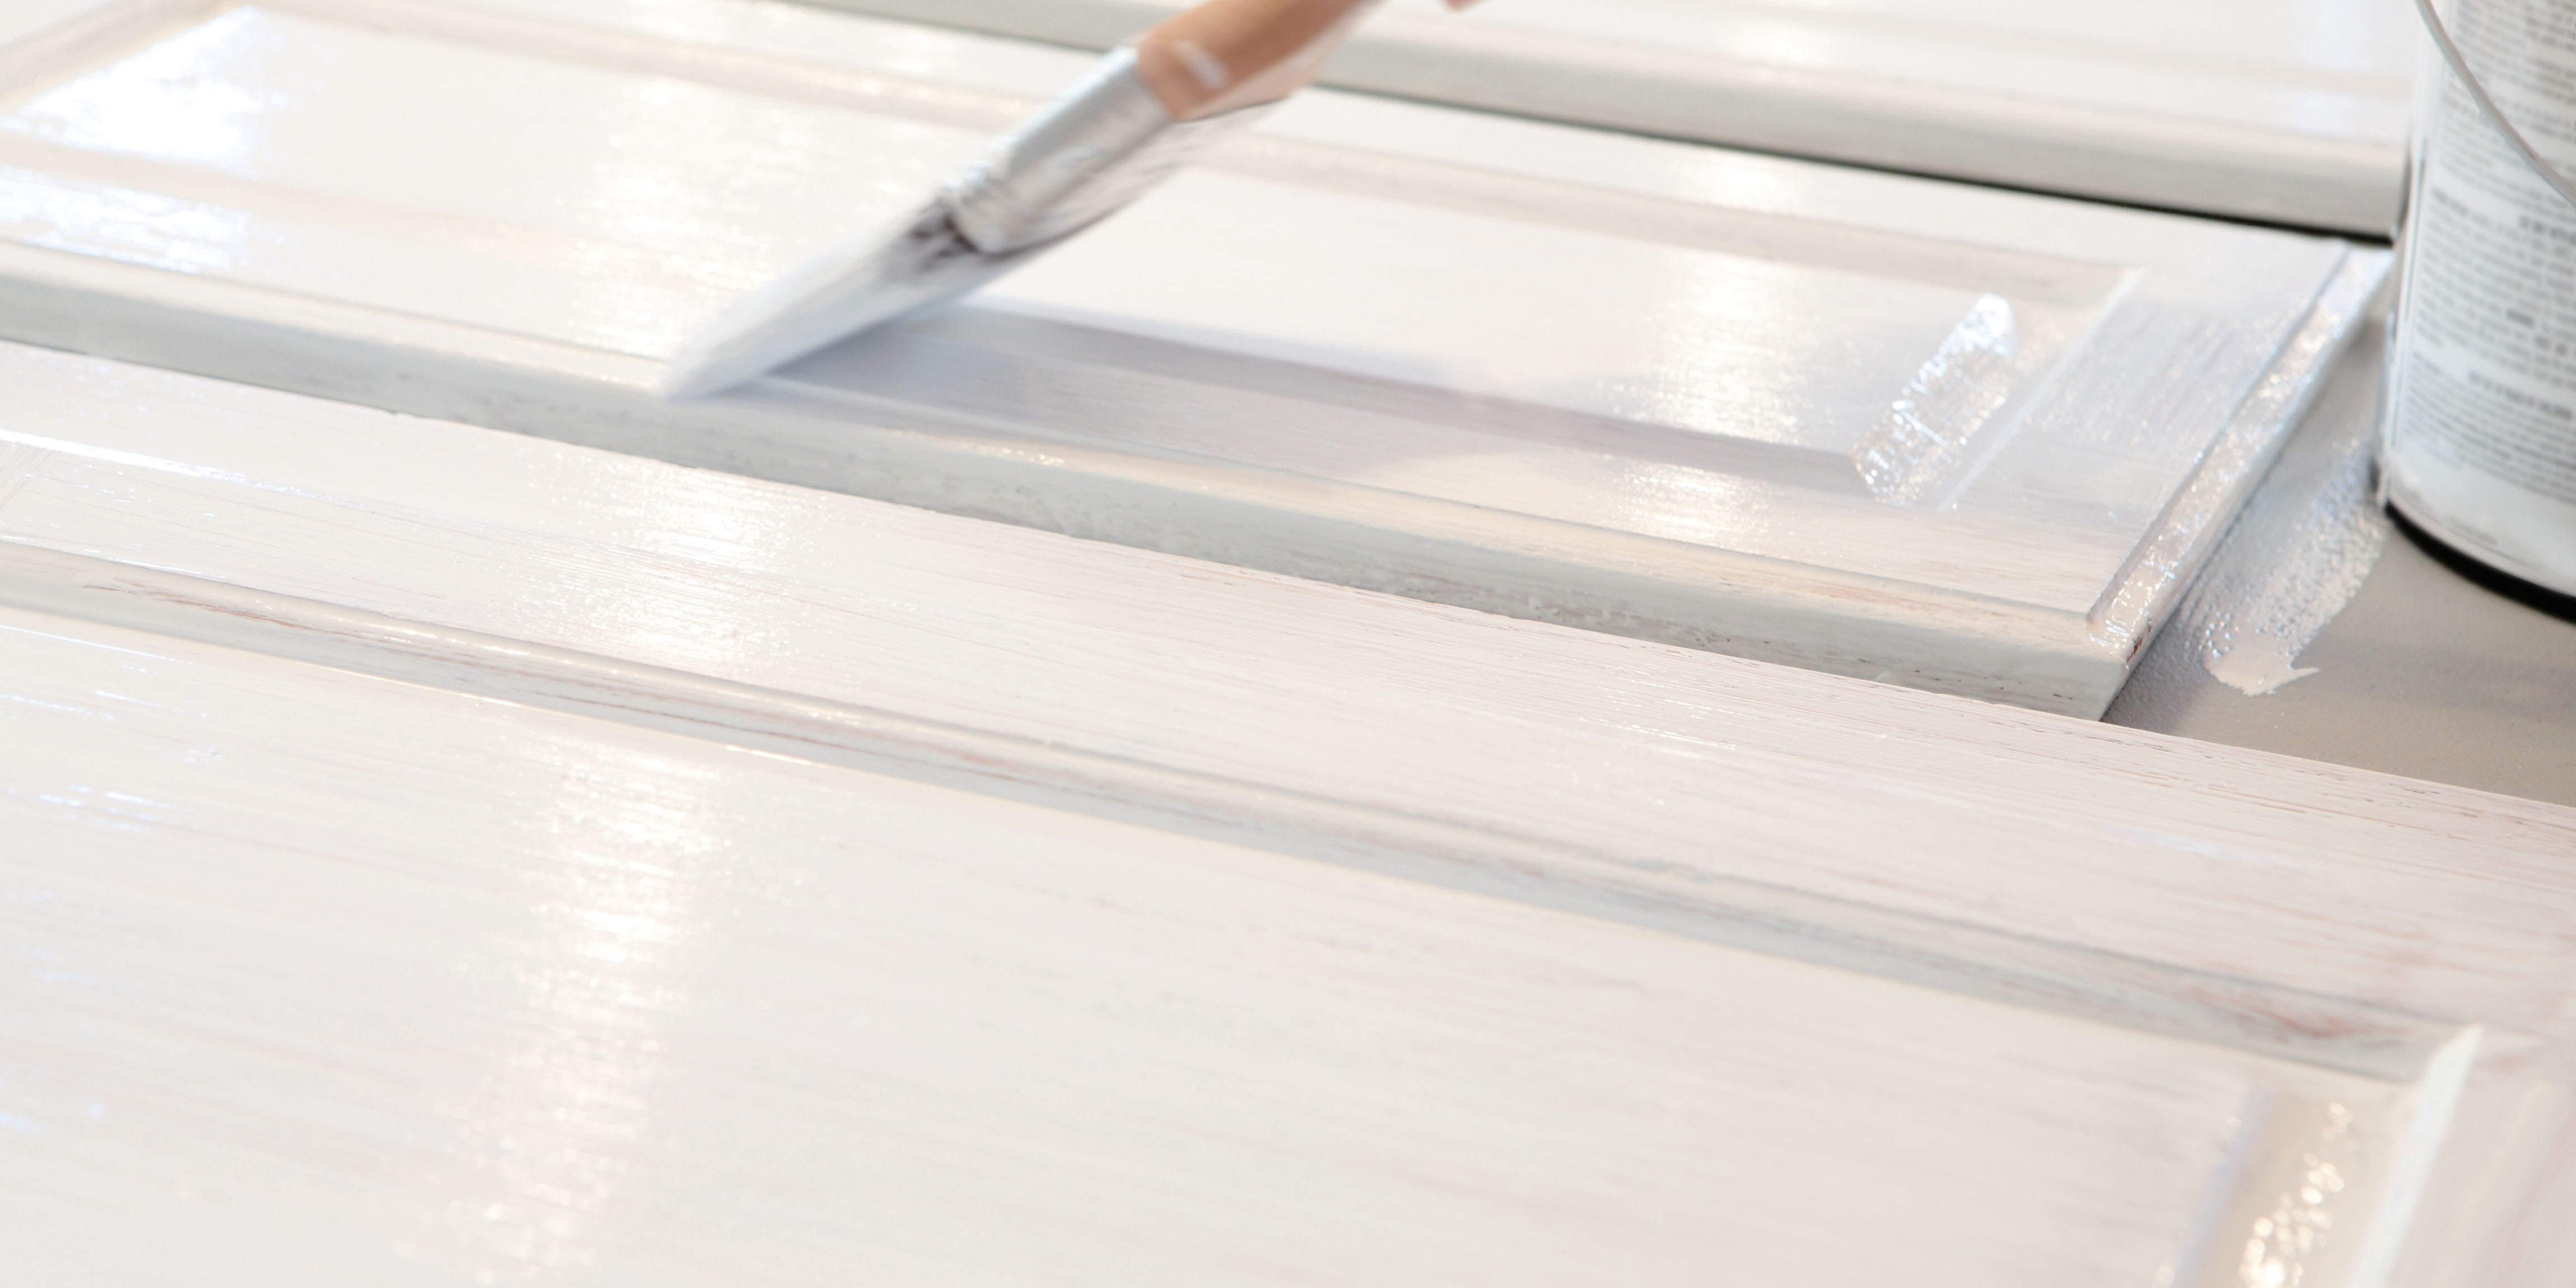
Step 4 Paint Everything
- Use a brush to cut in along the edges, push the paint into the corners, and leave out roller strokes. Use the roller to apply paint to the large flat surfaces when possible.
- For the interior, apply the paint with a smooth-surface mini roller.
- Remember to cover the brush and roller with plastic bags to prevent them from hardening while you wait for the first coat to dry.
- Apply a second coat to the cabinet. Make sure you have a consistent finish without any thin or light areas showing through.
- When painting paneled doors, start with the area around the panel. Then, do the main field of the panel, and finish with the stiles and rails around the edges.
- As you go along, wipe up any paint that ends up on adjacent dry surfaces to eliminate the chance of lap marks.
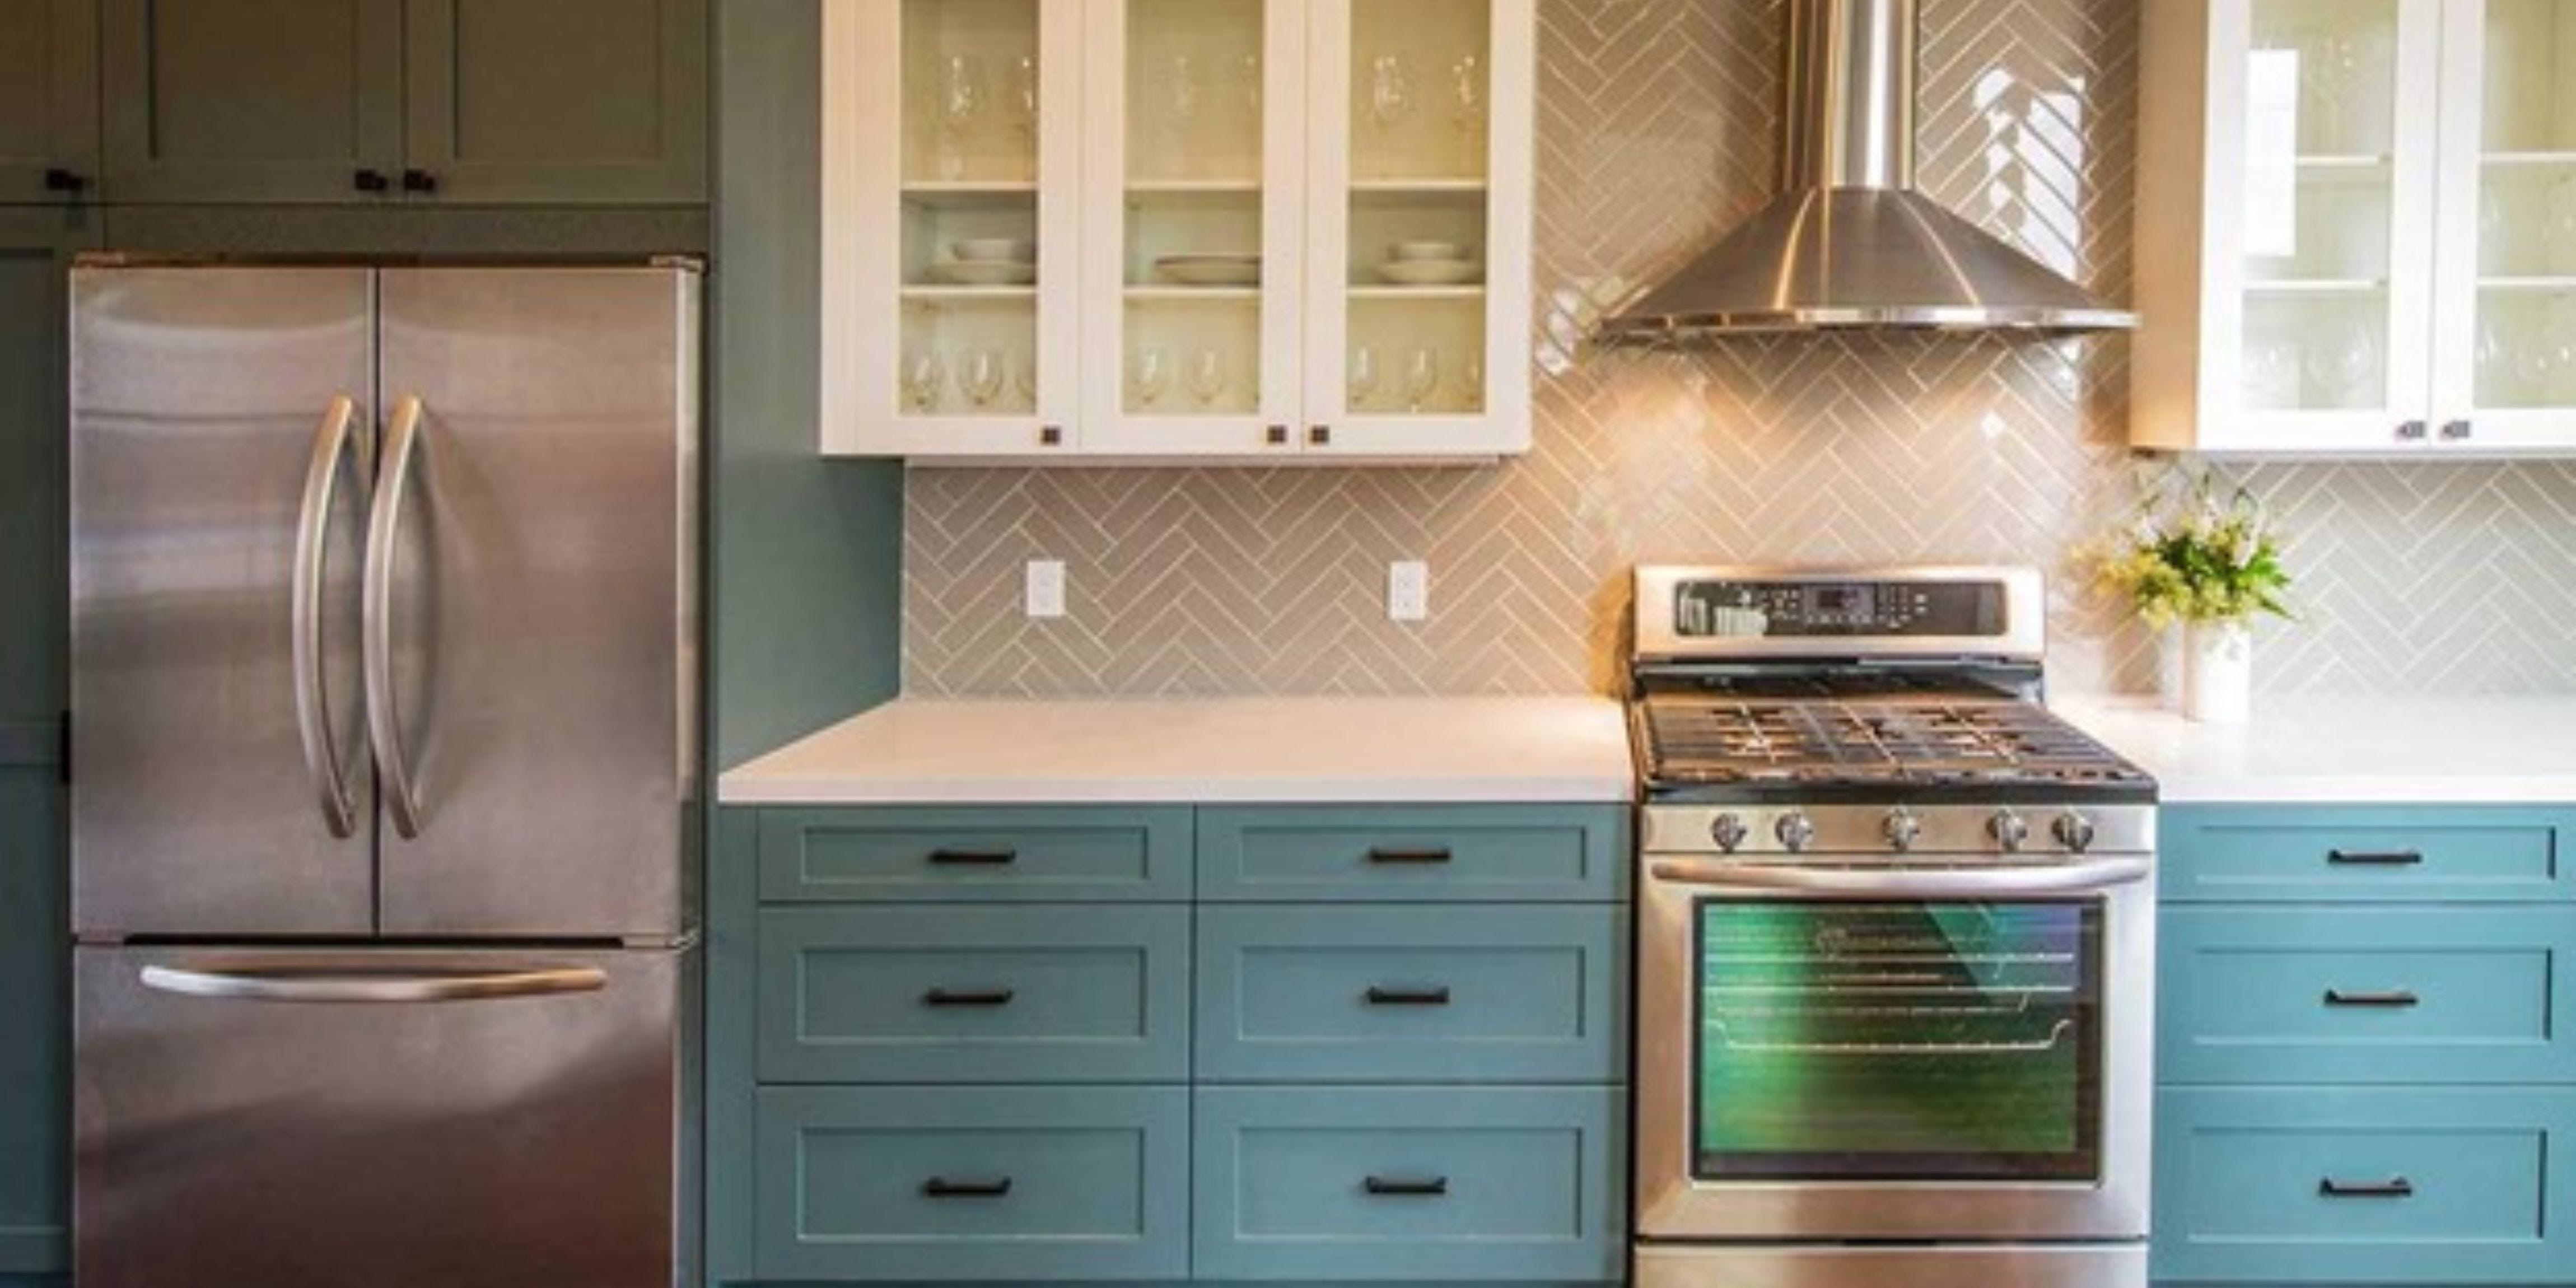
Step 5 Reassemble Everything
And now enjoy a fresh new look for your kitchen! Remember our in-store KENT professionals are happy to help you find the perfect paint and supplies for your next kitchen remodel.
Recommended Articles
-
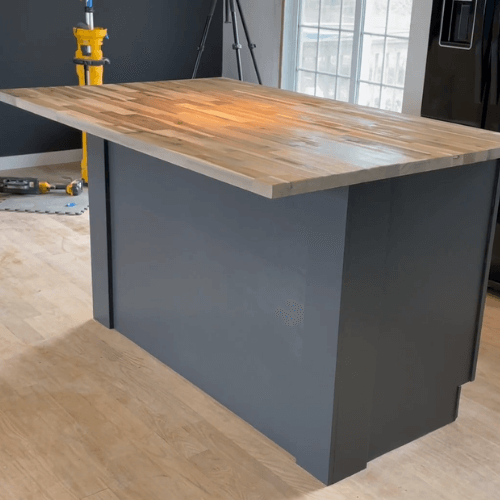
Make your kitchen a space you can be proud of with a beautiful kitchen island. Building your own customized kitchen island is easier than you think. This project is beginner-friendly, and it will only take a weekend to complete from start to finish. Follow along with our guide and you’ll be one step closer to the kitchen of your dreams.
-
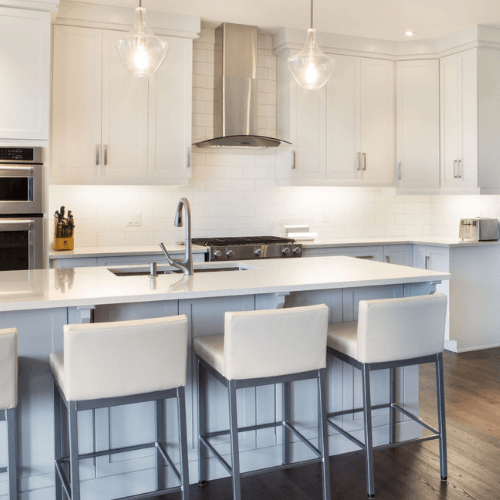
See your space in a brand new light with the perfect plans for your kitchen lighting. From pot lights to pendants, there can be multiple styles of lighting in your space for multiple purposes. Whether you DIY your new lighting or rely on a KENT PRO, your first stop is your local KENT Project Centre to browse styles, bulbs, and bonus features.
-
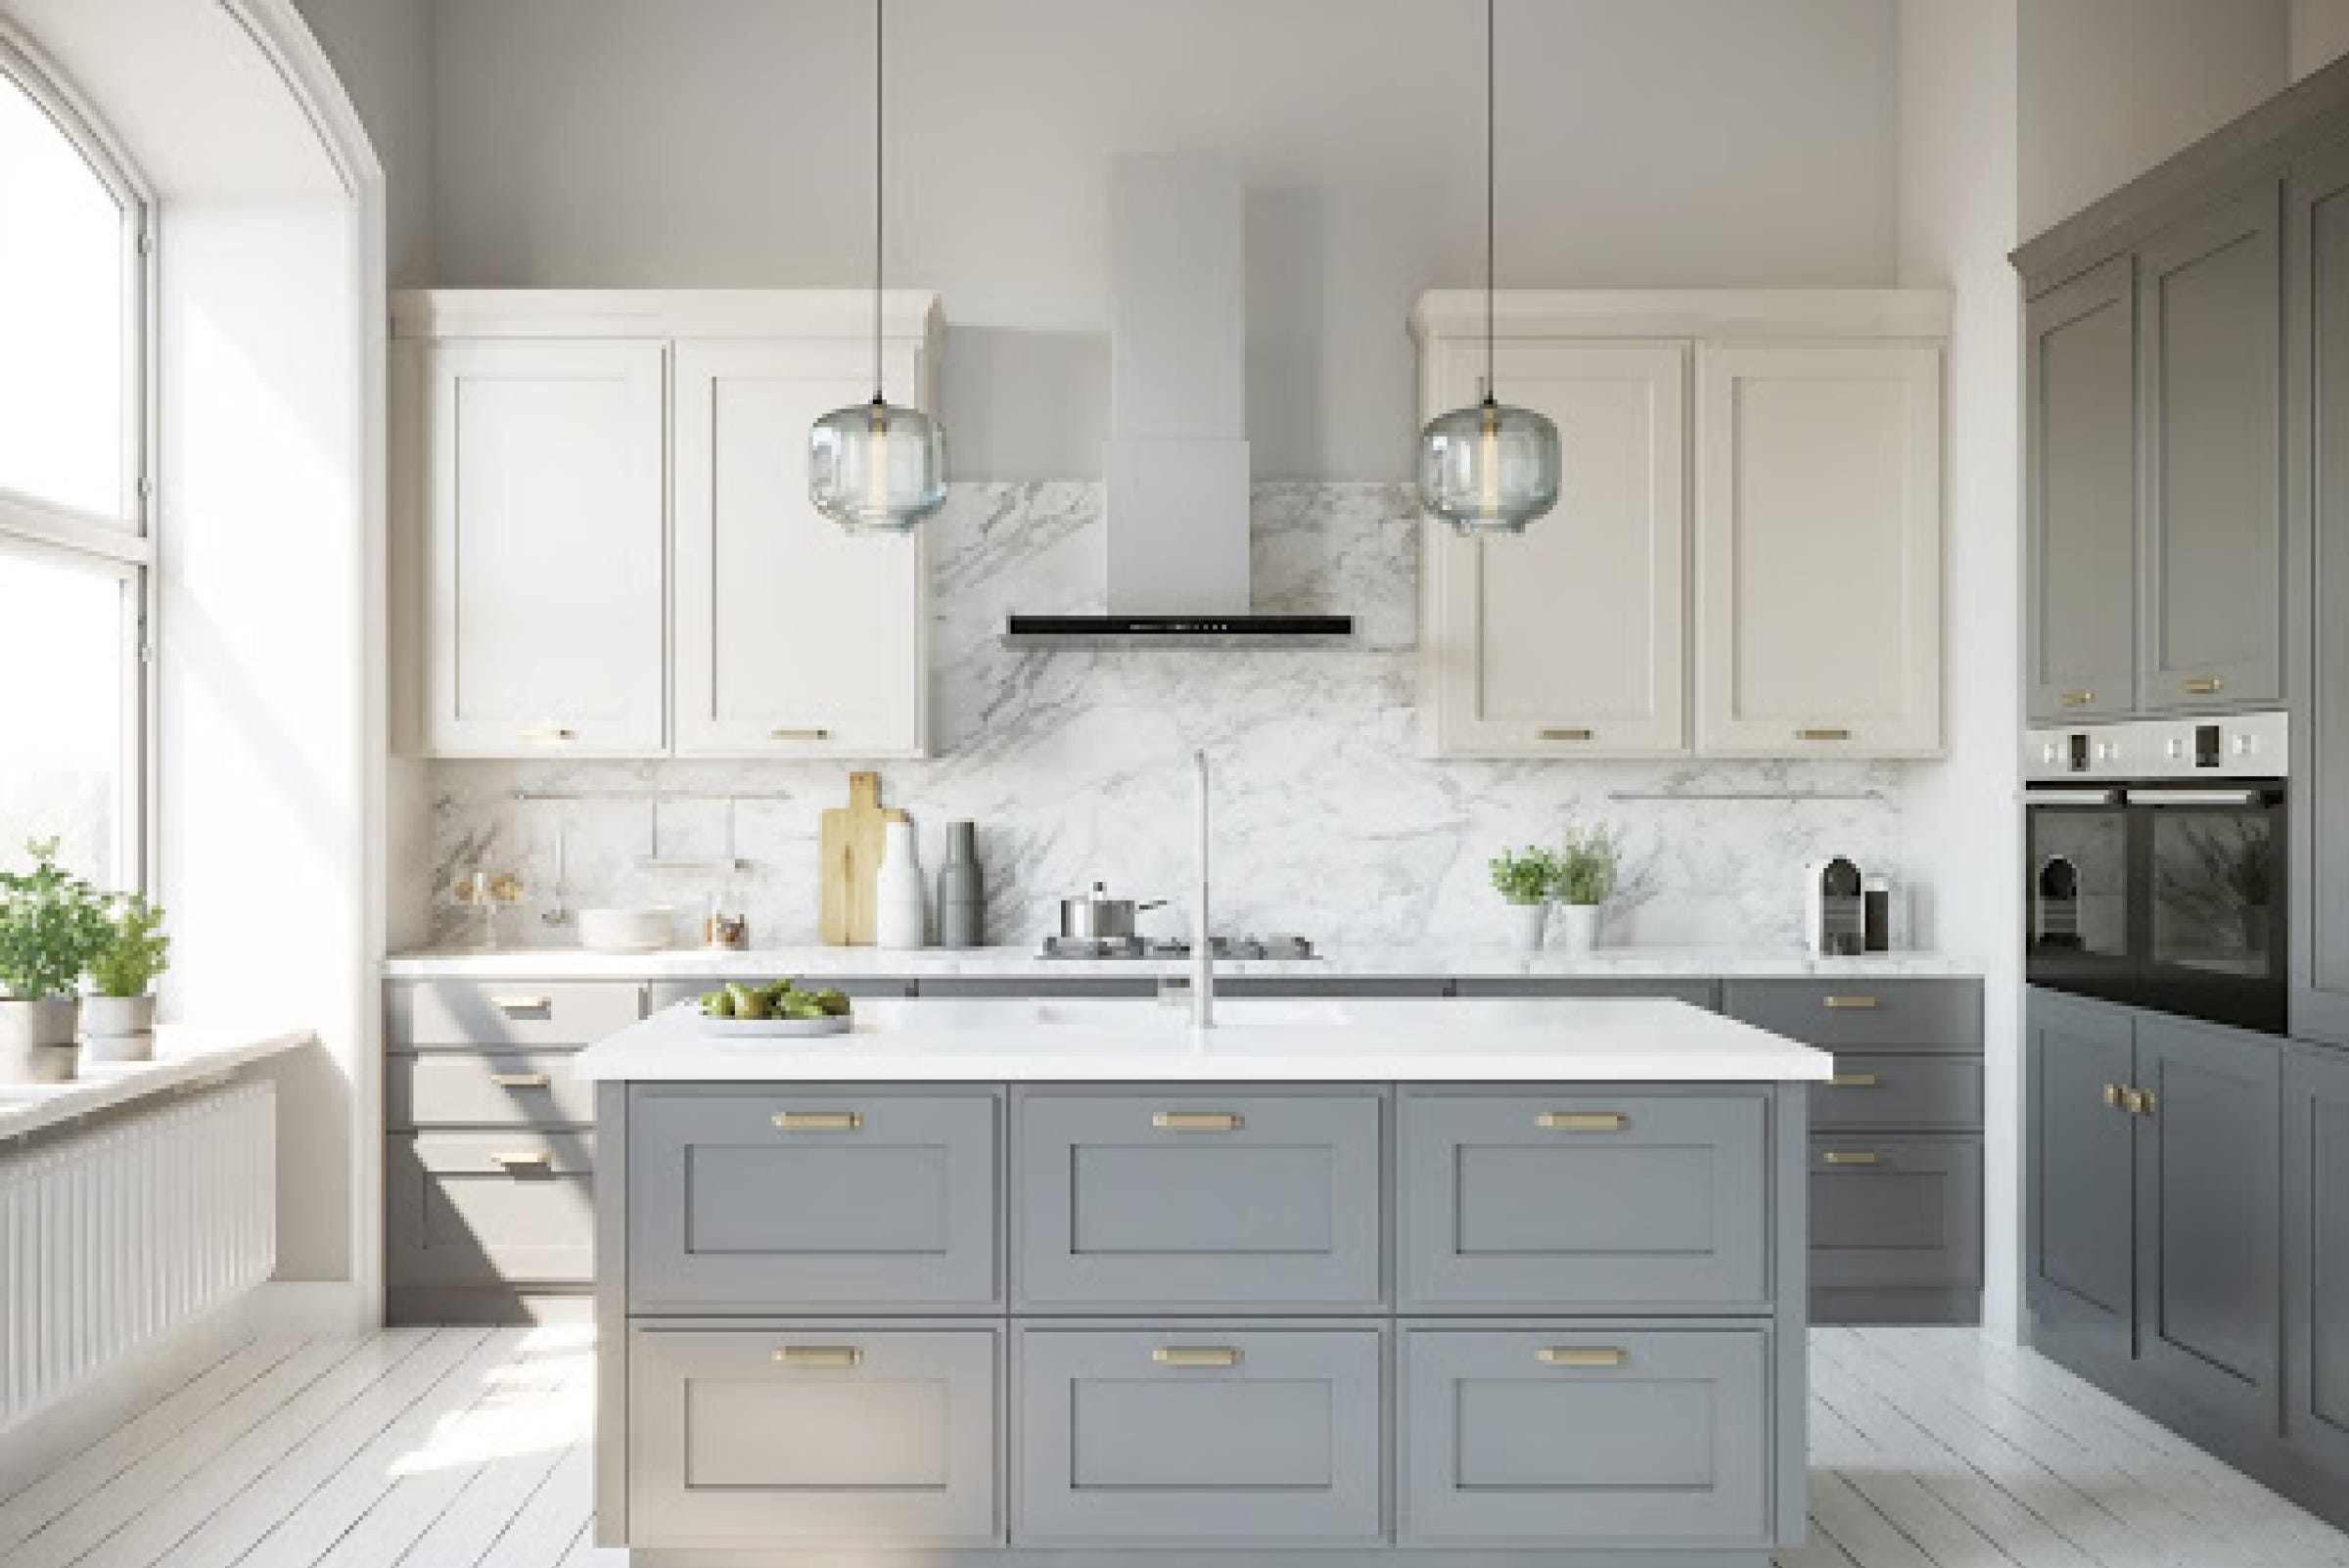
Kitchens are without a doubt one of the most used spaces in any home. From cozy dinners to classic kitchen parties your kitchen needs to serve up high function and style every day of the week. One of the largest components of any kitchen redesign will be your cabinets! Choosing the foundation for countertops, appliances, and hardware is no easy feat, but the KENT Project Centre is ready to help you find the perfect cabinets. It’s time to stop trying to make poor storage and style work, and create a kitchen that works for you!