How to Paint Your Baseboard Heaters
Painting your baseboard heaters can add a personal touch to your home and protect them from rust and corrosion. Follow this step-by-step to get started!
What you will need:
| Safety goggles and gloves |
| Drop cloths or plastic sheets |
| Painter's tape |
| Wire brush or sandpaper |
| TSP (Trisodium Phosphate) cleaner or a mild detergent |
| Water and a bucket |
| Rust-inhibiting primer |
| High-heat paint (specifically designed for metal surfaces) |
| Paintbrush or spray paint equipment |
| Respirator mask |
Safety First:
Put on safety goggles and gloves to protect your eyes and skin. Ensure the area is well-ventilated, especially if you're using spray paint. Lay down drop cloths or plastic sheets to protect the floor and surrounding area from paint splatter. Before you start, turn off the baseboard heater and allow it to cool completely.

Clean the Surface:
Remove any dust, dirt, or grease from the surface of the heater. Use a wire brush or sandpaper to remove loose paint and rust. If there's significant rust, you may need to use a rust converter before proceeding. Mix a solution of TSP cleaner or mild detergent with water in a bucket. Use a sponge or cloth to wash the heater's surface. Rinse it thoroughly and allow it to dry completely.

Primer & Paint:
Use painter's tape to mask any areas you don't want to paint, such as the wall or floor adjacent to the baseboard heater. Apply a rust-inhibiting primer designed for metal surfaces. Be sure to follow the manufacturer's instructions regarding drying times. Typically, you'll need to apply one or two coats of primer, allowing each coat to dry thoroughly. Once the primer is dry, apply a high-heat paint specifically designed for metal surfaces. You can use a brush or spray paint for this step. Ensure even coverage, and apply multiple thin coats if necessary, allowing each coat to dry before the next.

Drying Time:
Allow the final coat of paint to dry completely. Refer to the paint manufacturer's instructions for recommended drying times. Once the paint is dry, remove the painter's tape and reassemble any components of the baseboard heater that were removed during the process.

Cleanup:
Dispose of used materials properly, clean your brushes or spray equipment, and remove the drop cloths or plastic sheets. Turn the baseboard heater back on and ensure it's working correctly.

Remember to keep your baseboards looking new by regularly cleaning them and make sure to choose high-heat paint that can withstand the temperatures the heater generates. Good luck and have fun bringing a touch of color to your home with your newly painted baseboard heaters.
Need help with your project? Our Project Centre team is ready to answer all your questions, no matter how big or small your project is. Consult our Project Centre today to find the perfect solutions in your dream colour and budget!
Recommended Articles
-
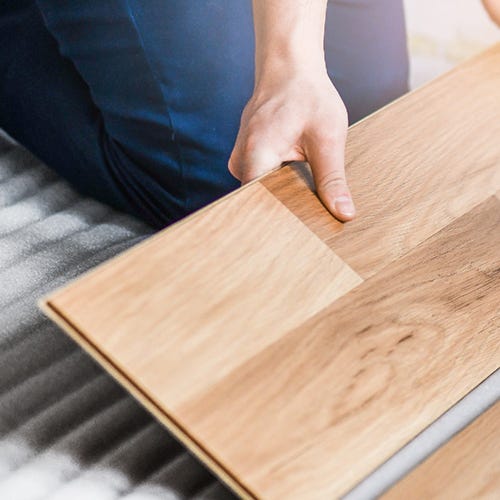
Installing your own flooring is a great way to minimize renovation costs and give you major bragging rights. For most spaces, laminate flooring can be DIY’ed in an afternoon with a little help from your local KENT Project Centre. Choose from a wide range of laminate flooring, grab your gear, and start loving your floors again!
-
The fireplace serves as the focal point of many homes. However, it can also be one of the most neglected areas in a home. An outdated or old fireplace can make an entire room feel dated and uninviting. Fortunately, a fresh coat of paint can bring new life to your fireplace and make it stand out again. This blog post will walk you through completing your DIY fireplace makeover with these simple steps to achieve the best results.
Let's get started! -
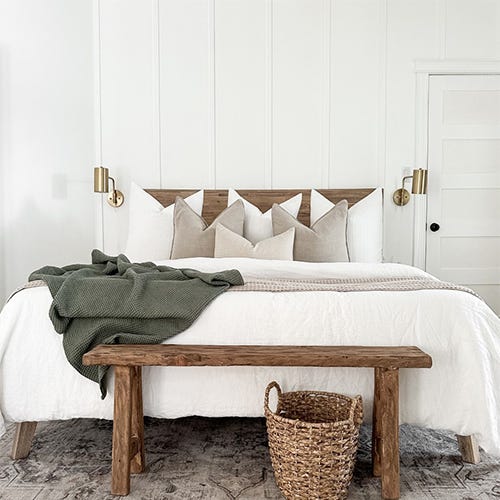
Narrow benches are typically listed between $400-$900! CRAZY right?! I’m going to show you how to make one with just one piece of affordable lumber!