Laundry Room Makeover
You don’t need to be an expert to give your laundry room a style refresh. Make chores one of the most beautiful parts of your day by following our guide to give your laundry room a complete makeover.
Project Overview

Note: The time-commitment, cost, and materials represent renovating a small laundry room with two floating shelves and one upper cabinet. This tutorial is only meant to act as a guide and may vary based on individual skill level.
Materials:
How to Flip Your Laundry Room
1
Clean & Paint
Start by cleaning your laundry room and removing any furniture or appliances, including your washer and dryer.
Be sure to fill any holes or dents in the wall to ensure you are painting a smooth surface. Once your wall is ready to paint, you can paint it the colour of your choice. We painted our wall white because we are going to be adding a design to it later.

2
Hang Cabinets & Install Flooring
Once your paint is dry, hang your cabinets of choice on the wall. We only used one cabinet to give the illusion that the room is larger than it is. KENT offers a large selection of preassembled cabinets that you can browse here.
We used vinyl tile flooring for the floors. These tiles are very easy to install, and they are budget-friendly. Once your flooring is installed, you can put your washer and dryer back and we can move on to the rest of the DIY.

3
Install Floating Shelves
We made some beautiful DIY floating shelves to add next to the cupboard. These shelves add both functionality and style, so you can use them to store your laundry supplies or display décor like plants or photos. If you want to learn how to create these easy DIY shelves, check out our blog post.

TIP
You might need a hole in your shelves for your dryer vent like we did. We made a cut on our bottom shelf using a jigsaw to feed the dryer vent through.
4
Paint Your Pattern
Using a straight edge, draw vertical lines about 3 to 4 inches apart across your wall, then use painter’s tape to mark them out. We used Black Magic by PPG and dipped the tip of our paint brush in the paint to create a chevron pattern.
5
Optional Accent Wall
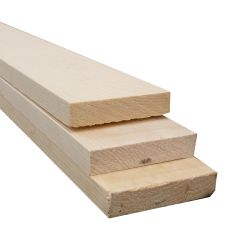
Since there was a bulkhead in this laundry room, we decided to add some 1” x 4” MDF trim to create an accent wall. We added trim to the edges and used it to cover the seam in the middle. Then we painted it with Cool Grey by Sico to add the finishing touches.
Now your laundry room makeover is complete!
-
 Home Products Source24 Inch x 30 Inch Wall Cabinet - White Shaker$309.00
- Ready to Deliver
- 5 Available for pick up at
-
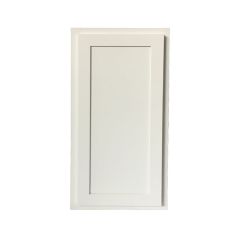 Home Products Source15 Inch x 30 Inch Wall Cabinet - White Shaker$219.00
- Ready to Deliver
- 4 Available for pick up at
-
$19.99
- Ready to Deliver
- 12 Available for pick up at
-
$3.76
- Ready to Deliver
- 184 Available for pick up at
-
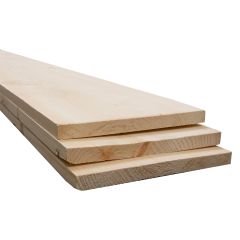 J. D. IRVING LIMITED1 x 10 x 8' Knotty Pine Board$19.79
- Ready to Deliver
- 22 Available for pick up at
-
 Alexandria Moulding3/4" x 4" x 8' MDF Primed Board$17.98
- Ready to Deliver
- 922 Available for pick up at
-
 J. D. IRVING LIMITED1 x 4 x 8' Clear Select Pine Board$14.59
- Ready to Deliver
- 46 Available for pick up at
-
Starting at$28.99