How to Build a Backyard Rink
Skating is a rite of passage for every Canadian winter! Enjoy the outdoors all season long with your very own backyard skating rink, perfect for leisurely evening skates or neighborhood weekend hockey games. KENT has everything you need to build your own fun this season.
Project Overview
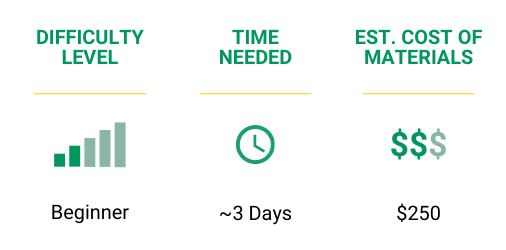

Note: The time-commitment, cost, and materials represent building a 15' x 20' skating rink with a wooden frame. This tutorial is only meant to act as a guide and may vary based on individual skill level.


How to Build a Backyard Rink
1 Find Your Location
The first requirement for any at-home rink is a large, flat space. To avoid an uneven rink, you may use a string and stake or laser level to carefully map out the size and depth of your rink. Your rink will also need to be proximal to your garden hose for flooding. Have our pros walk you through exact methods and measurements to get a level foundation mapped out.
2 Rink Prep
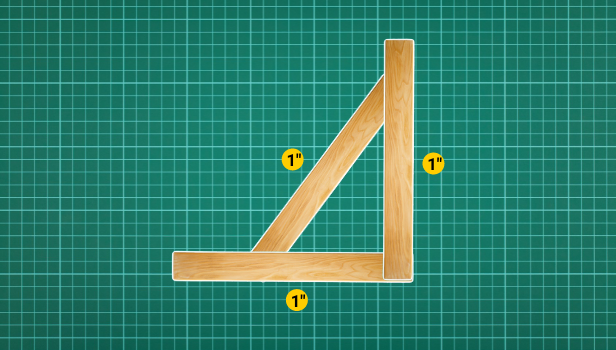
To built your frame, you’ll need enough 1”x12” boards for the circumference of your rink, and the necessary screws and extra boards to place braces around the perimeter at least every 4 feet (see photo below). If your rink is on a sloped area, your boards may need to be higher in order to hold the proper amount of ice. Bring your plans and measurements to your local KENT Project Centre to ensure you have enough materials, personal protective equipment, saws, and tarp lining.
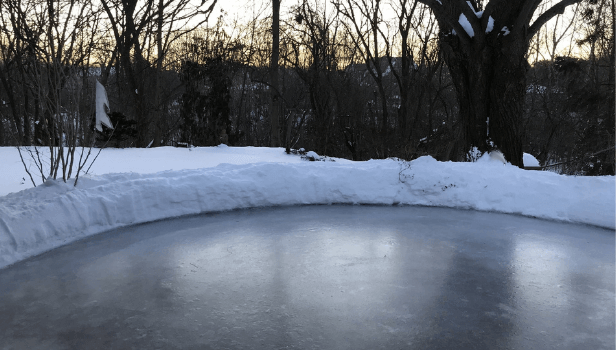


Alternatively, you can frame your rink with good ol’ fashioned snow. This will require lots of snow packing to create a good foundation for your rink, grab your boots and get stomping. The more tightly it is packed the more smooth your ice surface will be. Snow banks can serve as makeshift rink boards, although the real thing is much better for containing hockey pucks.
Use a light coloured tarp to line your rink (this prevents attracting the sun and melting your rink). Ensure it fits snug against the ground and boards: any unsupported areas may tear once your ice freezes. Use spring clamps to hold your liner in place while you fill it. Make sure you place your tarp and start filling when the weather will be around -15 degrees Celsius with no snow for 3 days for the best freezing conditions! Fill with ~4 inches of water.
3 Enjoy Your Rink
Once your rink is frozen solid, you can smooth out the surface of your rink by pouring hot water on the imperfections and smoothing it out with a scraper. Enjoy the rest of your winter teaching kids to skate, playing hockey, and skating laps in the winter sunshine. Add outdoor lighting to safely skate under the stars.
4 Rink Maintenance & Teardown
Maintain your rink after each snow storm to keep it clear and smooth. Regular maintenance is necessary to prevent ice build up throughout the winter. Stock up on scrapers and shovels to keep your ice crystal clear.
When spring arrives, tear down your rink as soon as the last bit of ice thaws to best protect the grass underneath. Save your boards and parts in a dry area over the summer to use for many winters to come. Remove or repair any damaged parts before storing.
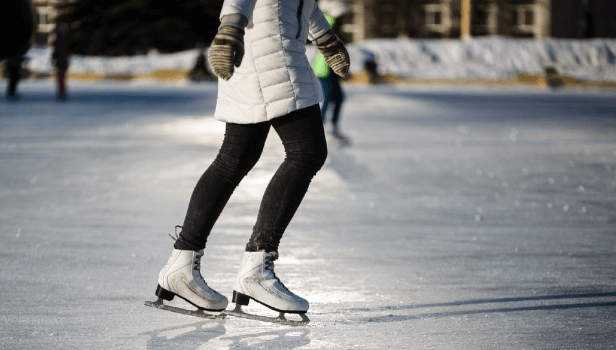

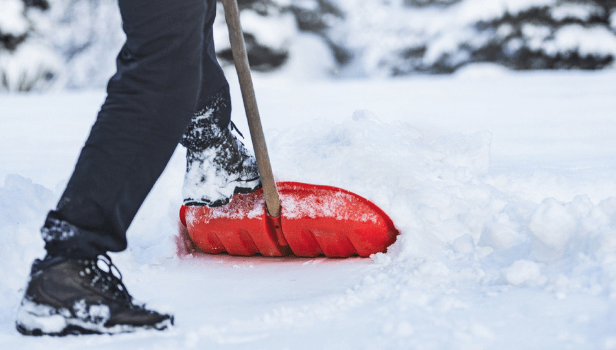

Staying active outdoors is an important part of every season, enjoy hours of winter fun on your very own skating rink! Our KENT PROS can help you DIY your own from start to finish.


