How to Make a Pegboard Shelf
In this how-to, we are going to show you how to make a pegboard shelf. This simple DIY project is easily customizable so you can organize your space in any way you like! A pegboard shelf could be used to store tools and craft supplies, or it could be used to display décor and potted plants. The possibilities with this DIY pegboard shelf are truly endless!
For This Project You Will Need:

1
Marking Your Peg Holes
Place your board on top of something to raise it above the ground, such as paint cans. This will ensure that you don’t drill through to the floor when you drill your holes.
Using a measuring tape, measure and mark the peg holes. We spaced the holes 2 inches from the edge of the board, and left 6 inches of space between each hole. In the end you should have 49 holes in total.
Once you mark all of your holes, use a spade drill bit (the same size as dowels) to drill holes where you made the markings.
2
Cutting & Sanding Your Dowels
Once you have your holes drilled, it’s time to cut your dowels. Using either a hand saw or a table saw, cut your dowels into 6-inch lengths.
When your dowels are all cut, use sandpaper to smooth out the edges. You should also use some sandpaper to sand the peg holes. You can do this by folding up a piece of sandpaper and putting it in the holes and twisting it until the edges of the hole are smooth.
TIP
Plan out the design of your pegboard beforehand so you know how many dowels you need! A 4-foot-long dowel will give you 8 pegs, and a 6-foot-long dowel will give you 12 pegs. The design is completely up to you, so be creative with it!
3
Cutting Shelves
Now that your dowels are all cut into pegs, you can get started on making some shelves. Using your saw, cut your wooden boards into your desired length. Your shelves will sit on top of the pegs in your board, so measure the lengths where you want your shelves to sit.

4
Hanging Your Pegboard
Now that you’ve made your pegboard, pegs, and shelves, you’re ready to attach it to the wall. Mark where your studs are on the wall – this is where you’ll want to screw in your board so that it’s secure.
To hang your pegboard, you may want an extra hand to hold the board while you make sure it’s level. To do this, have someone hold your pegboard up where you want it to go, and place your level on top and adjust the board until it’s straight. Once the board is level, use your drill and 3" screws to secure the board into the studs.

5
Assembling Your Pegboard
Once your board is hung on the wall, now it’s onto the fun part! Place your pegs for the shelves where you want them, then put the shelves on top.
Once you have your shelves installed, put your other pegs into the board to create hooks. You can also purchase additional decorative hooks for your pegboard, but this is optional.
There are so many ways you can mix and match the design of this DIY pegboard, so be creative! We styled ours with some beautiful plants and knickknacks for a rustic East Coast vibe! You can also use your pegboard to store things like cooking aprons or other useful supplies.
This easy DIY project is the perfect addition to your home! It can work in so many different spaces like the kitchen, in a home office, or you could put it by the front door as a functional statement piece! Be sure to tag @kentbuildingsupplies and share your creations!
If you are looking for another fun DIY project, check out our guide on how to build a decorative rope railing!

-
$69.99
- Ready to Deliver
- 3 Available for pick up at
-
 Concept SGA8' x 3/4" Hardwood Dowel$15.69
- Ready to Deliver
- 3 Available for pick up at
-
 Concept SGA6' x 3/4" Hardwood Dowel$15.79
- Ready to Deliver
- 5 Available for pick up at
-
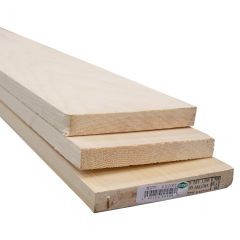 J. D. IRVING LIMITED1 x 6 x 8' Clear Select Pine Board$23.69
- Ready to Deliver
- 16 Available for pick up at
-
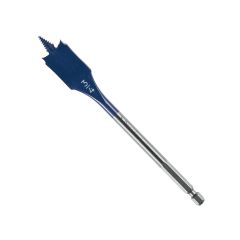 Robert Bosch3/4" x 4" Daredevil Stubby Length Spade Bits$6.79
- Ready to Deliver
- 3 Available for pick up at
-
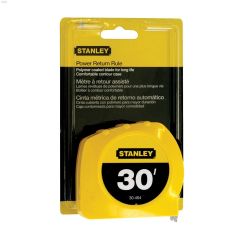 Stanley1" x 30' Tape Measure$16.59
- Ready to Deliver
- 8 Available for pick up at
-
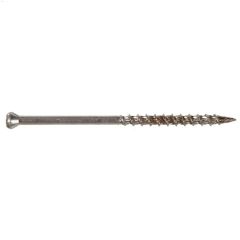 The Hillman Group#8 x 3" Star Drive Trim Head Screw-25/Pack$9.59
- Ready to Deliver
- 11 Available for pick up at

Recommended Articles
-
We’re ready to make a statement this fall! Ditch your bland walls in favour of more colour and patterns to give any room a style boost. Create more interest and definition in your space with our 3 DIY super heroes: paint, wallpaper, and paneling!
-
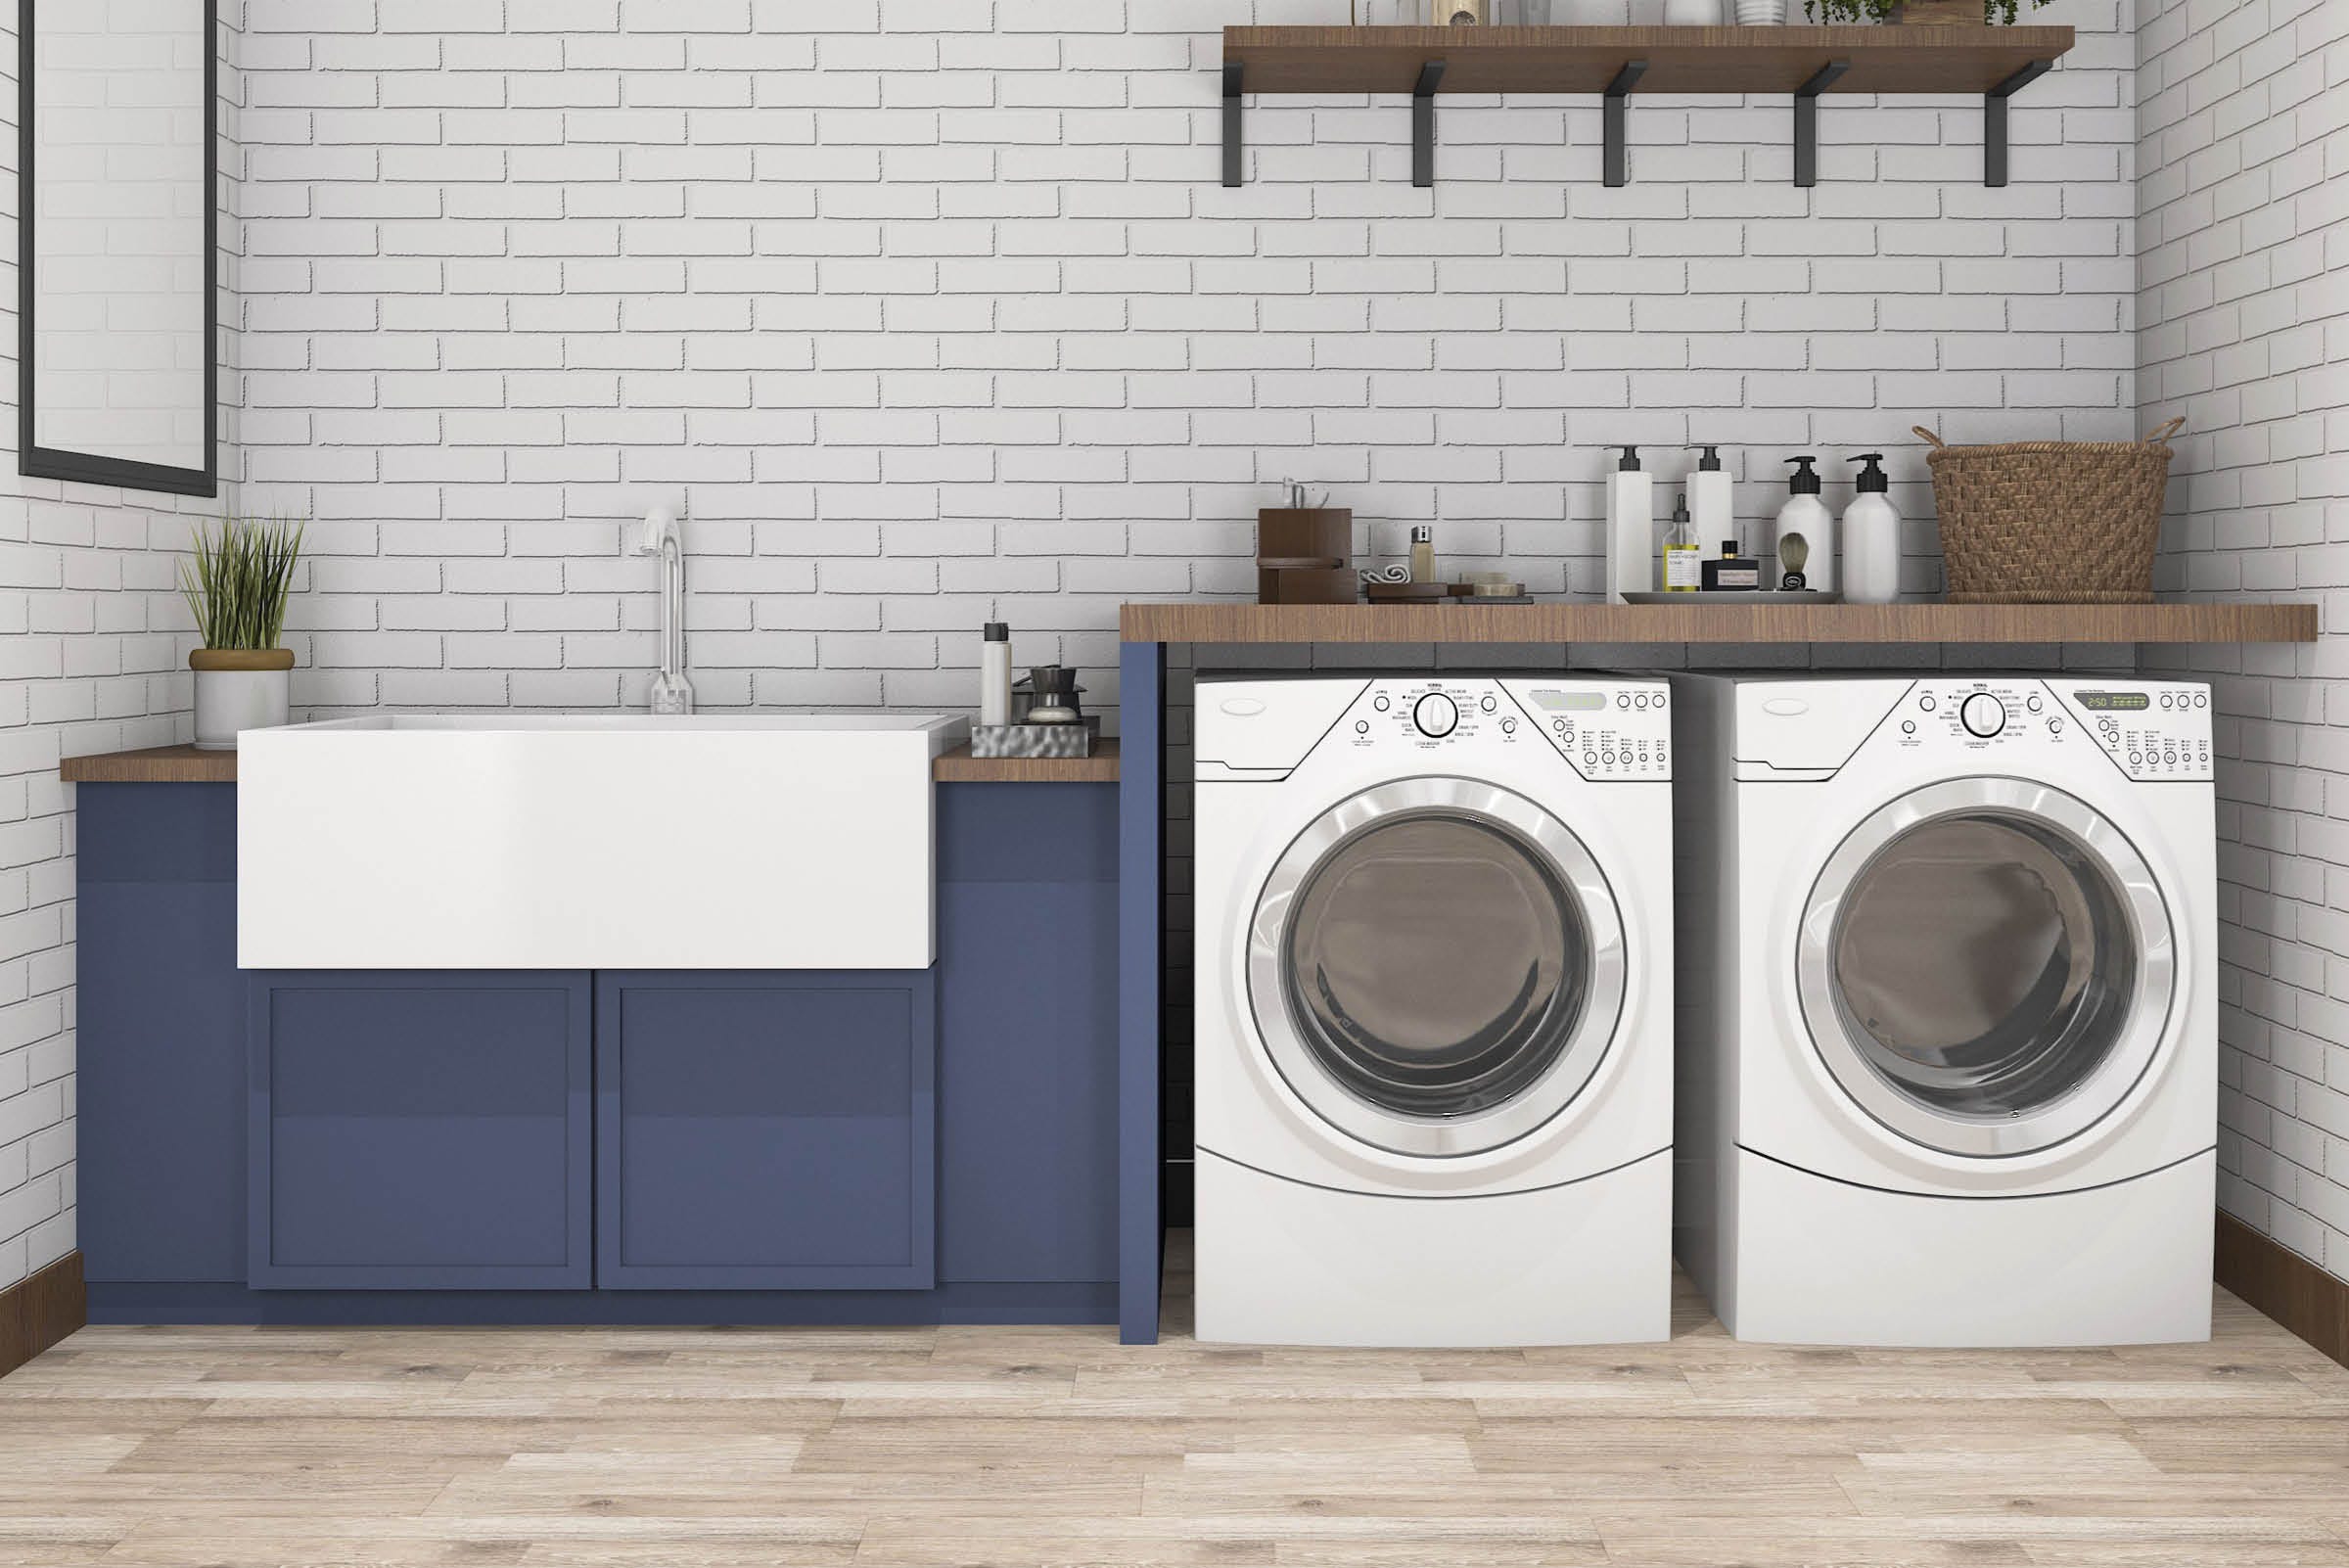
Make chores one of the most beautiful parts of your day! Enjoy washing your freshly unpacked fall sweaters with a laundry room makeover in one weekend. No matter what kind of laundry space you have, you can find supplies at KENT to update floors, walls, and countertops.
-
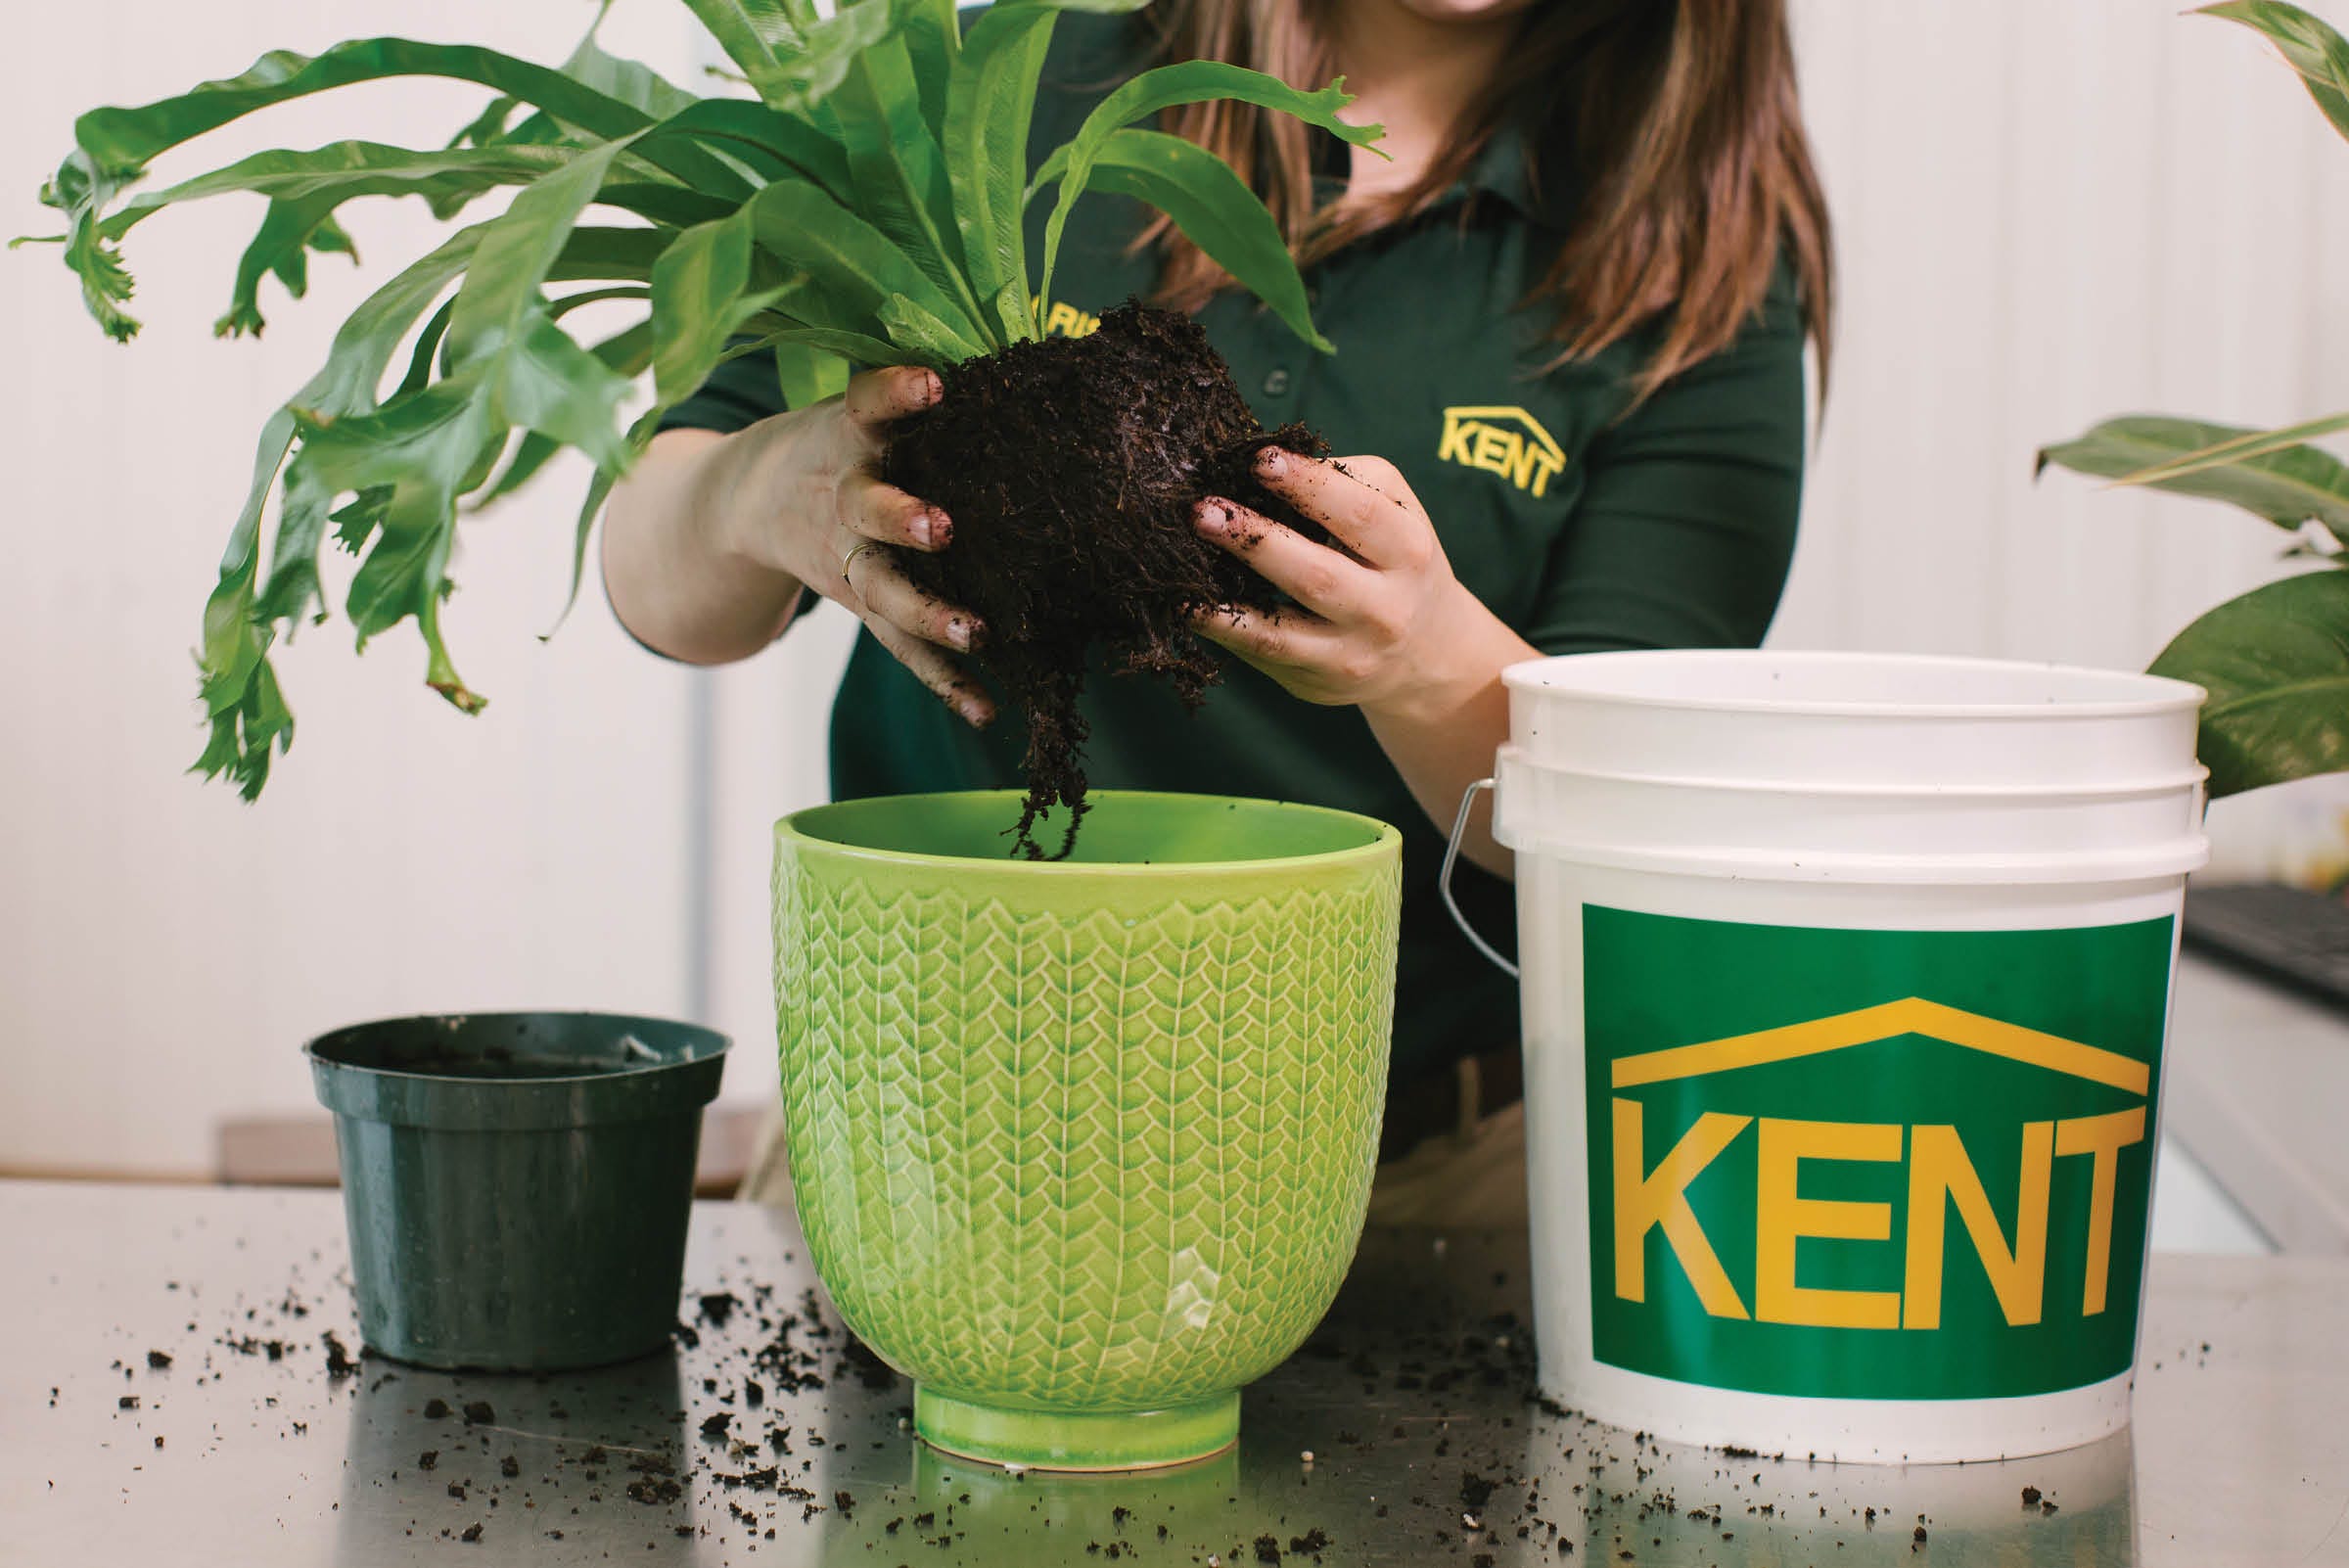
Your plant probably needs to be repotted if: it looks straggly and lackluster, with leaves turning yellow, it's roots are sticking out of the top of the soil or out of the drainage hole, or the soil doesn’t seem to be soaking up water.
-
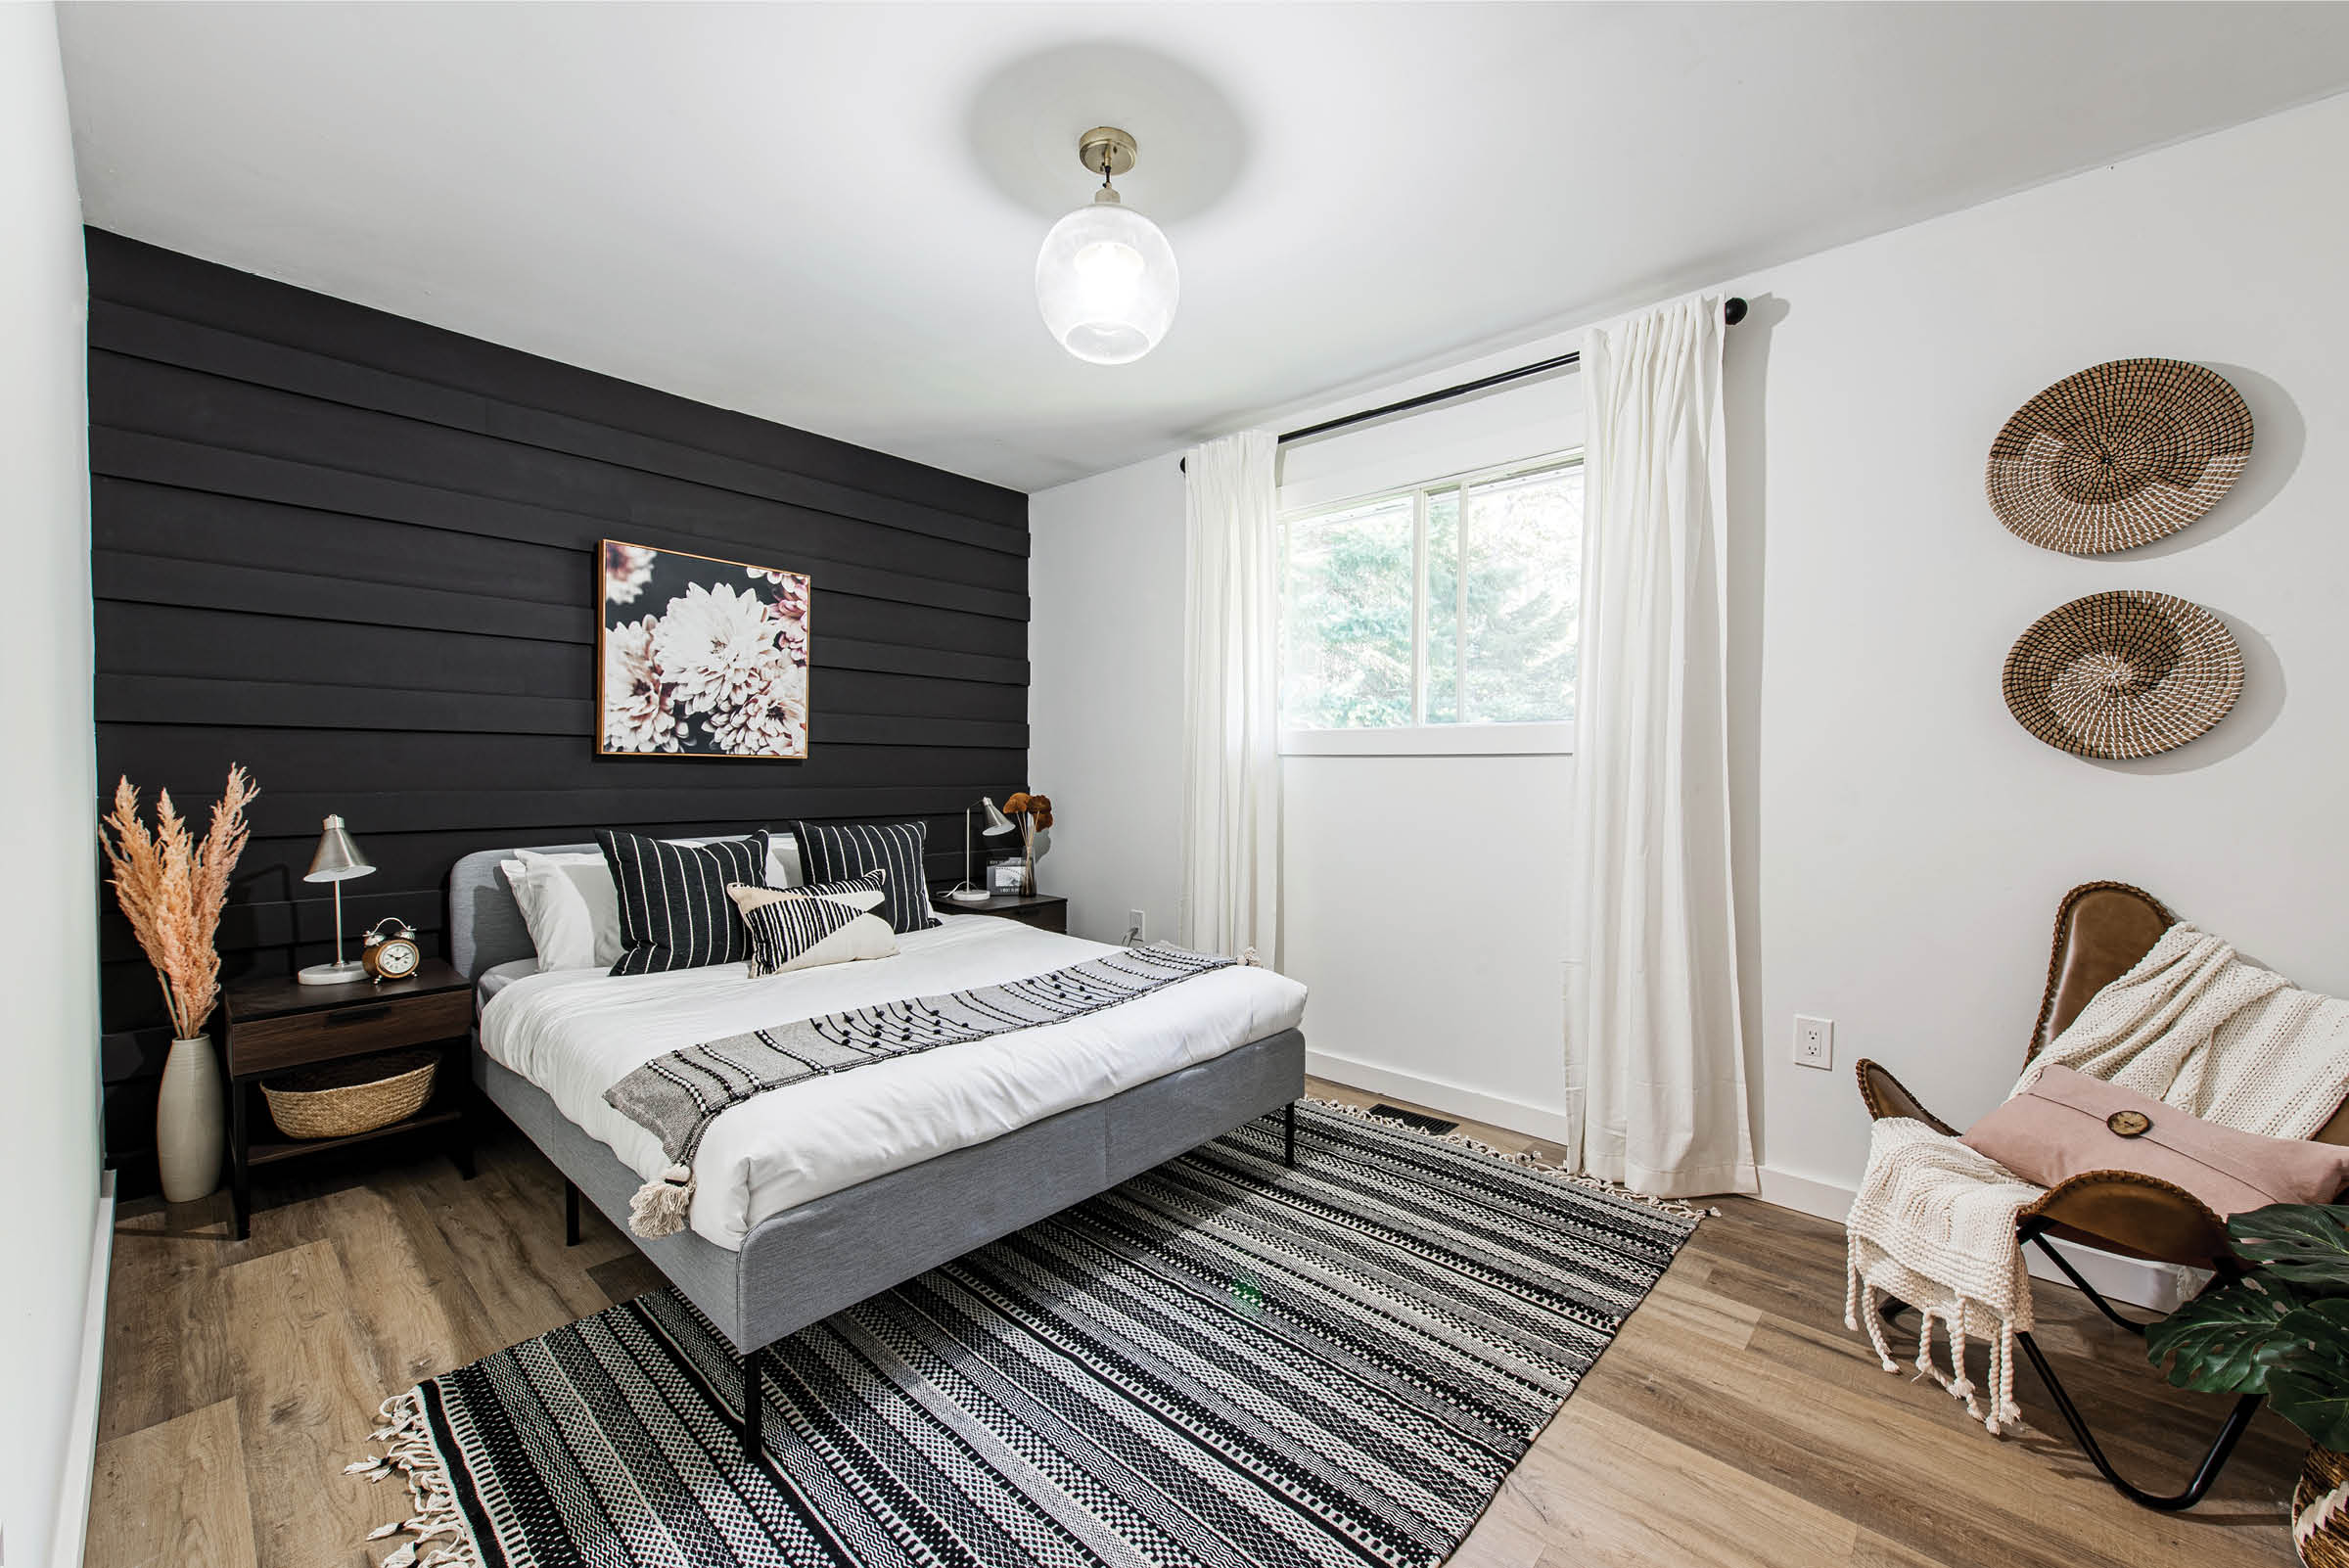
Spending time indoors doesn’t have to leave you feeling cooped up when you have a beautiful space to enjoy! This fall, tackle the bottom of your to-do list to make your wasted space functional and inviting. Finish or refinish your basement, office, or bedroom and ditch your drab rooms with some easy DIYs!