Summer of DIY: How to Build a Privacy Wall
Building a privacy wall is a great way to increase privacy in your backyard or outdoor living space. From the location, to materials, and even design, KENT has everything you need to help you get started. Follow these tips and tricks to learn more.
Step 1: Plan and Design
Take some time to plan and design your privacy wall. Consider the dimensions, materials, and style you prefer. Measure the area where you want the wall and determine how high you want it to be.
TIP: Sketch out your design or create a visual reference to help you during the construction.

Step 2: Check Local Regulations
Before you start building, check your local building codes and regulations to ensure you comply with any necessary permits or height restrictions for privacy walls in your area. It's important to follow the rules and obtain any required permissions from your municipality to avoid any future issues.

Step 3: Gather Materials and Tools
List all the materials and tools you'll need for the project. Common materials for privacy walls include wood, vinyl, or composite panels. You'll also need posts, concrete, nails/screws, a level, a saw, a drill, a measuring tape, and other basic construction tools. Purchase or gather all the necessary items beforehand.

Step 4: Mark the Locations
Mark the precise locations where the posts will be placed using stakes and strings. Ensure the spacing between the posts is even and aligns with your design. This step helps you visualize the wall's layout and ensures accuracy during installation.

Step 5: Dig Post Holes
Dig holes for the posts along the marked locations. The depth of the holes will depend on the height of your privacy wall. As a general guideline, aim for a hole depth about one-third of the overall height of the wall. Ensure the holes are deep enough to provide sufficient stability for the posts.

Step 6: Set the Posts
Place the posts into the holes and use a level to ensure they are plumb (vertically straight) and level (horizontally aligned). Temporarily brace the posts in place using stakes or supports. Once you're satisfied with the alignment, fill the holes with concrete and let them set as per the manufacturer's instructions.

Step 7: Install Panels
Once the concrete has fully cured, you can attach the privacy panels to the posts. Depending on your chosen material, follow the manufacturer's instructions for proper installation. Typically, this involves attaching the panels using screws or nails, ensuring they are securely fastened to the posts.

Step 8: Finishing Touches
After the panels are installed, take a moment to inspect the privacy wall for any loose screws or nails. Secure any loose components to ensure stability and durability. If desired, you can paint or stain the wall to enhance its appearance and protect it from weathering.

Step 9: Enjoy Your Privacy!
Congratulations! You've successfully built a privacy wall in your backyard. Take a step back, admire your hard work, and enjoy the privacy and tranquillity it provides. You can now spend quality time in your outdoor space without worrying about prying eyes.

Need help with your project? Our Project Centre team is ready to answer all your questions, no matter how big or small your project is. Consult our Project Centre today to find the perfect solutions in your dream colour and budget!
-
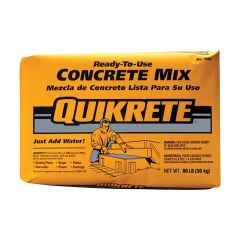 The Quikrete CompaniesQuikrete 30 kg Concrete Mix$9.99
- Ready to Deliver
- 382 Available for pick up at
-
 Starting at$29.98
 -
Starting at$53.88
-
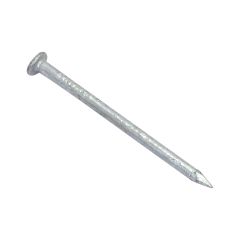 Tree Island1-1/2" Hot Dipped Galvanized Common Nail-25 lb$99.59
- Ready to Deliver
- 100 Available for pick up at
-
 Starting at$588.00
 -
 Stanley1-1/4" x 25' FatMax Tape Measure$34.69
- Ready to Deliver
- 6 Available for pick up at
-
$49.99
- Ready to Deliver
- 7 Available for pick up at


Recommended Articles
-
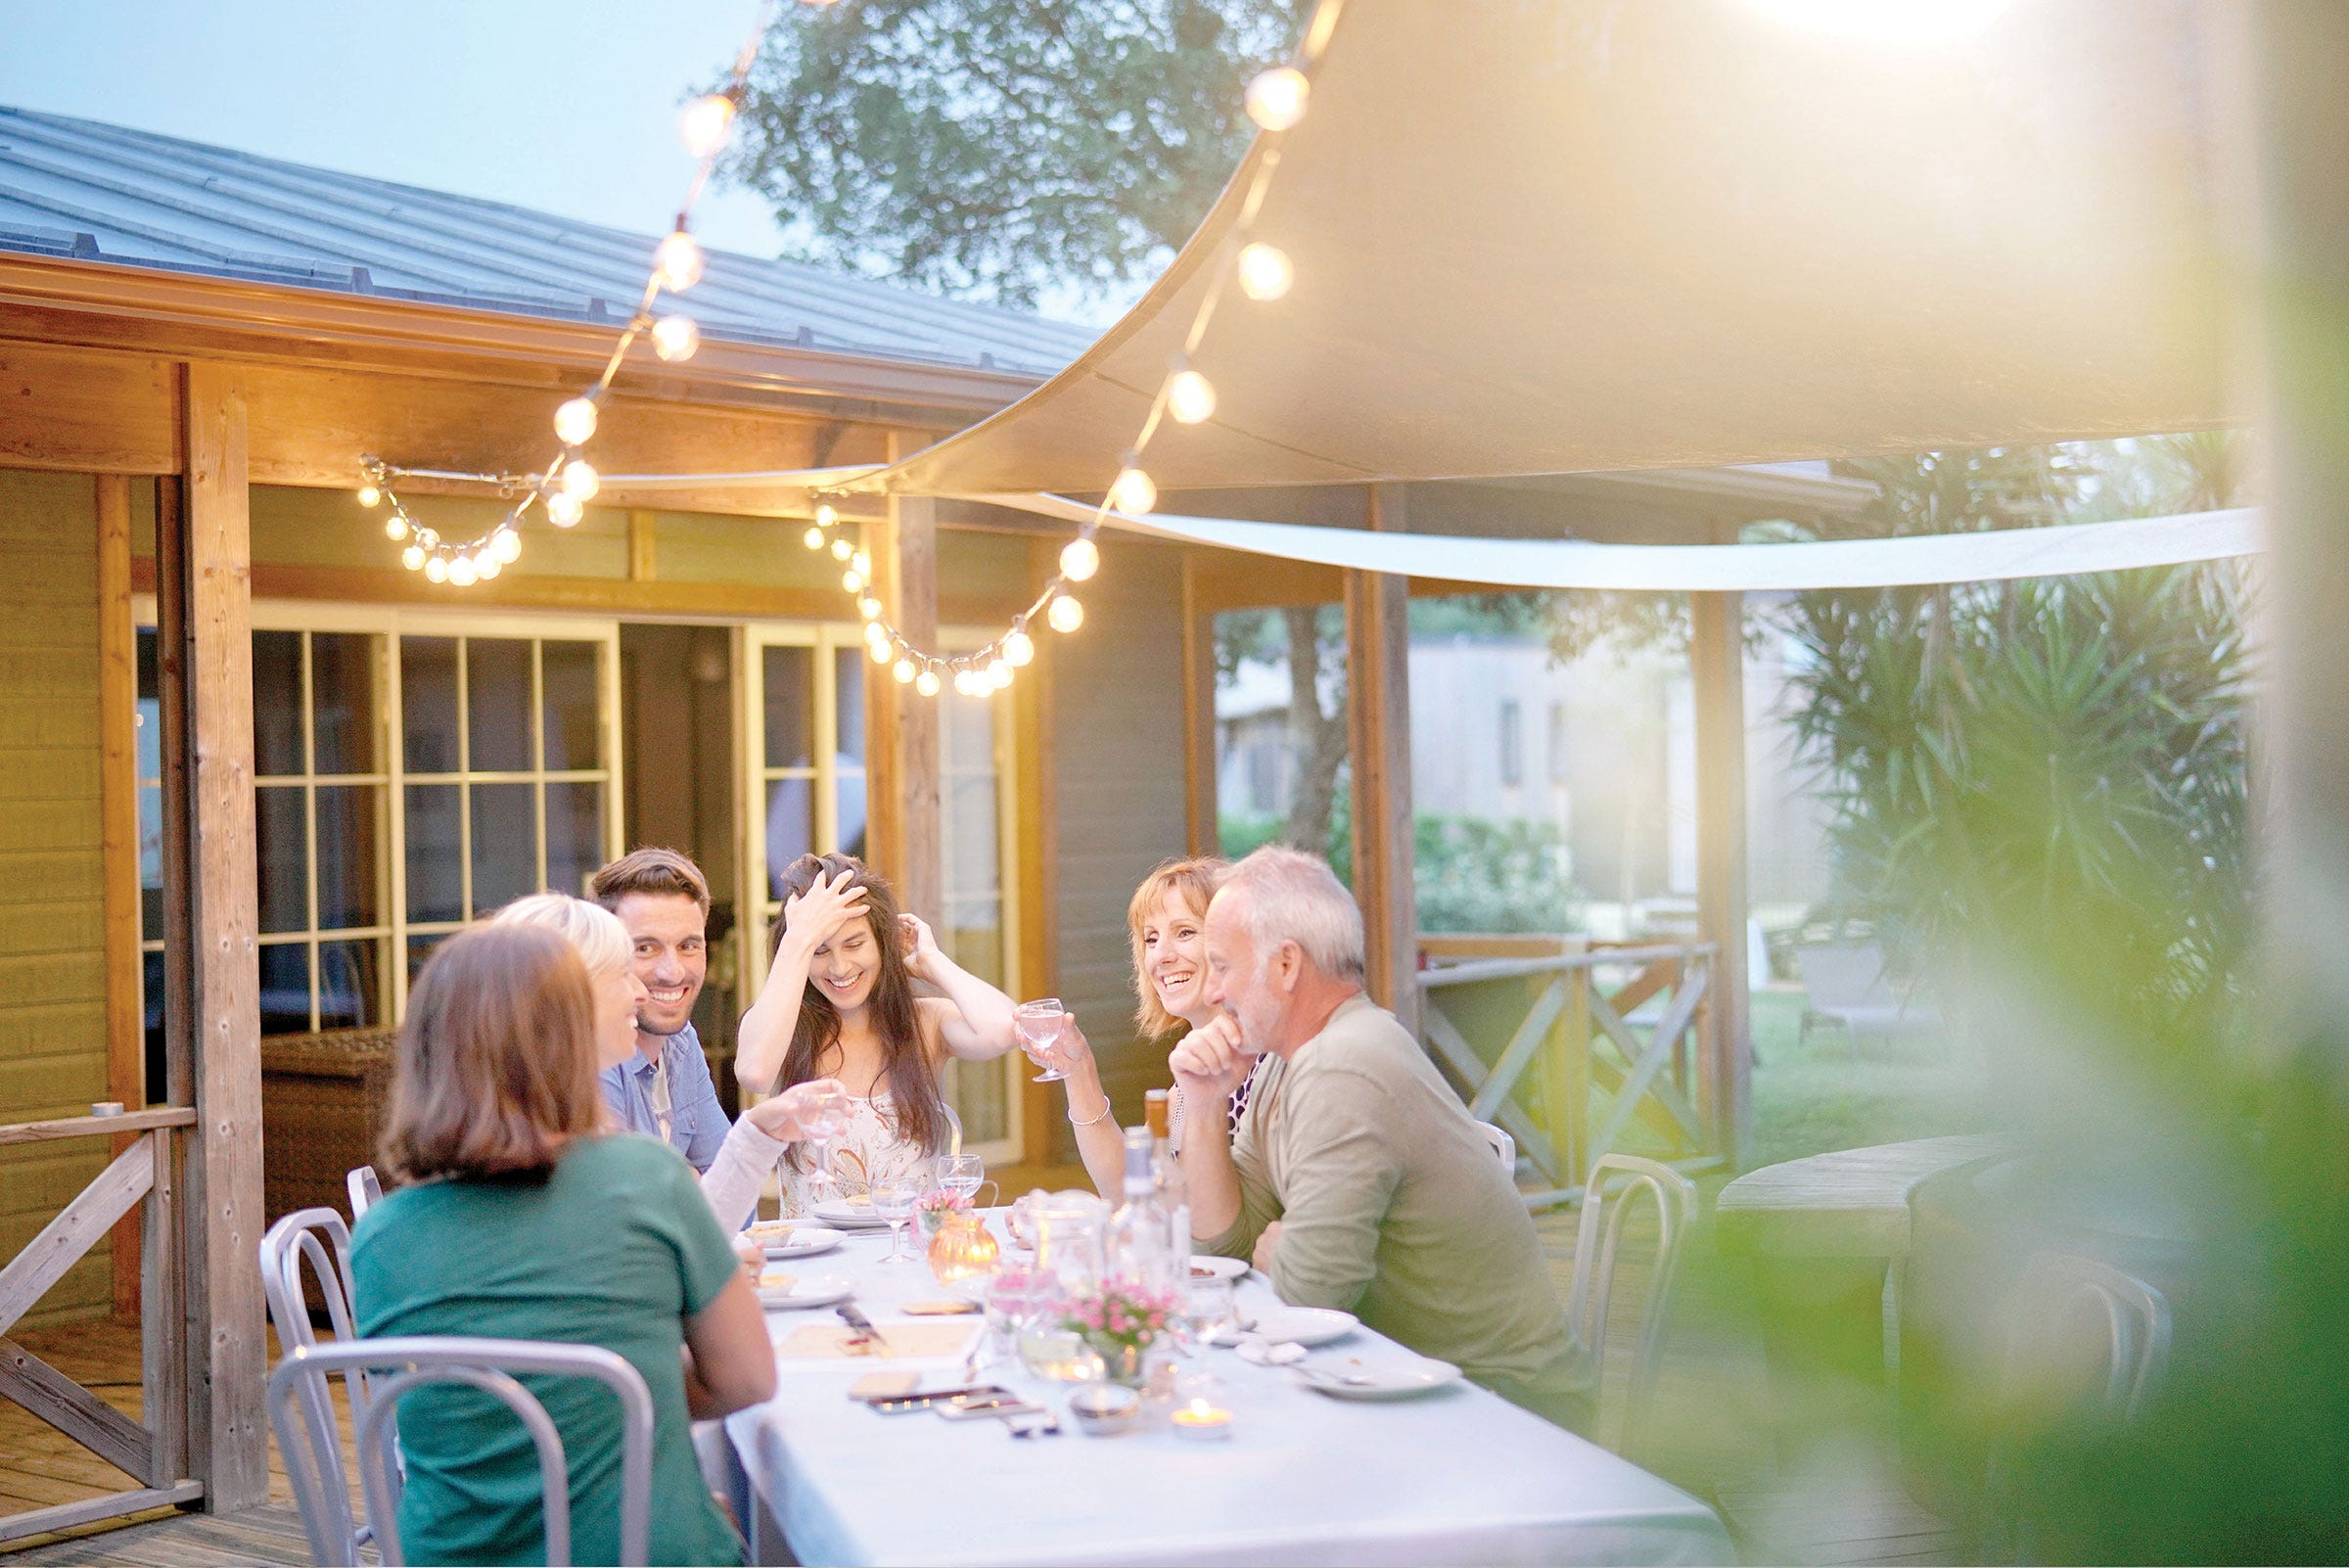
Outdoor space is a must for Maritime summers! Whether you have a small balcony or sprawling grove in your yard, the extension of your home deserves to be your favourite space for morning coffee, family time, and outdoor games. Our Project Centre pros can help you DIY all the decor, furniture, and greenery you need to transform your outdoor space from “meh” to “amazing”!
-
Why be like the rest when you can stand out? Modernize your address sign and spruce up the outside of your home. Not sure where to get started to create your one-of-a-kind address sign? Check out these tips and tricks!
-
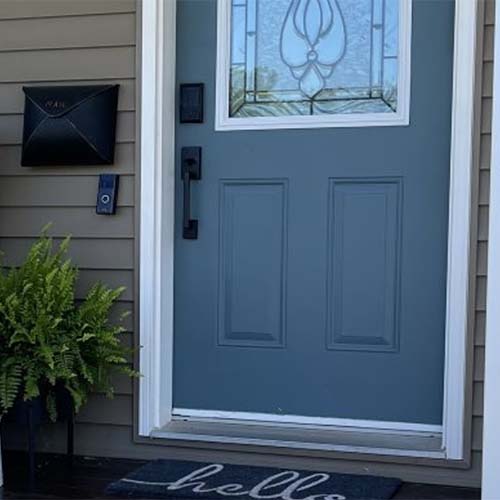
Looking for an inexpensive way to make your home look sleek and modern? Refresh your door with KENT. Your front door sets the tone for your home. Refreshing your door can help make a bold statement that ties everything together.