How to Build a Decorative Rope Railing
A decorative rope railing is a beautiful addition to any outdoor space. It can be an excellent option to mark out areas like decks, docks and gardening while adding a cozy, rustic, and nautical look to the landscape. Best of all, this is an easy DIY project that you can tackle using only a few tools.
Please note: Rope railings are decorative and do not meet most local building codes for decks. Please consult your local building code before building any railings. If you need a railing system that, in addition to being aesthetically pleasing, also doubles as a safety barrier, click the button below to check out our railing products. Visit your local KENT and ask one of our Project Centre Associates for assistance to help you choose the best option for your project.
You will need:
| 4x4 Deck Posts |
| Circular Saw |
| Drill |
| Driver |
| GRK Bolts |
| PL Premium/exterior Adhesive |
| Rope |
| Level |
-
$179.00
- Ready to Deliver
- 4 Available for pick up at
-
$45.49
- Ready to Deliver
- 5 Available for pick up at
-
$19.43
- Ready to Deliver
- 79 Available for pick up at
-
 Stanley24" Stanley Box Level$50.59
- Ready to Deliver
- 2 Available for pick up at
-
 Krayloy3/4" PVC Gray Conduit Pipe Strap$4.59
- Ready to Deliver
- 2 Available for pick up at


Step-by-Step Instructions
1
Cut your 4x4 posts adding adding 6 inches to your desired height. For example, if you want a 42 inches height post, cut them at 48 inches.
2
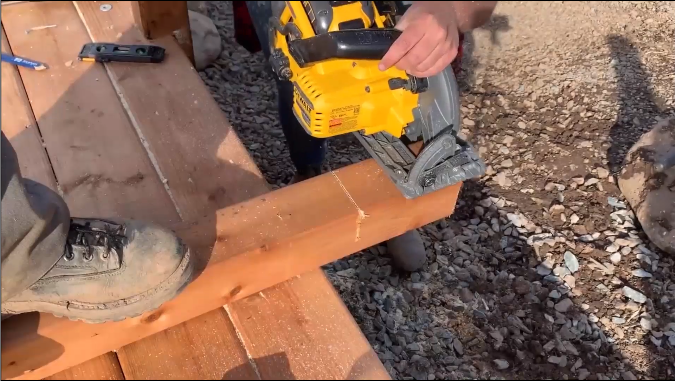
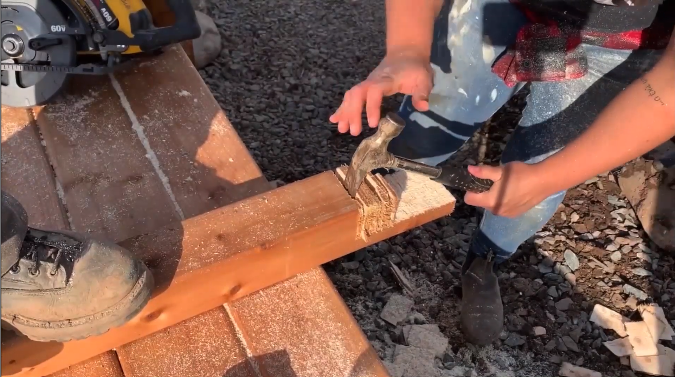
Set the circular saw blade to a 2 inch depth, and cut several relief cuts on one side. This will make sure your post sits flush and in your deck.
3
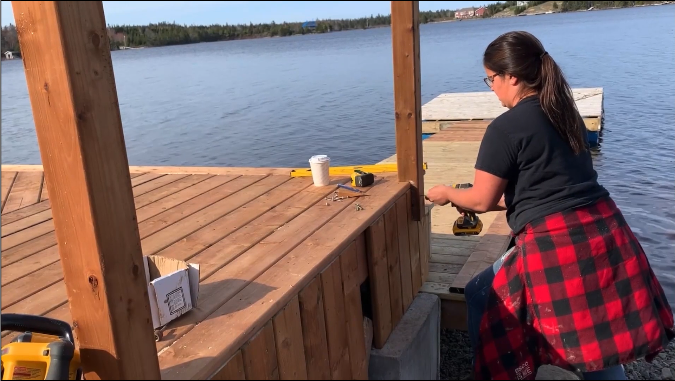
Add the exterior adhesive to the post, and place it on your deck. Use a level to make sure its up straight and then use your bolts to fasten it in place.
4
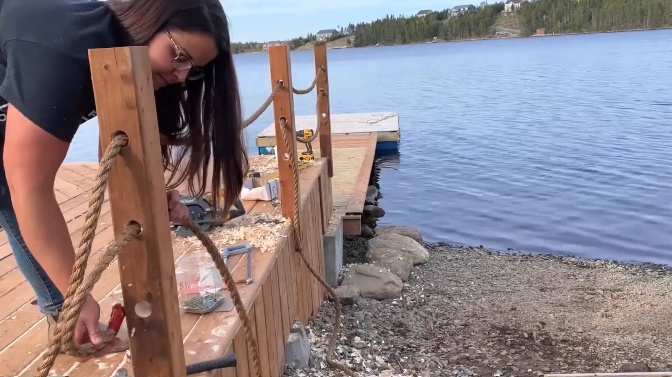
When all your posts are set, drill a hole a bit larger than your rope diameter 6, 12 and 18 inches down. Sand the holes if needed and string your rope throughout.
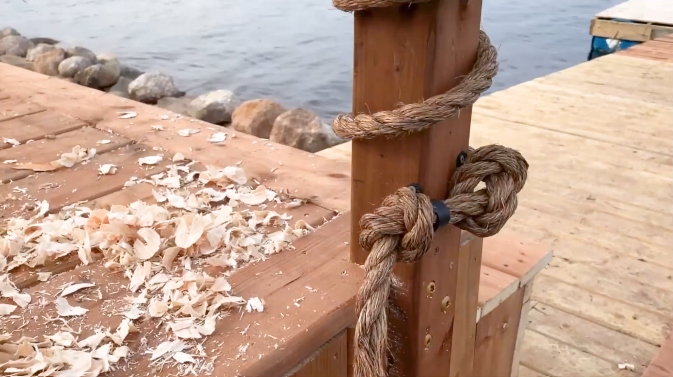
5
At the end, tie a knot in the rope and use a plastic plumbing fittings to secure them to your posts.
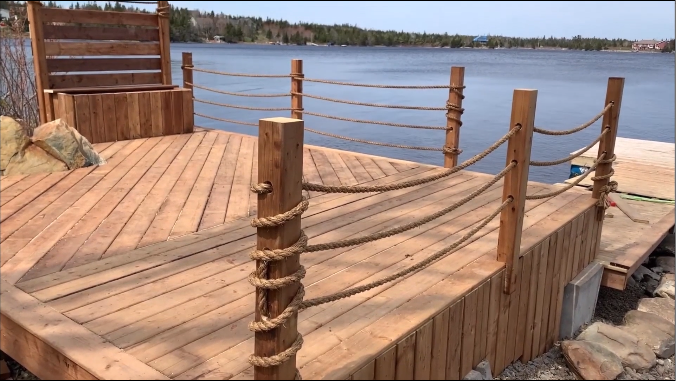
6
Enjoy your new decorative rope railing!
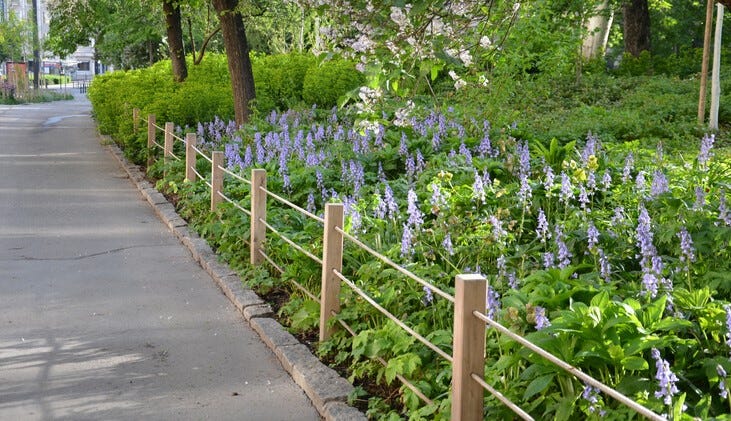
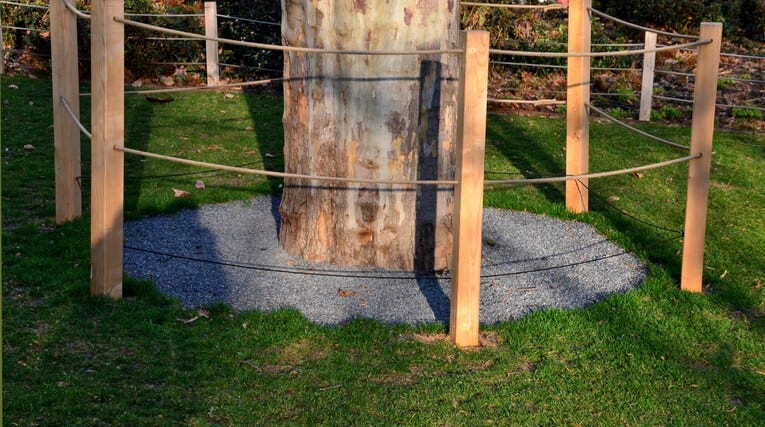
Here are some other common uses for decorative rope railings to inspire you!
In this how-to, we went through the process of installing a decorative rope railing on a deck. Nevertheless, the fundamentals would be the same if you would like to use a rope railing on a garden or backyard. In this case, all you need to do is take into consideration the pole height, keeping in mind how deep you would want to bury it in the ground.
It is recommended holes with at least 3 feet deep for posts that extend 8 feet or more above the ground. For poles that extend 6 feet above the ground, your holes should be at least 2 ½ feet deep.