How to Create a Wreath Sign
Want add a unique touch to your front door? Give our Christmas Wreath Sign project a try!
Supplies

1 Using a chop saw (or hand saw), cut 3 strips of the BAM pine panels in half (each measuring 28-5/8” long). You should now have 6 smaller panels.
2 Additionally, cut the piece of strapping into 2- 30” long pieces.

3 Measure 3” from the outside edge and down 1” from the top. Measure your wreath hangers to determine how wide the holes should be and draw a rectangle for the cut lines.

4 Drill a hole as large as your jig saw blade inside each of the rectangles. Then using the jig saw cut around the rectangle.

5 Lay the panels wrong side up. Run a bead of wood glue in the female channel of a panel. Interlock the pieces by firmly pressing the male and female sides together. Repeat until all 6 panels are together with the edges lining up.
6 Apply wood glue to each 30” strip of strapping and lay perpendicular to the lines of the panel pieces on the wrong side of the sign.

7 Assemble the sign by putting wood screws through the strapping into the sign to secure the front.

8 Center a metal clothes hook on the second board from the top and screw in place.

9 Add decorative pieces to the corners if you wish.

10 Add your wreath hanger to the board.
Recommended Articles
-
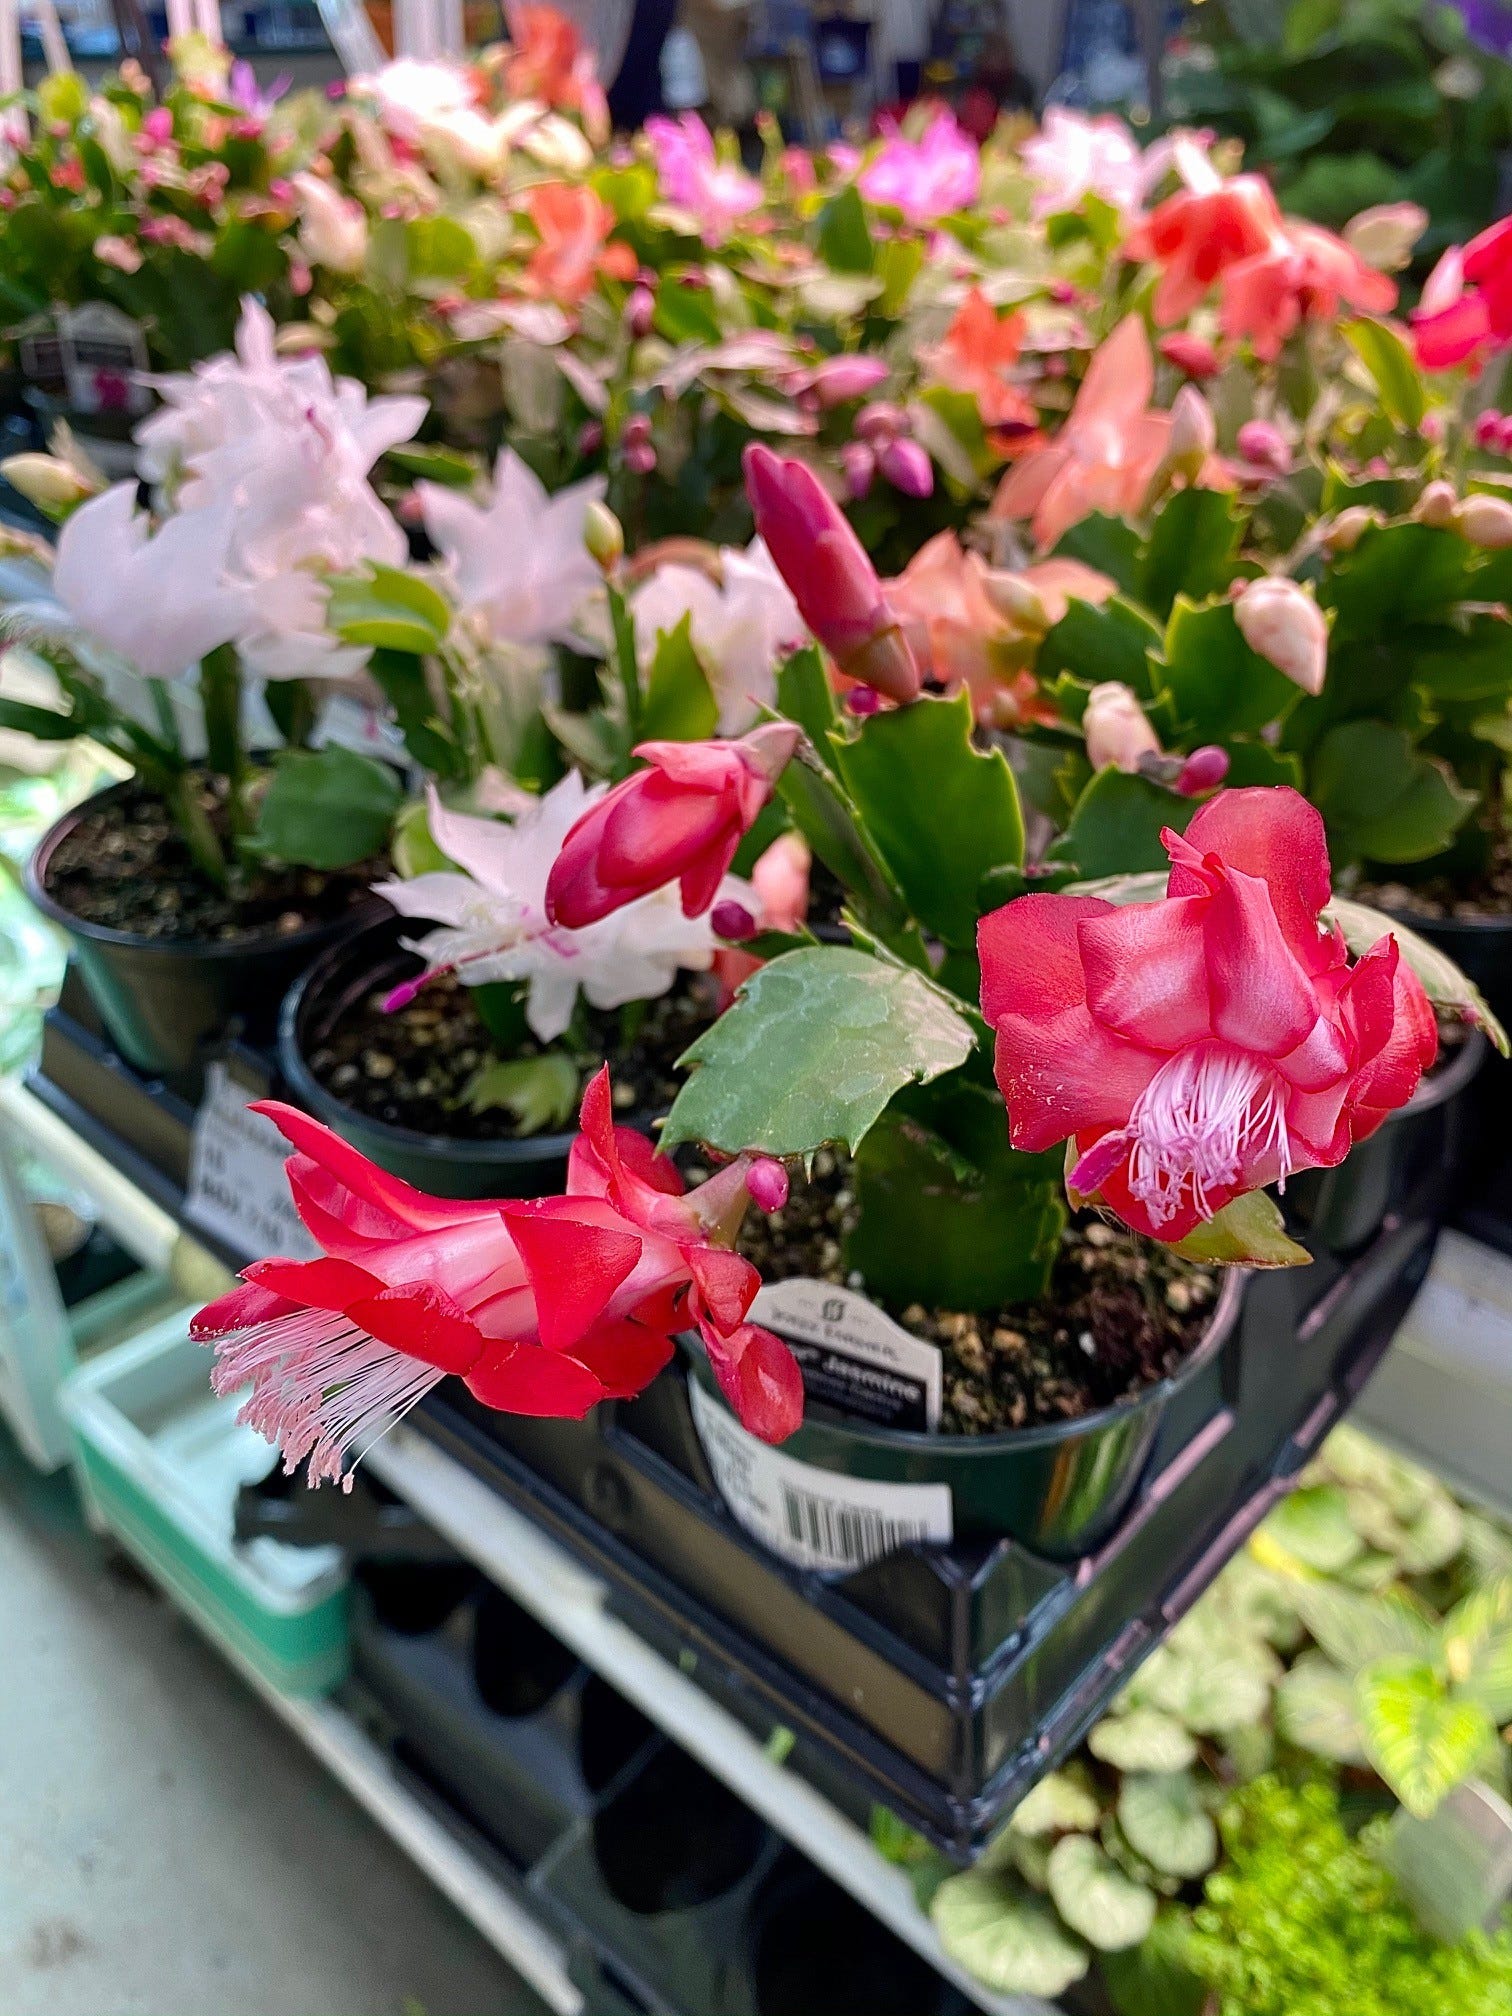
While twinkling lights and glittery tinsel add sparkle to holiday decor, you can also brighten up the festive season with plants like poinsettias, Norfolk Island pine, amaryllis, and Christmas cacti. Placing these plants on mantelpieces, stairs, tabletops, indoor entrances, kitchen counters, and any unadorned space is an easy way to add natural beauty to the holidays.
-
This 3-tiered Christmas tray is the perfect way to add holiday décor to any space in your home. This DIY project is beginner-friendly, and it only requires a few tools and materials to complete. You can use it as a centerpiece on your kitchen island or as a warm holiday welcome for your guests on an entryway table - the possibilities are endless.
-
It’s fun and easy to create winter-inspired planters for your front porch and other outdoor spaces.
-
Holiday plants like poinsettias, cyclamen, and Norfolk Island pine make welcome gifts but can also be used to ‘deck the halls’ in your own home. Use pots of festive plants to adorn entranceways, tabletops, mantles, and counters, or consider tucking small pots of plants like poinsettias into the branches of your Christmas tree.
Our guide below will help keep your favourite holiday plants in top shape through Christmas and beyond, as many also make excellent and long-lived houseplants.