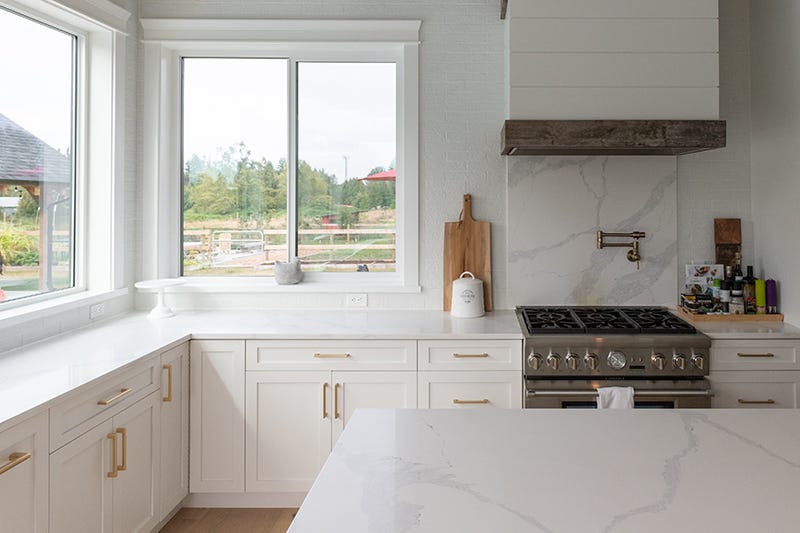
Summer of DIY: Windows
Replacing windows is one project that gives the exterior of your home a major transformation! Not just for aesthetics, replacing windows increases your home’s efficiency in both the summer and winter months, and can even score you rebates and energy savings year after year. Whether you’re replacing or installing new windows for style or functionality, our Kent experts can provide all the installation and efficiency info you need!


Determine Your Needs
Before you get DIY’ing, carefully consider the function of your new windows. Browse Atlantic Window's site to choose the opening mechanism, size, energy rating, and desired shape. Our Project Centre can recommend the best options for your home, and review the best insulation and efficiency ratings to improve your home’s heating and cooling. All our windows supplied by Atlantic Windows are CSA tested as well as tested against the extreme weather conditions of Atlantic Canada. They also come with the best warranty in the business.
Style and Size
When installing new windows or replacing old ones, the shape and style of your windows is equally as important as their function. Black windows have become increasingly popular in modern trends, along with shapes like arches or ovals to add interest to your design! Keep the opening style in mind for different spaces: sliding windows allow for better access to a patio from the kitchen, while tilt or casement windows allow better privacy and security.
Before ordering your new windows, it’s extremely important that the correct size is determined. If the windows are being installed in new construction, the width and height will be based on the stud frame opening, also called the rough opening. After measuring the stud opening, subtract at least ½ inch from both the height and width to allow for shimming and insulation.


Other Things to Consider
If ordering replacement windows, the outside frame known as the brick mould will also have to be considered as well as the stud frame opening. The thickness of the walls should be considered. Are the wall studs 2 x 4 or 2 x 6? The windows can be ordered based on the wall thickness as well.
Lastly regarding size, windows installed in bedrooms must have a minimum opening to allow someone to escape in case of fire. This is called an Egress opening. Check with your Project Center for the minimum opening size required.
Removing Your Old Windows
Before removing old windows, have the new windows on site. Be sure that they are in great shape. Double check the size to ensure that they will fit the existing opening. Then, you can begin to remove the old windows.
- Score around any caulking or framing to remove on the interior side.
- Carefully pry up siding around the exterior. Be careful not to damage any siding you want to use around the new windows.
- Tape around the window’s edges to help prevent any breakage, and pry out the exterior frame nails.


Now it's time to install your new windows!
- Make sure that the window is closed and locked during installation.
- Wrap the wooden frame with an impermeable water barrier along the bottom and 6 inches up the sides.
- Seal the outside of the opening with a good quality exterior grade caulking.
- Make sure that the window is plumb and square before fastening to the frame.
- Fasten the window by using the supplied anchor brackets or fastening through the frame. It is not recommended to use the nailing flange only. This flange is meant to temporarily hold the window in place.
- Install fiberglass insulation or low expansion foam between the window frame and the wall studs. Do not overfill with foam as this me cause the frame to warp, hindering the windows operation.
- The window should now be ready for interior trim and finishing.


Visit our Project Centre for all these tips and more. Get free quotes on all your summer projects, and ask us about installation services if your DIY’ing needs a boost!

