How to Install a Chair Rail
A chair rail can be used for a number of different wall treatments, such as wainscotting, shiplap, or you can use it to separate two different paint colours on your wall. In this DIY, we are going to show you how to install a chair rail, then you can get creative with what you want to pair it with!
For This Project You Will Need:
| Trim |
| Measuring Tape |
| Pencil |
| Brad Nailer or Finish Nails & Hammer |
| Level |
| Saw |
| Quarter Round Moulding (Optional) |
| Stud Finder |
1
Take Measurements
Using your measuring tape, measure from the floor, making a mark on your wall where you want your chair rail to be.
Then you want to measure the width of your wall, so you know what length to cut your chair rail to.
Using a stud finder, identify the studs in your wall by making a mark on the wall with a pencil. This is an important step as you are going to want to attach your chair rail to the studs to ensure a secure hold.
2
Cut Your Chair Rail
If you are installing your chair rail on a wall that forms a corner with the adjacent wall, you will need to cut your chair rail at a 45-degree bevel cut. This will ensure that your two pieces of chair rail fit together seamlessly when they meet in the corner of your wall. Cut your 45-degree bevel cut on your miter saw first, before you install it.
To cut a 45-degree bevel cut:
1. Measure your chair rail from the back, marking the width with a pencil.
2. With your miter saw at 90 degrees, cut your chair rail on your mark.
3
Install Your Chair Rail
Line up your chair rail on the wall using the marks you made earlier as a guide. Be sure to use a level to ensure that your chair rail is straight on the wall. Using a brad nailer or finish nails, nail your chair rail into the wall, placing your nails in the spots where you marked the studs. It’s important to keep your level on top of your chair rail, so you can ensure it is straight throughout the installation process.
4
Optional Step
To add a small lip to your chair rail, use a skinny quarter round moulding and cut your wood at a 45-degree angle for your corner, cutting the opposite side at 90 degrees. Use your brad nailer or finishing nails to nail it into the top of the chair rail.
-
$48.89
- Ready to Deliver
- 16 Available for pick up at
-
$73.09
- Ready to Deliver
- 9 Available for pick up at
-
$94.09
- Ready to Deliver
- 28 Available for pick up at
-
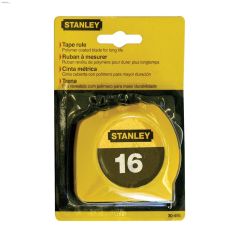 Stanley3/4" x 16' Tape Measure$7.99
- Ready to Deliver
- 24 Available for pick up at
-
$149.00
- Ready to Deliver
- 2 Available for pick up at
-
$9.99
- Ready to Deliver
- 31 Available for pick up at
-
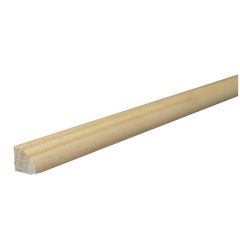 Alexandria Moulding1/2" x 1/2" x 8' Solid Clear Pine Quarter Round Moulding$18.19
- Ready to Deliver
- 47 Available for pick up at
-
$29.98
- Ready to Deliver
- 9 Available for pick up at


Recommended Articles
-
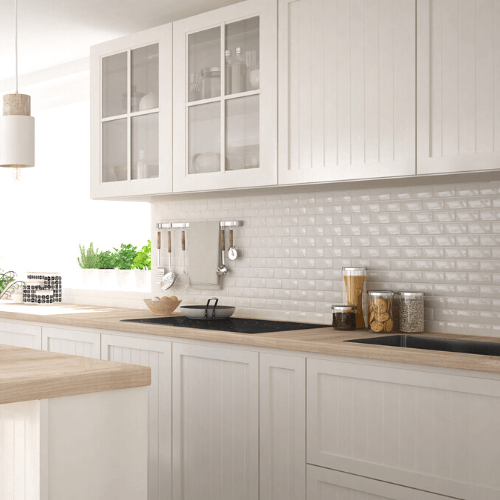
A backsplash is like jewellery for your kitchen. The look just isn’t complete without it! If you’ve outgrown your old style or are starting with a blank slate, it’s time to try your hand at tiling! Tile your DIY backsplash with the help of our Project Centre and give your kitchen a facelift this weekend.
-
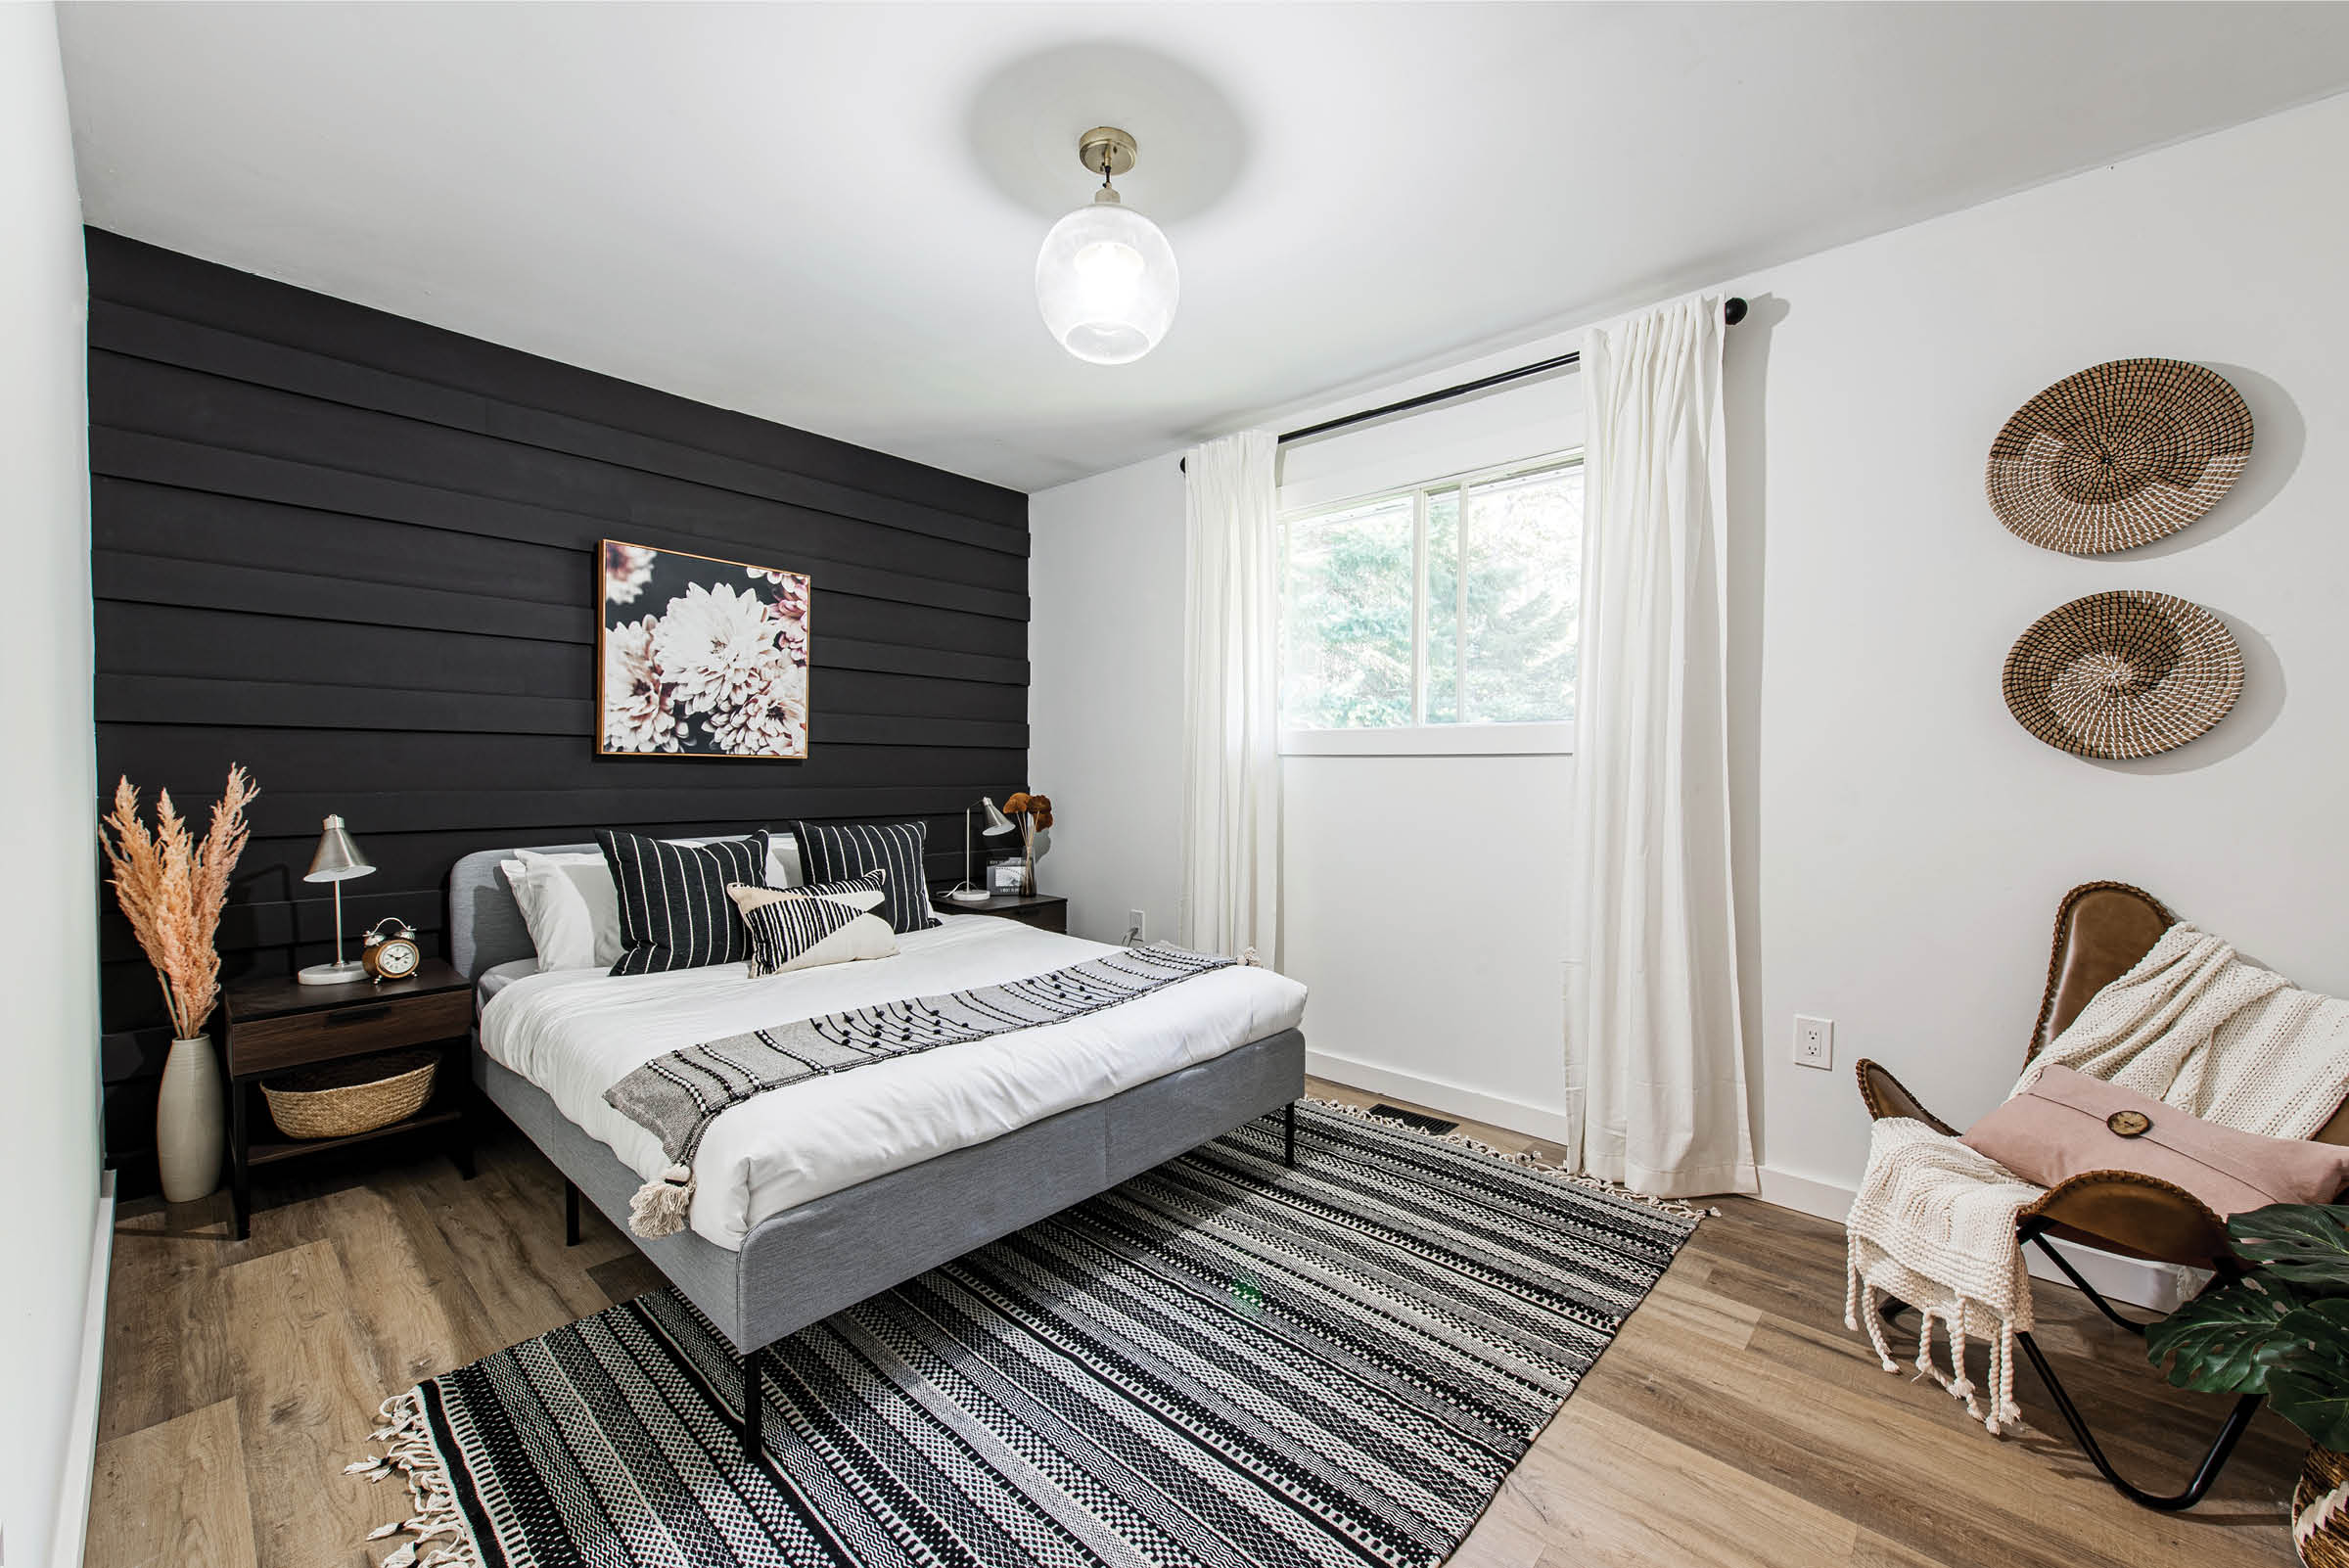
We’re ready to make a statement this fall! Ditch your bland walls in favour of more colour and patterns to give any room a style boost. Create more interest and definition in your space with our 3 DIY super heroes: paint, wallpaper, and paneling!
-
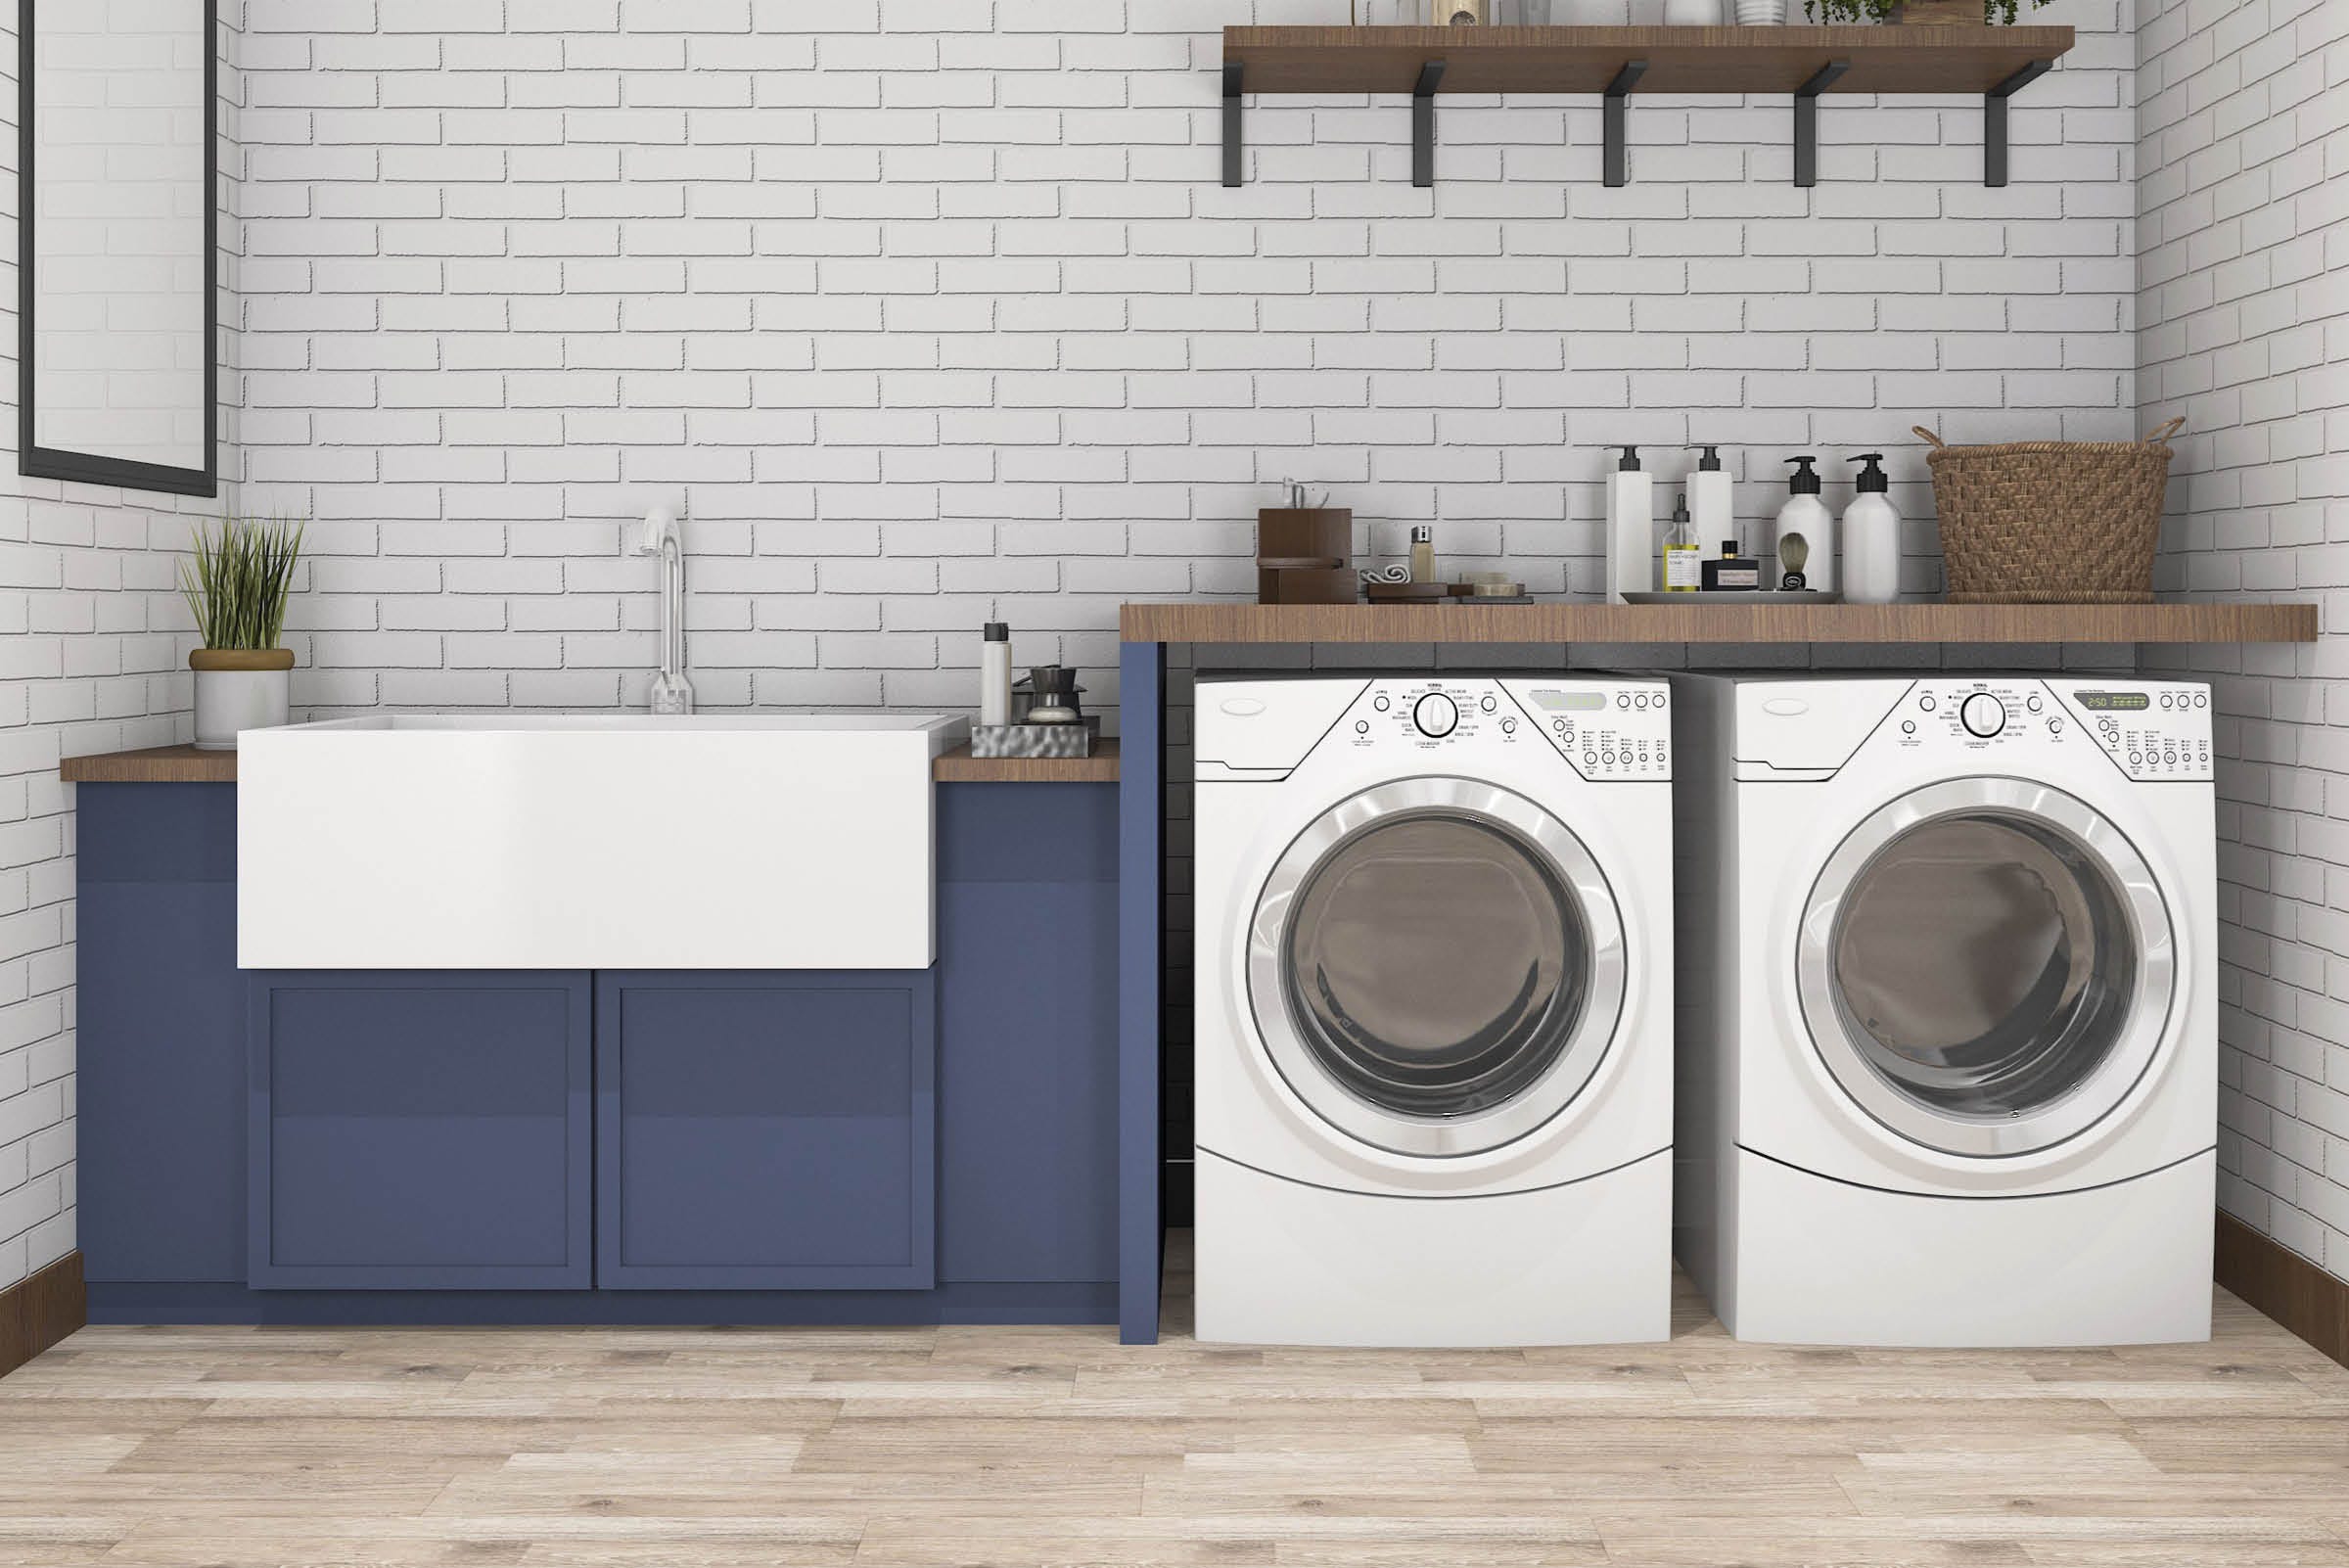
Make chores one of the most beautiful parts of your day! Enjoy washing your freshly unpacked fall sweaters with a laundry room makeover in one weekend. No matter what kind of laundry space you have, you can find supplies at KENT to update floors, walls, and countertops.
-
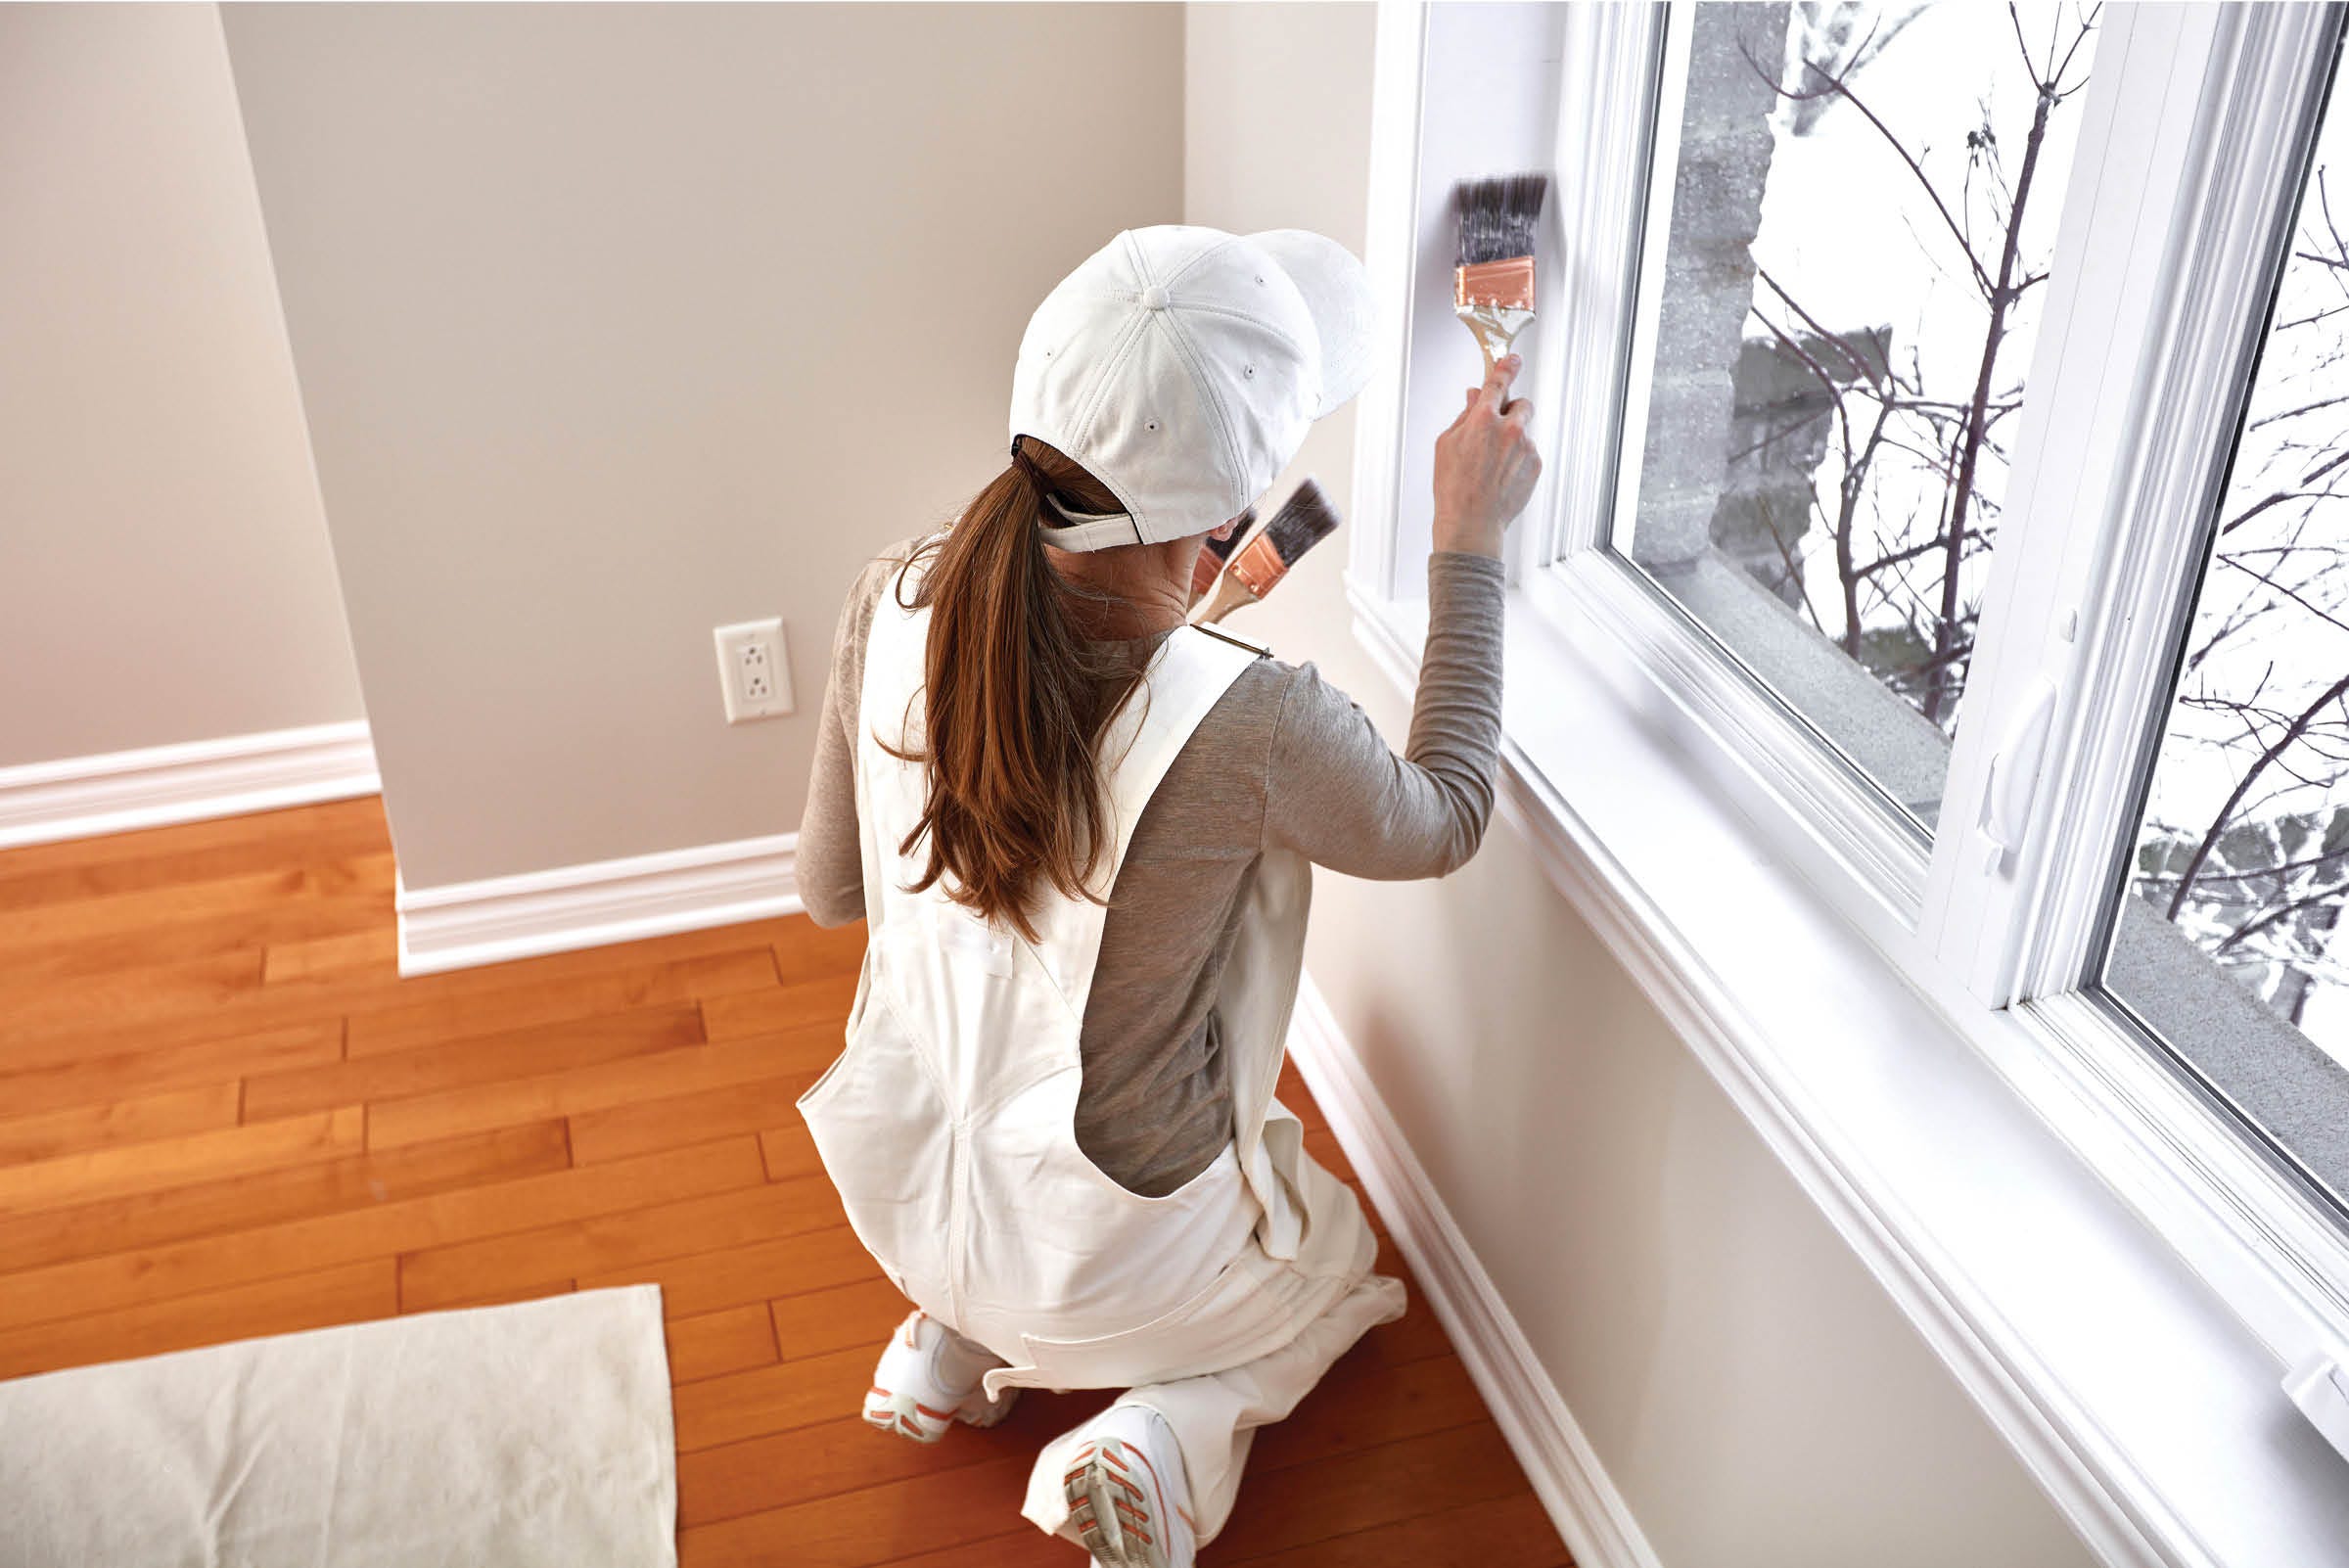
It’s the little things that count! Put the finishing touch on all your fall DIYs with easy trim and moulding updates. If your look is out of date, new trim can give the perfect boost to bring your style up to speed. Ditch your dated doors and trim and opt for a fresh fall look that will look great in every season!