DIY on a Budget: Update Your Backsplash
A backsplash is like jewellery for your kitchen. The look just isn’t complete without it! If you’ve outgrown your old style or are starting with a blank slate, it’s time to try your hand at tiling! Tile your DIY backsplash with the help of our Project Centre and give your kitchen a facelift this weekend.


Choose Your Style
You can achieve a beautiful result no matter your budget, read on to find our top picks!


1 Our favourite value option
Peel and stick tile like our Milano Smart Tile Mosaik style! These gel-effect tiles will give you big style for a small cost and save on the cost of grout and tools. All that’s needed to install them is a pair of scissors!


2 For mid-range budget DIY
A popular option is Whisper White Glossy Ceramic Wall Tile! This subway style ceramic tile will need grout, which ranges from $35 to $200 depending on the type and amount of grout needed.


3 For a high end look
Our premium patterned porcelain and ceramic Marrakesh HD tile from Anatolia Tile & Stone is sure to wow. Find all the grout and tools you need with help from our Project Centre and explore all the tile combinations you can imagine!


Step-by-step to update your backsplash
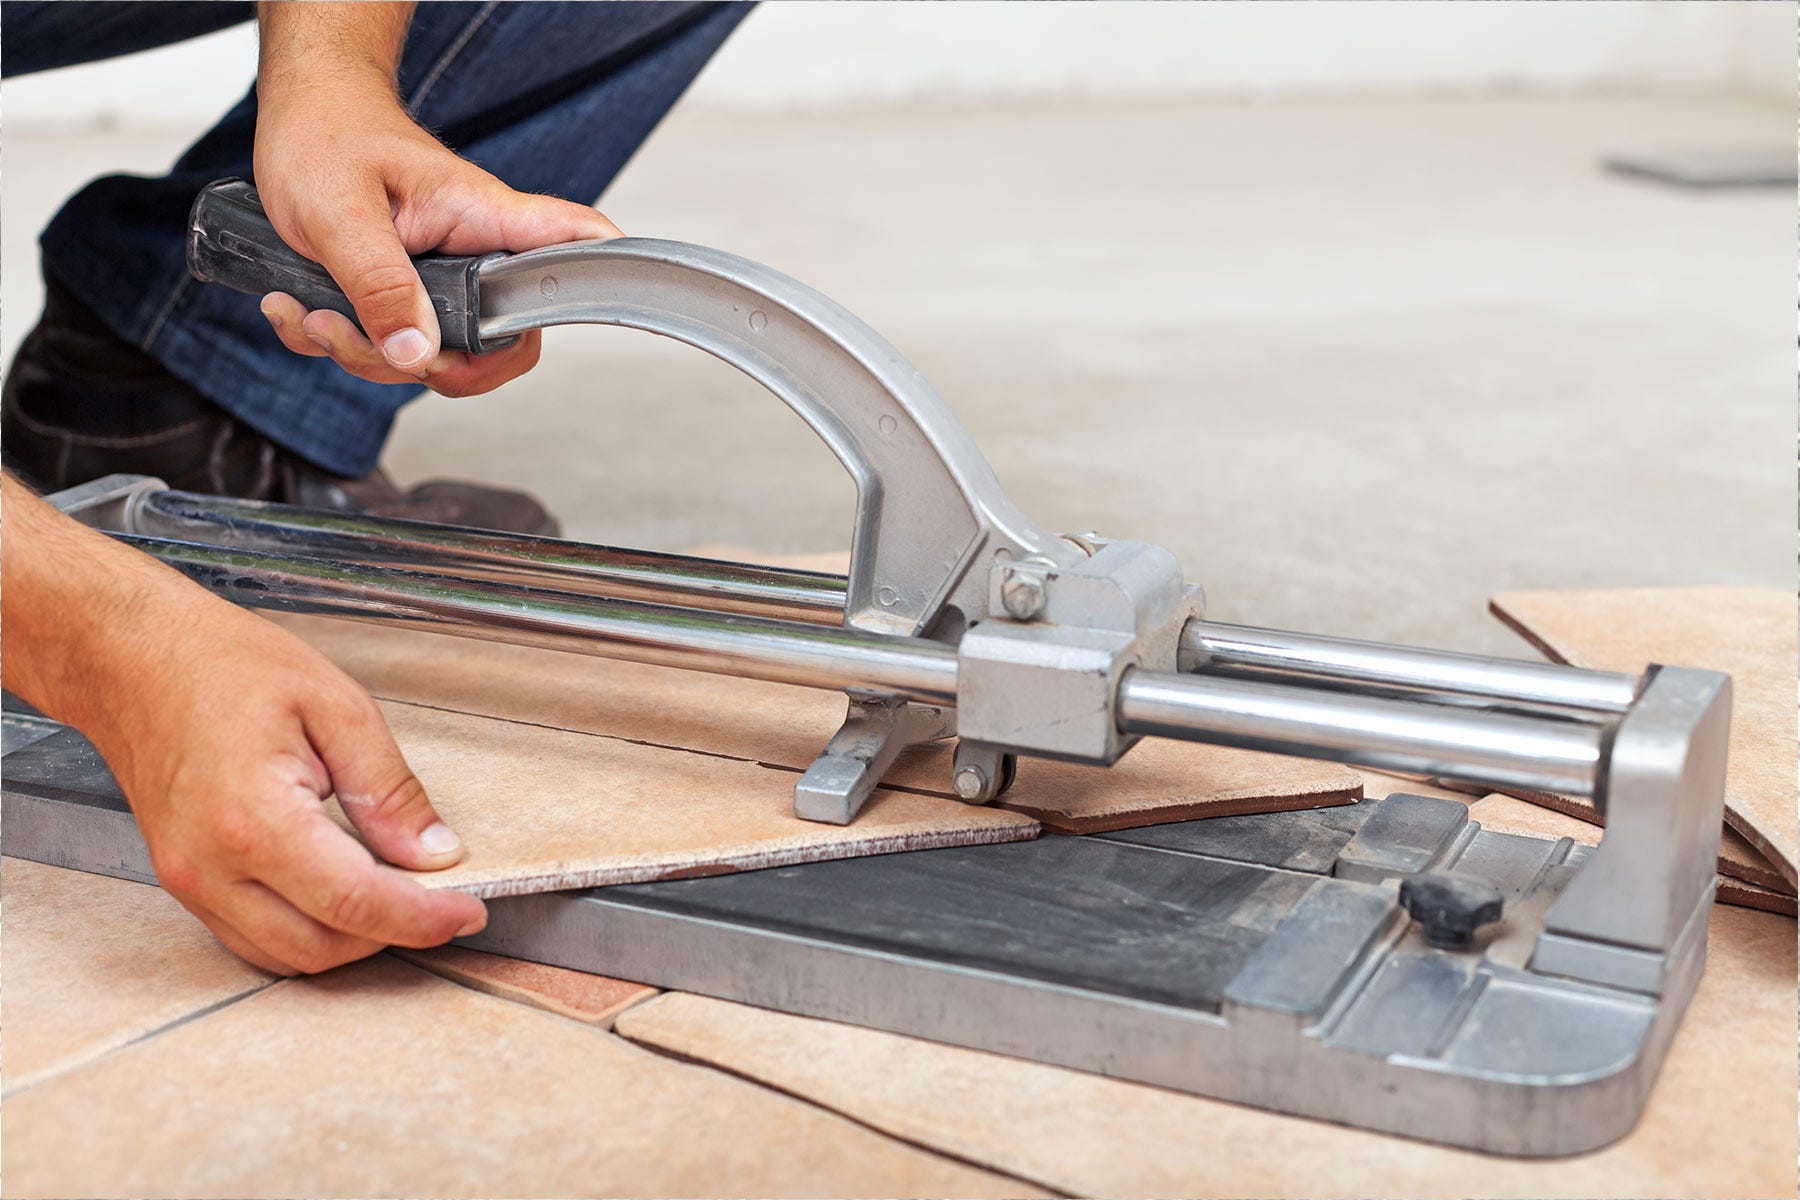
Before you start any demolition, have all your supplies ready to go! You’ll need the right amount of tile for your square footage, plus a little extra. It is a good idea to purchase extra tiles (usually 10% more than you need to cover your area) for cutting, waste, and mistakes. It’s also recommended to keep some tiles on hand for future replacement. Ask our Project Centre for an exact list of all the supplies you’ll need including personal protective equipment, tools like a tile cutter and nipper, a notched trowel, grout float, tile spacers, drop cloths, and a bucket and mixer for your mortar.


- Protect your countertops, disconnect any appliances in the area, and remove any outlet covers.
- Remove any existing wallpaper or tile. Patch repair your drywall as needed and sand any rough spots as smooth as possible. Any bumps will lead to uneven tile!
- Ensure all edges around your tile area are level and square. If your cabinet or counter edges are a little less than straight, try mosaic tile or stone to help conceal any unevenness.


- Time to tile! Use the flat side of your trowel to spread a thin layer of mortar, then use the notched side to comb ridges in one direction.
- Work in small sections and use a wet sponge to clean up any mortar smudges.
- Set tile spacers and use a grout float to ensure everything is even.


- Allow your tile to set for 24 hours before grouting. Account for any extra sealing your tile choice may need.
- Remove your spacers and clean your tiles before grouting.
- Mix your grout as instructed and apply with a grout float. Work in small sections diagonally, cleaning your tiles with a damp sponge.
- After the grout has set, give your tile a final polish to clear any remaining grout haze.
- Once fully dry, polish your handiwork off with any necessary sealant!


Finishing touches
Put the finishing touch on your kitchen and complete your style vision with the perfect backsplash! Ask your KENT expert about all our tile and grout options to suit your space: try new shapes, designs, and colour combinations to revamp your style and get DIYing this fall!


