 Nous sommes votre équipe canadienne de l’Atlantique


 1-877-445-3527
 Stockez plusieurs adresses
DIY Rustic Wreath Sign Project
Create a rustic decorative wreath sign that can be used throughout the year by simply changing seasonal wreaths and accents. This beginner-friendly woodworking project combines barn wood panels, decorative hardware, and simple construction techniques to create a charming sign perfect for porches, entryways, and indoor dcor.
Before starting, gather all required materials and tools to ensure the project moves smoothly from cutting and assembly to final decoration.
Project Supplies
- 48" x 6" barn wood panels
- 1" x 2" strapping
- Decorative clothes hook
- Short wreath hangers
- 1-1/4" wood screws
- Wood glue
- Tape measure
- Pencil
- Drill and drill bits
- Jig saw
- Robertson driver bit
- Chop saw or hand saw
Having all supplies ready before beginning helps ensure accurate cuts, smoother assembly, and a more enjoyable DIY experience.
Step 1: Cut the Panels
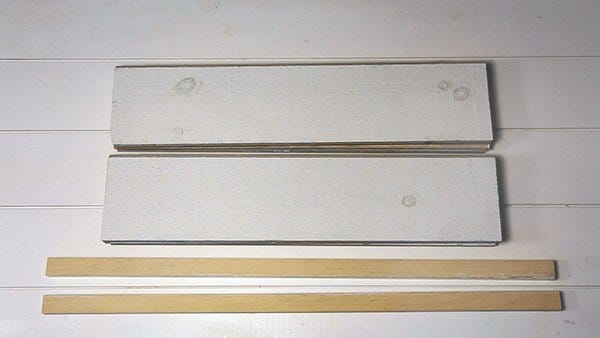
Using a chop saw or hand saw, cut three barn wood panels in half to create six equal pieces measuring approximately 28-5/8 inches long.
These six pieces will form the main body of the wreath sign and should be cut as consistently as possible for proper alignment during assembly.
Step 2: Prepare the Strapping
Cut the piece of strapping into two sections measuring approximately 30 inches long.
These support pieces will later be attached to the back of the sign to strengthen the assembly and hold the individual panels together.
Step 3: Mark the Hanger Openings
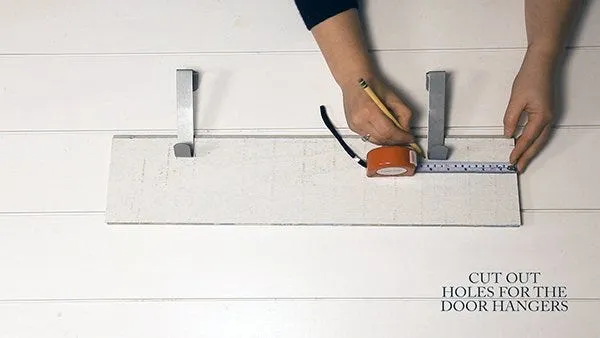
Measure approximately three inches from each outside edge and one inch down from the top of the panel assembly area.
Measure the width of your wreath hangers and mark rectangular cutouts that will allow the hangers to fit securely through the sign.
Step 4: Cut the Openings
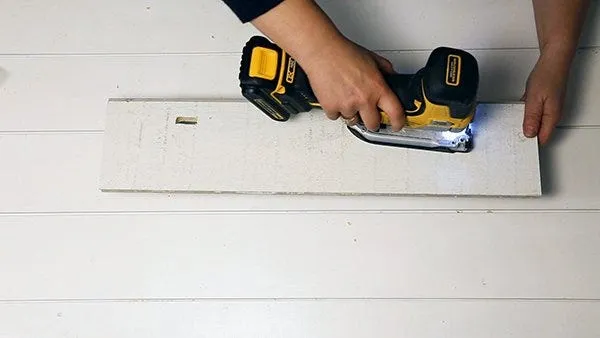
Drill a starter hole inside each marked rectangle that is large enough to accommodate the blade of your jig saw.
Carefully cut along the marked lines using the jig saw to create clean openings for the wreath hanger hardware.
Step 5: Assemble the Panels
Place all six wood panels face down on a flat work surface.
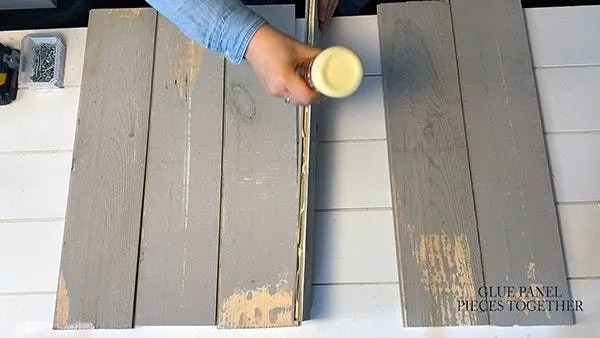
Apply a continuous bead of wood glue inside the female groove of each panel and firmly connect the tongue-and-groove joints together.
Continue until all six panels are connected and the outer edges are aligned evenly.
Step 6: Attach the Support Straps
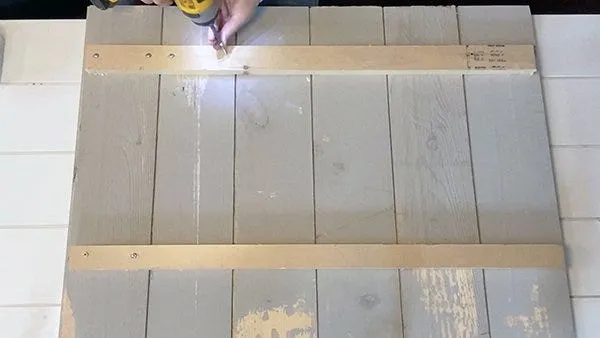
Apply wood glue to both 30-inch support straps and position them perpendicular to the panel joints on the back of the sign.
These support pieces reinforce the sign and help maintain structural integrity over time.
Step 7: Secure with Screws
Drive wood screws through the support straps and into the rear of the sign panels.
This mechanical fastening works together with the wood glue to create a strong, long-lasting assembly.
Step 8: Install the Decorative Hook
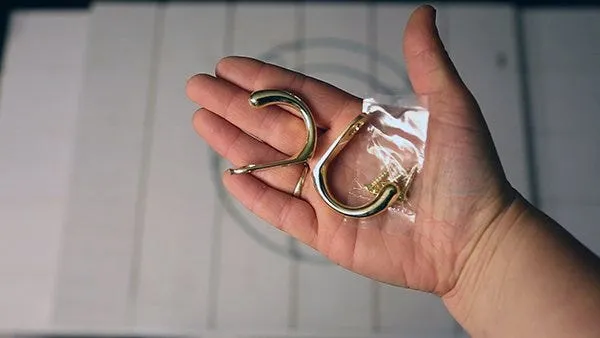
Center a decorative clothes hook on the second board from the top of the sign.
Secure the hook using the manufacturer's recommended screws. This hook can be used to display seasonal accents, signs, greenery, or decorative accessories.
Step 9: Add Decorative Details
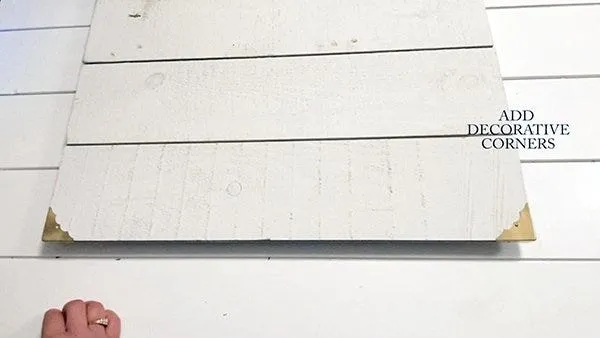
Personalize the sign by adding decorative corner pieces, trim, paint, stain, lettering, or seasonal embellishments.
This step allows you to customize the finished project to suit your home's style and dcor.
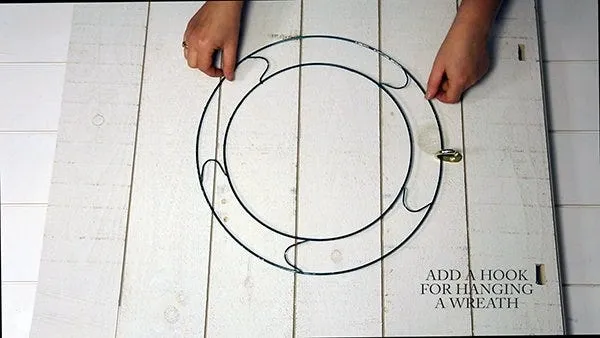
Step 10: Display Your Wreath
Install the wreath hanger through the openings cut near the top of the sign and hang your favourite seasonal wreath.
The completed sign can easily be refreshed throughout the year with different wreaths for spring, summer, fall, winter, holidays, and special occasions.
Enjoy a versatile handmade dcor piece that combines rustic charm, simple woodworking skills, and year-round decorating flexibility.