
![]()
Everything you Need to Know!
▸ How do I start?
▸ Proper preparation
▸ Choose the right conditions
▸ Do I HAVE to do this?
▸ What's the best weather?
▸ The right tools
![]()
Inspiration
Kent Summer of DIY - Week 4 - Deck Staining
Normally stains are avoided at all costs...this is your opportunity to embrace the stain! What would a Summer of DIY be without staining decks? Now that you have your dream deck to enjoy your summer on, let’s take it to the next level with a new look to compliment your home and personal style. Deck stain can not only change the colour of your deck, but help protect your deck boards against the elements. Let’s start with choosing the right stain for your surface!
Choosing the Right Deck Stain
Different stains are made for different wood, our Kent Project Centre experts can ensure you pick the right one. Outdoor stains are typically water or hybrid formulas. If your deck is brand new, a clear or transparent stain will keep the original tone looking fresh longer. Older, existing wood can be refreshed with a semi-transparent or semi-solid/solid colour stain. If your deck typically gets a lot of sun or snow, water based stains will give better durability and protection. Get the best of durability and style with a hybrid stain that’s easy to use and long lasting!
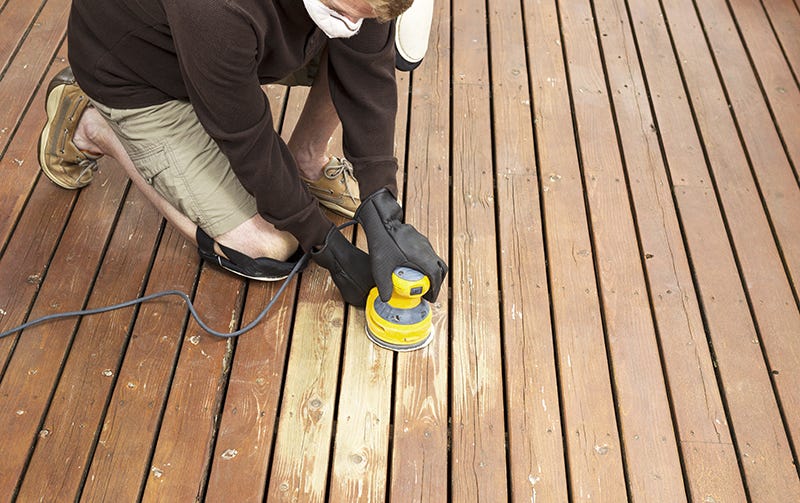
Preparing Your Deck for Stain
- The right weather is key to successful deck staining! You will need at least two (three is better!) consecutive dry, sunny days. Check the label on your stain for exact conditions needed.
- Whether you’re refinishing existing or new wood, it may need sanding! Unlike interior floors, the goal of sanding is not to make your deck boards ultrasmooth. They will need to be somewhat porous, new wood is usually too smooth to absorb stain properly. Be sure to wear eye protection and a dust mask. Use medium pressure with 60-80 grit paper to achieve this! Wipe or vacuum away any dust before staining.
- For old or weathered wood, use deck wash
- Test the water penetration of your decking: if water beads on top instead of sinking in, the wood either needs to dry some more or needs more sanding.
- Ensure your deck is completely dry before staining.
- If you are using multiple containers of stain, mix them all in one large container to keep it uniform.

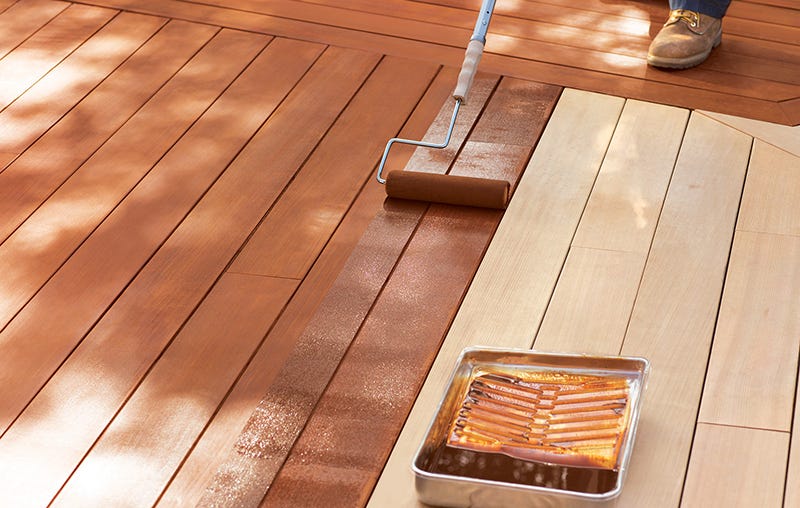
Deck Stain Application
- If your deck is not close to the ground, lay drop clothes below to catch any drips.
- Wear safety glasses and any other recommended safety equipment, like gloves. Test your stain on a low-profile section of wood.
- Use the recommended method to apply: usually brushes, rollers, or paint pads will do the trick, and sometimes paint sprayers.
- Always stain railings before deck boards to avoid drips.
- Apply two thin coats for any solid stains, or follow the manufacturer recommendations for transparent or semi-transparent stains.
- Allow for the recommended drying time before any foot traffic or patio furniture is placed.
- Clean up tools and supplies with soap & water.
- Give the edges of your deck boards two coats of stain, they’re more porous and need a little extra attention.
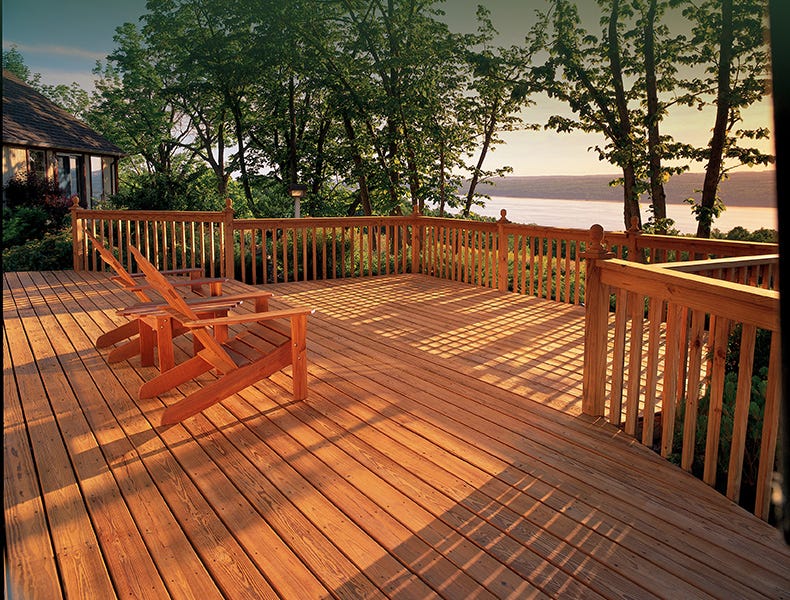
Deck Stain Maintenance
Keep your beautiful stain job looking top notch by keeping dirt and pollen cleaned up, and checking for mold every few months. Your Project Centre pro can advise on any reapplication or specific maintenance needed for your deck material and stain. Now sit back, relax, and enjoy your gorgeous deck!
![]()
Promotion

![]()
Helpful Articles


