 We’re Your Atlantic Canadian Team!


 1-877-445-3527
 Store multiple addresses
DIY Kitchen Backsplash Guide
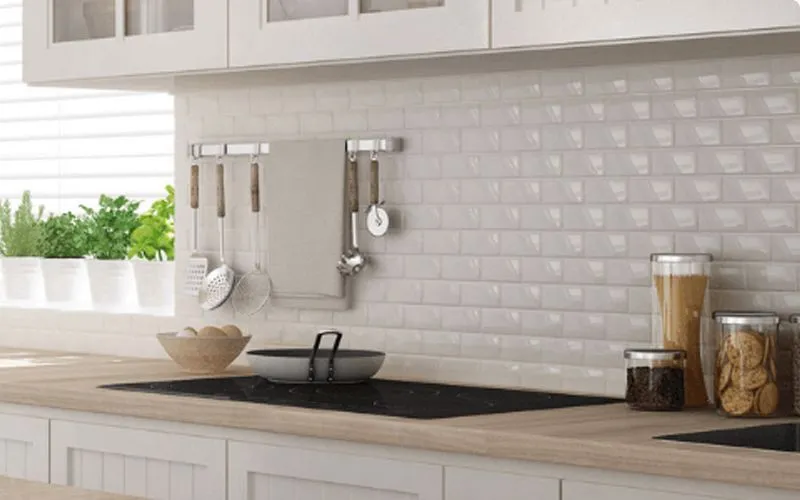
Updating your kitchen backsplash is one of the most impactful ways to refresh the look of your space. Whether you're working with a small budget or planning a premium renovation, there are backsplash options available to suit every style and skill level.
From peel-and-stick products to premium ceramic and porcelain tile, a new backsplash can add texture, colour, and personality while also protecting walls from everyday kitchen splashes and spills.
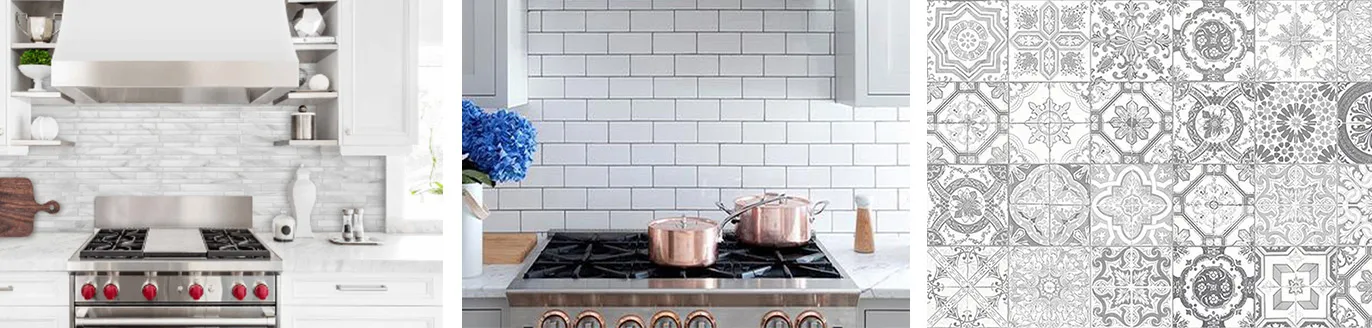
Choose Your Style
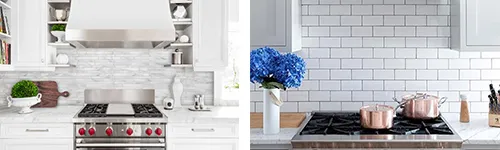
Beautiful backsplash designs are available for every budget. Explore these popular options to find the right fit for your project.
Before You Begin
Proper planning is essential for a successful backsplash installation. Measure your project area carefully and purchase enough tile to cover the space plus approximately 10% extra for cuts, waste, and future repairs.
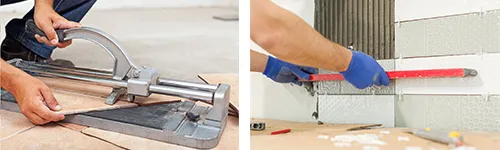
Gather all necessary tools and materials before beginning, including tile adhesive or mortar, grout, spacers, a notched trowel, grout float, tile cutter, bucket, mixing tools, drop cloths, and personal protective equipment.
Step 1: Prepare the Surface
- Protect countertops and nearby surfaces with drop cloths.
- Disconnect appliances if necessary and remove outlet and switch covers.
- Remove existing tile, wallpaper, or damaged wall coverings.
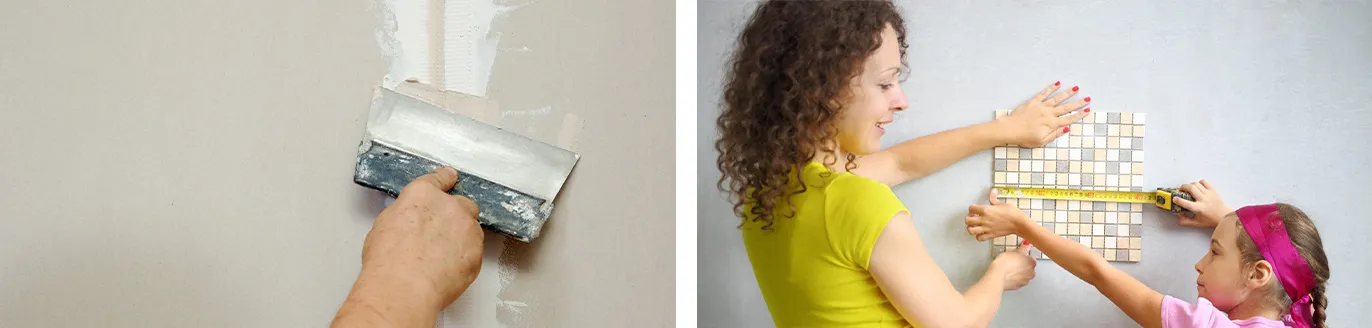
- Repair drywall imperfections and sand rough areas smooth.
- Verify that installation surfaces are level and square before beginning.
Taking time during preparation helps create a smooth finished appearance and reduces installation challenges later in the project.
Step 2: Plan Your Layout
Pre-layout your tiles before applying any adhesive. This allows you to determine where cuts will be required around outlets, corners, cabinets, and edges.
Careful planning creates balanced tile placement and helps avoid very narrow tile cuts at visible locations.
Step 3: Install the Tile
- Apply a thin layer of mortar using the flat side of the trowel.
- Use the notched side to create consistent ridges for tile adhesion.
- Work in manageable sections rather than covering the entire wall at once.
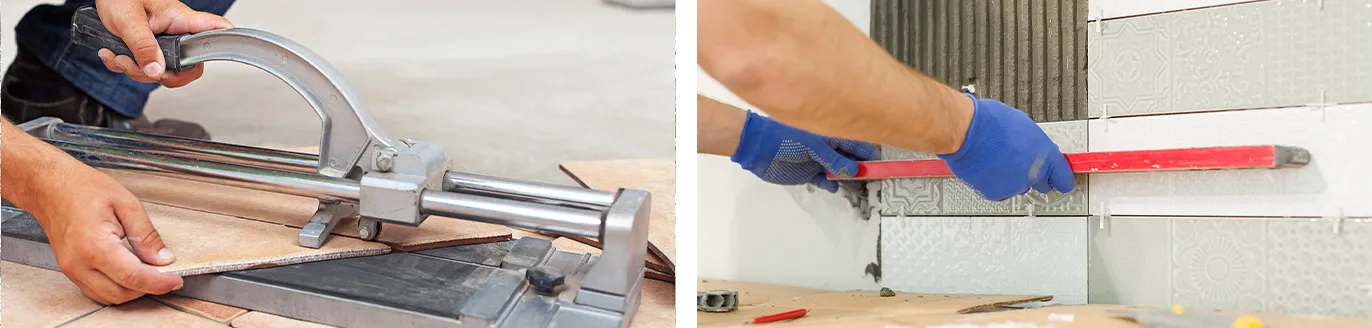
- Set tiles firmly into place while maintaining straight rows.
- Use a damp sponge to remove excess mortar as you work.
Tile spacers help create even grout lines and contribute to a more professional finished appearance.
Step 4: Allow the Tile to Cure
Allow the installed tile to set undisturbed for at least 24 hours or according to the adhesive manufacturer's directions.
Remove tile spacers after curing and clean the tile surface thoroughly before applying grout.
Certain natural stone or specialty tiles may also require sealing before grouting. Always follow product recommendations.
Step 5: Grout and Finish
- Mix grout according to product instructions.
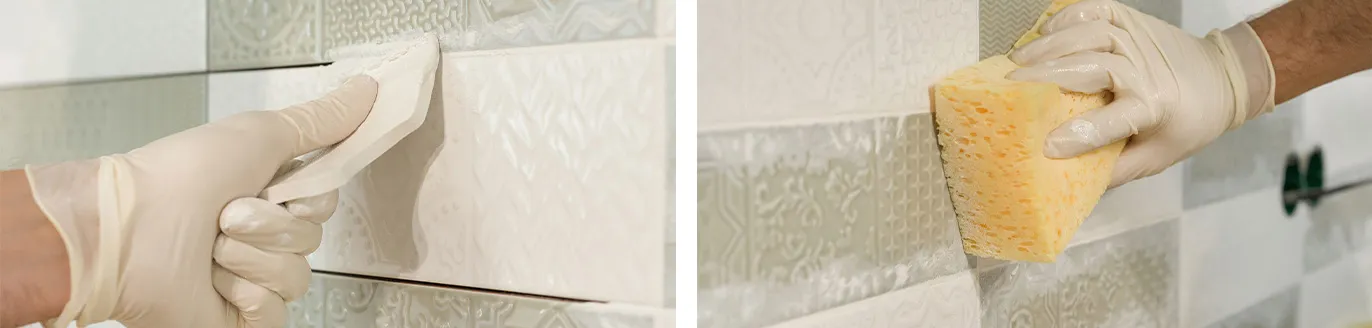
- Apply grout diagonally across tile joints using a grout float.
- Work in small sections to allow easier cleanup.
- Remove excess grout with a damp sponge.
- Allow grout to cure fully before polishing the tile surface.
- Apply sealant where required for added protection.
Once the grout haze has been removed and the installation is fully cured, your new backsplash is ready to enjoy.
Finishing Touches
A new backsplash can completely transform the look of a kitchen while adding functionality and durability. With proper preparation, careful installation, and attention to detail, this project can deliver professional-looking results at a fraction of the cost of a full renovation.
Explore different shapes, colours, textures, and grout combinations to create a backsplash that reflects your personal style and complements the rest of your kitchen design.