How to Make an Accent Wall With Trim
An accent wall can give your space a unique style and act as a focal point in the room. There are so many easy ways to DIY your own accent wall, and this how-to will walk you through how to create one of the simplest styles. Using only trim and paint, you can create a unique wall for your bedroom, entryway, or any room in your home that could benefit from a pop of style.

Note: The time-commitment, cost, and materials represents creating a 10' x 8' accent wall. This tutorial is only meant to act as a guide and may vary based on individual skill level.
How to Make an Accent Wall With Trim:
1 Measure Your Wall
The first step is measuring the height and width of the wall you are going to use. Once you have the height, divide that into equal sections so your trim is spaced evenly on the wall. Since we used 4-inch trim and our walls measured 8 feet high, we left 8 inches of space in between each piece of trim.
Use a level to mark lines across the wall at each section so you know where to attach your trim.
2 Attach Your Trim
Use construction grade adhesive on the back of your trim pieces, then attach them to your wall on the lines that you marked earlier. Be sure to use your level during this process to make sure all your pieces are straight. Then you will want to secure it to the wall using pin nails.
Our wall measured 10 feet wide and our trim was only 8 feet long, so we left spaces at the end and cut more trim pieces to fit.
TIP Measure the spaces at the end of EACH piece of trim. If you measure one space at 21 inches, the one above it may be different by a ¼- or ½-inch.
3 Prep Your Wall For Paint
Use wood filler to fill in the seams between two pieces of trim, as well as any holes from the pin nails. You’ll also want to use some caulking behind each piece of trim.
Once you have the holes filled, go over everything with a sander to get a smooth and seamless finish.
4 Paint Your Accent Wall
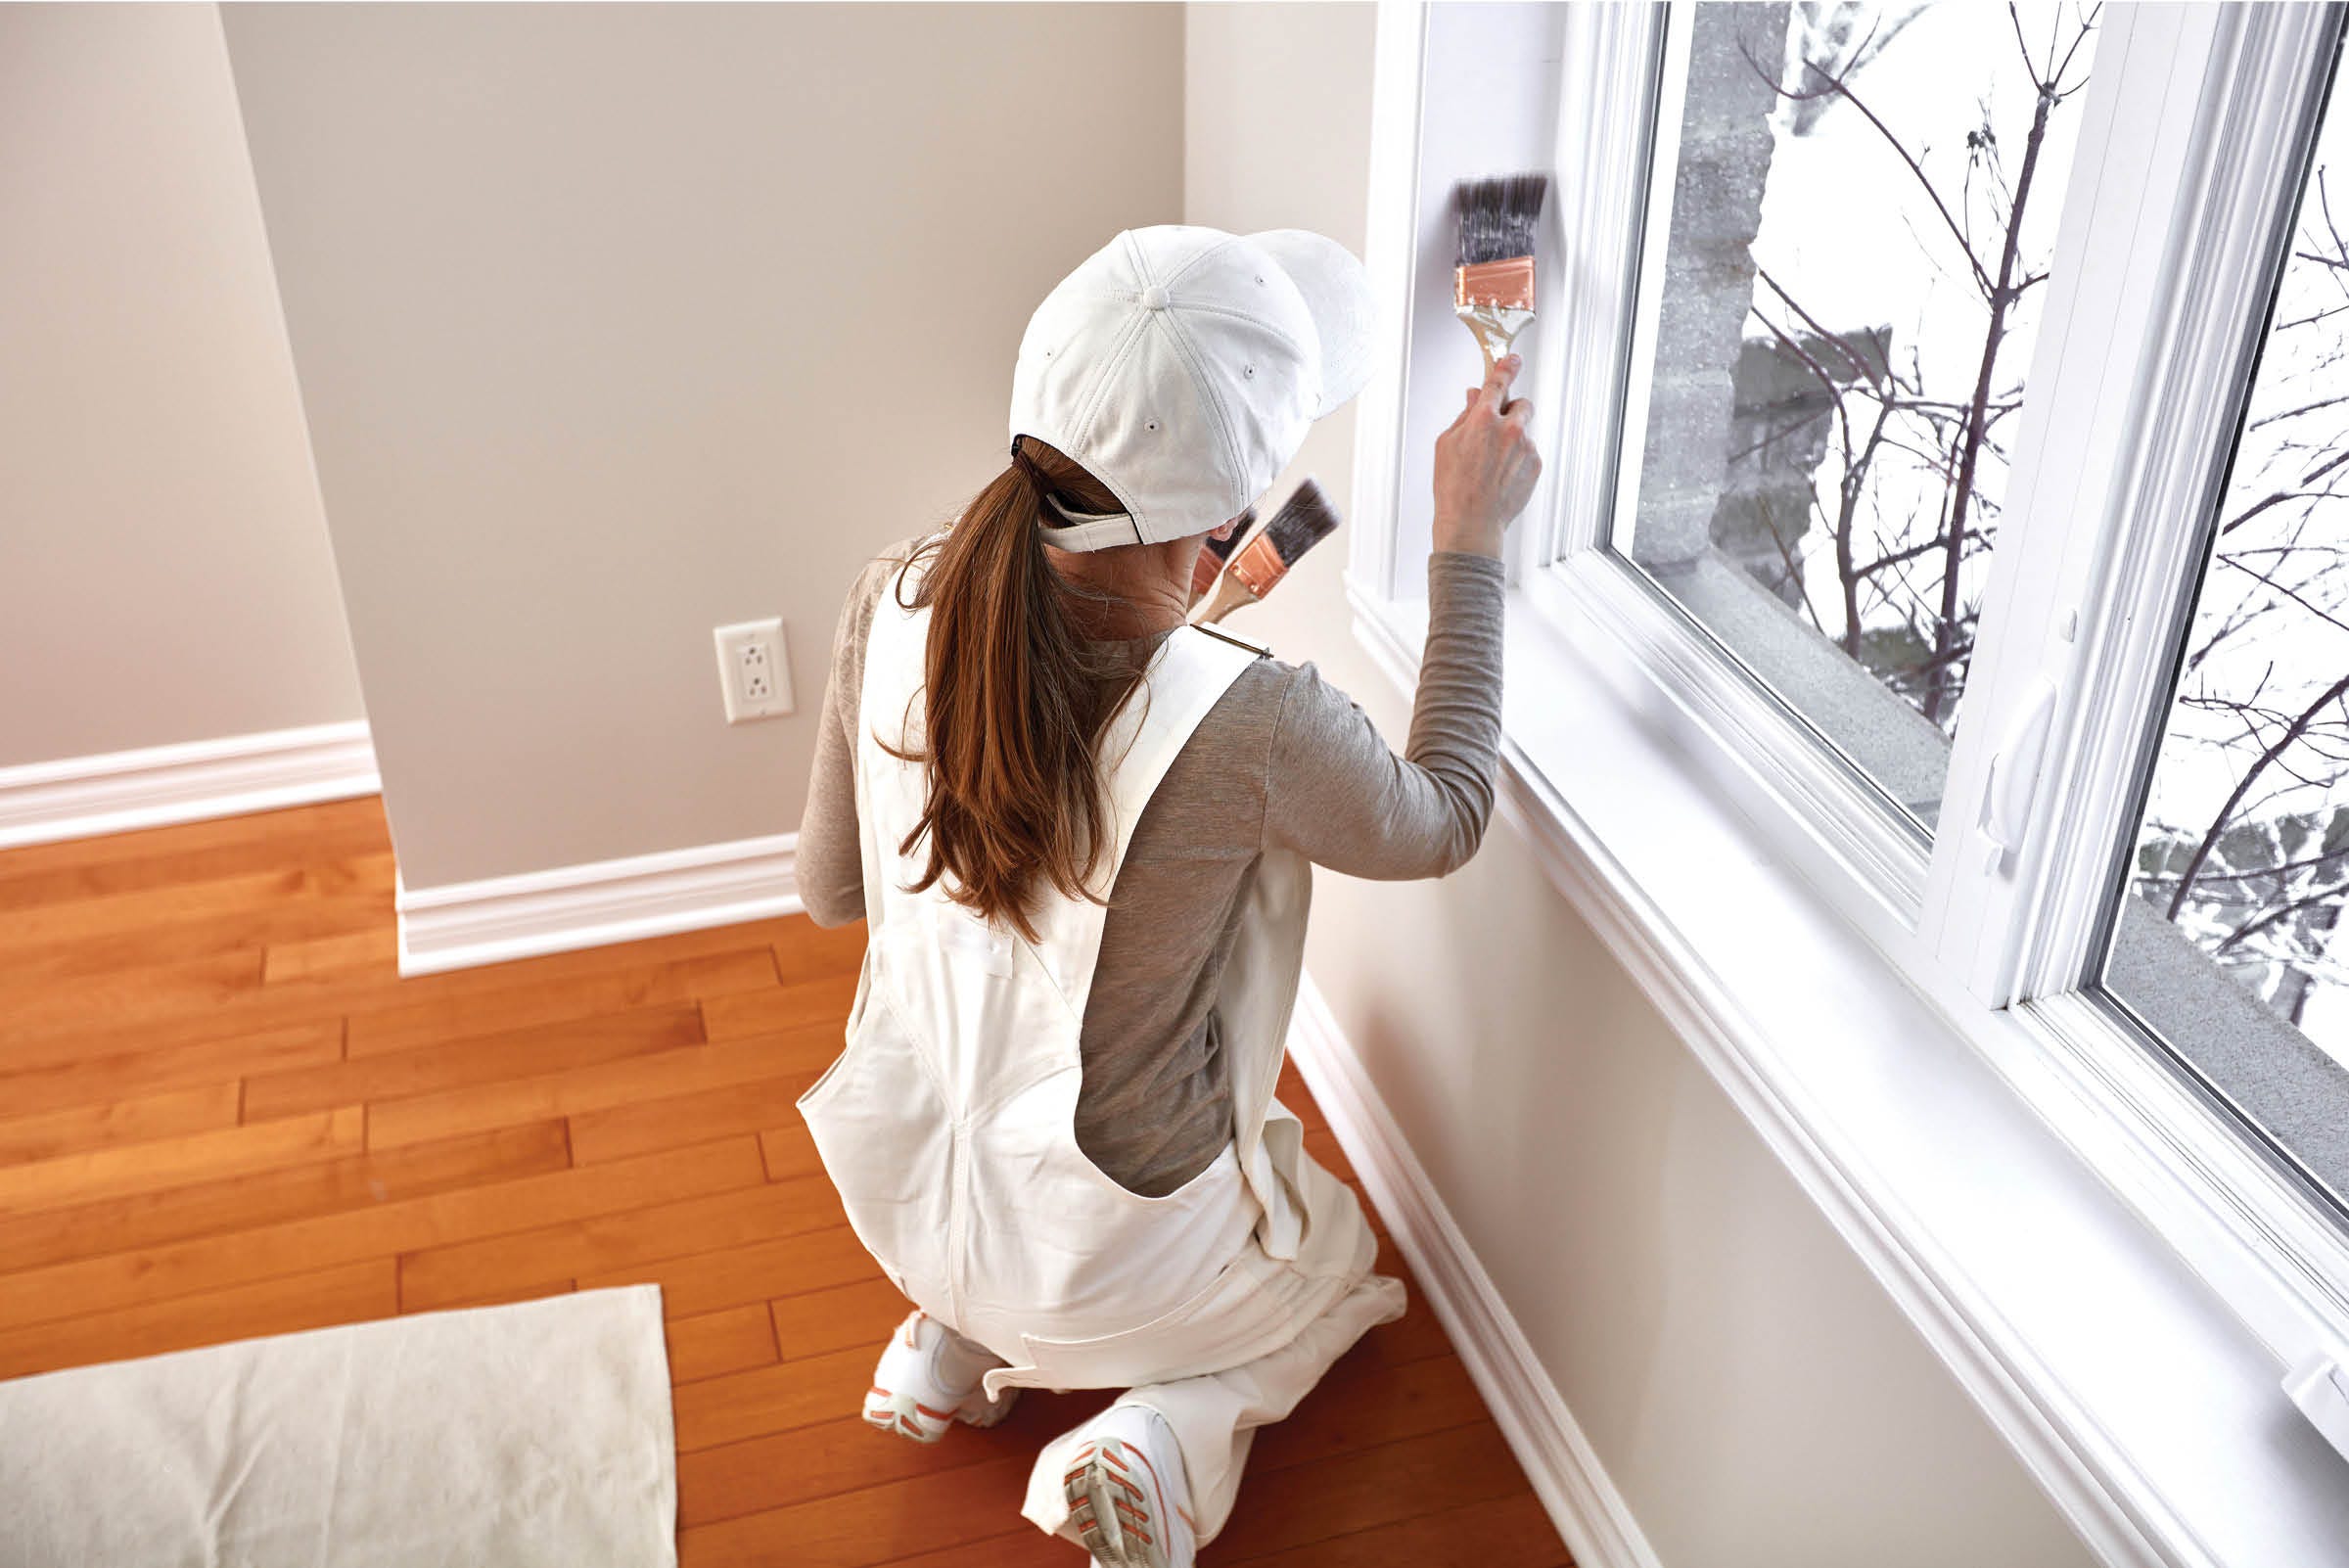
You might think your wall isn’t looking like much of anything yet, but a coat of paint will bring it to life! Use a paint brush to paint all the grooves and corners, then finish off the larger sections with a roller.
We used Black Magic by PPG, but you can use any colour you want. White would give the room a rustic farmhouse vibe, or you could use a bright colour to add some serious style to your room!
Take a look at the finished product!


Recommended Articles
-
There are hundreds of hues to choose from when it comes to painting, but your paint choice includes so much more than the colour! The type of paint best suited for your project should first depend on its formula and durability, then its finish best suited to different spaces, and third, any special requirements for craft paints, spray paint, or furniture paint. For smaller creative projects & DIYs, there is a rainbow of options and finishes like chalk or metallic you won’t find in wall paint choices. No matter where or what you’re painting, our Paint Buying Guide and KENT experts can help you find the right paint for the job!
-
Spending time indoors doesn’t have to leave you feeling cooped up when you have a beautiful space to enjoy! This fall, tackle the bottom of your to-do list to make your wasted space functional and inviting. Finish or refinish your basement, office, or bedroom and ditch your drab rooms with some easy DIYs!
-
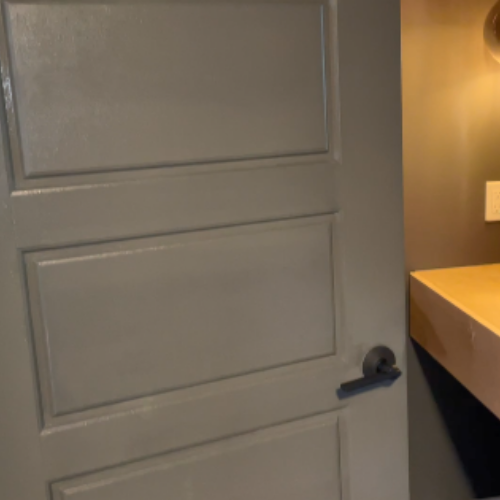
A freshly painted door can add a nice touch and compliment your home’s existing décor. It’s amazing how a new coat of paint can make such a difference! Here’s how to paint an interior door like a pro with a few painting tips and tricks to help you get a smooth and blemish-free finish.
-
It’s the little things that count! Put the finishing touch on all your fall DIYs with easy trim and moulding updates. If your look is out of date, new trim can give the perfect boost to bring your style up to speed. Ditch your dated doors and trim and opt for a fresh fall look that will look great in every season!