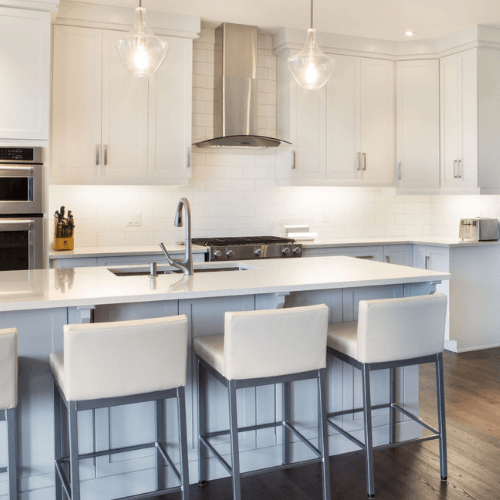
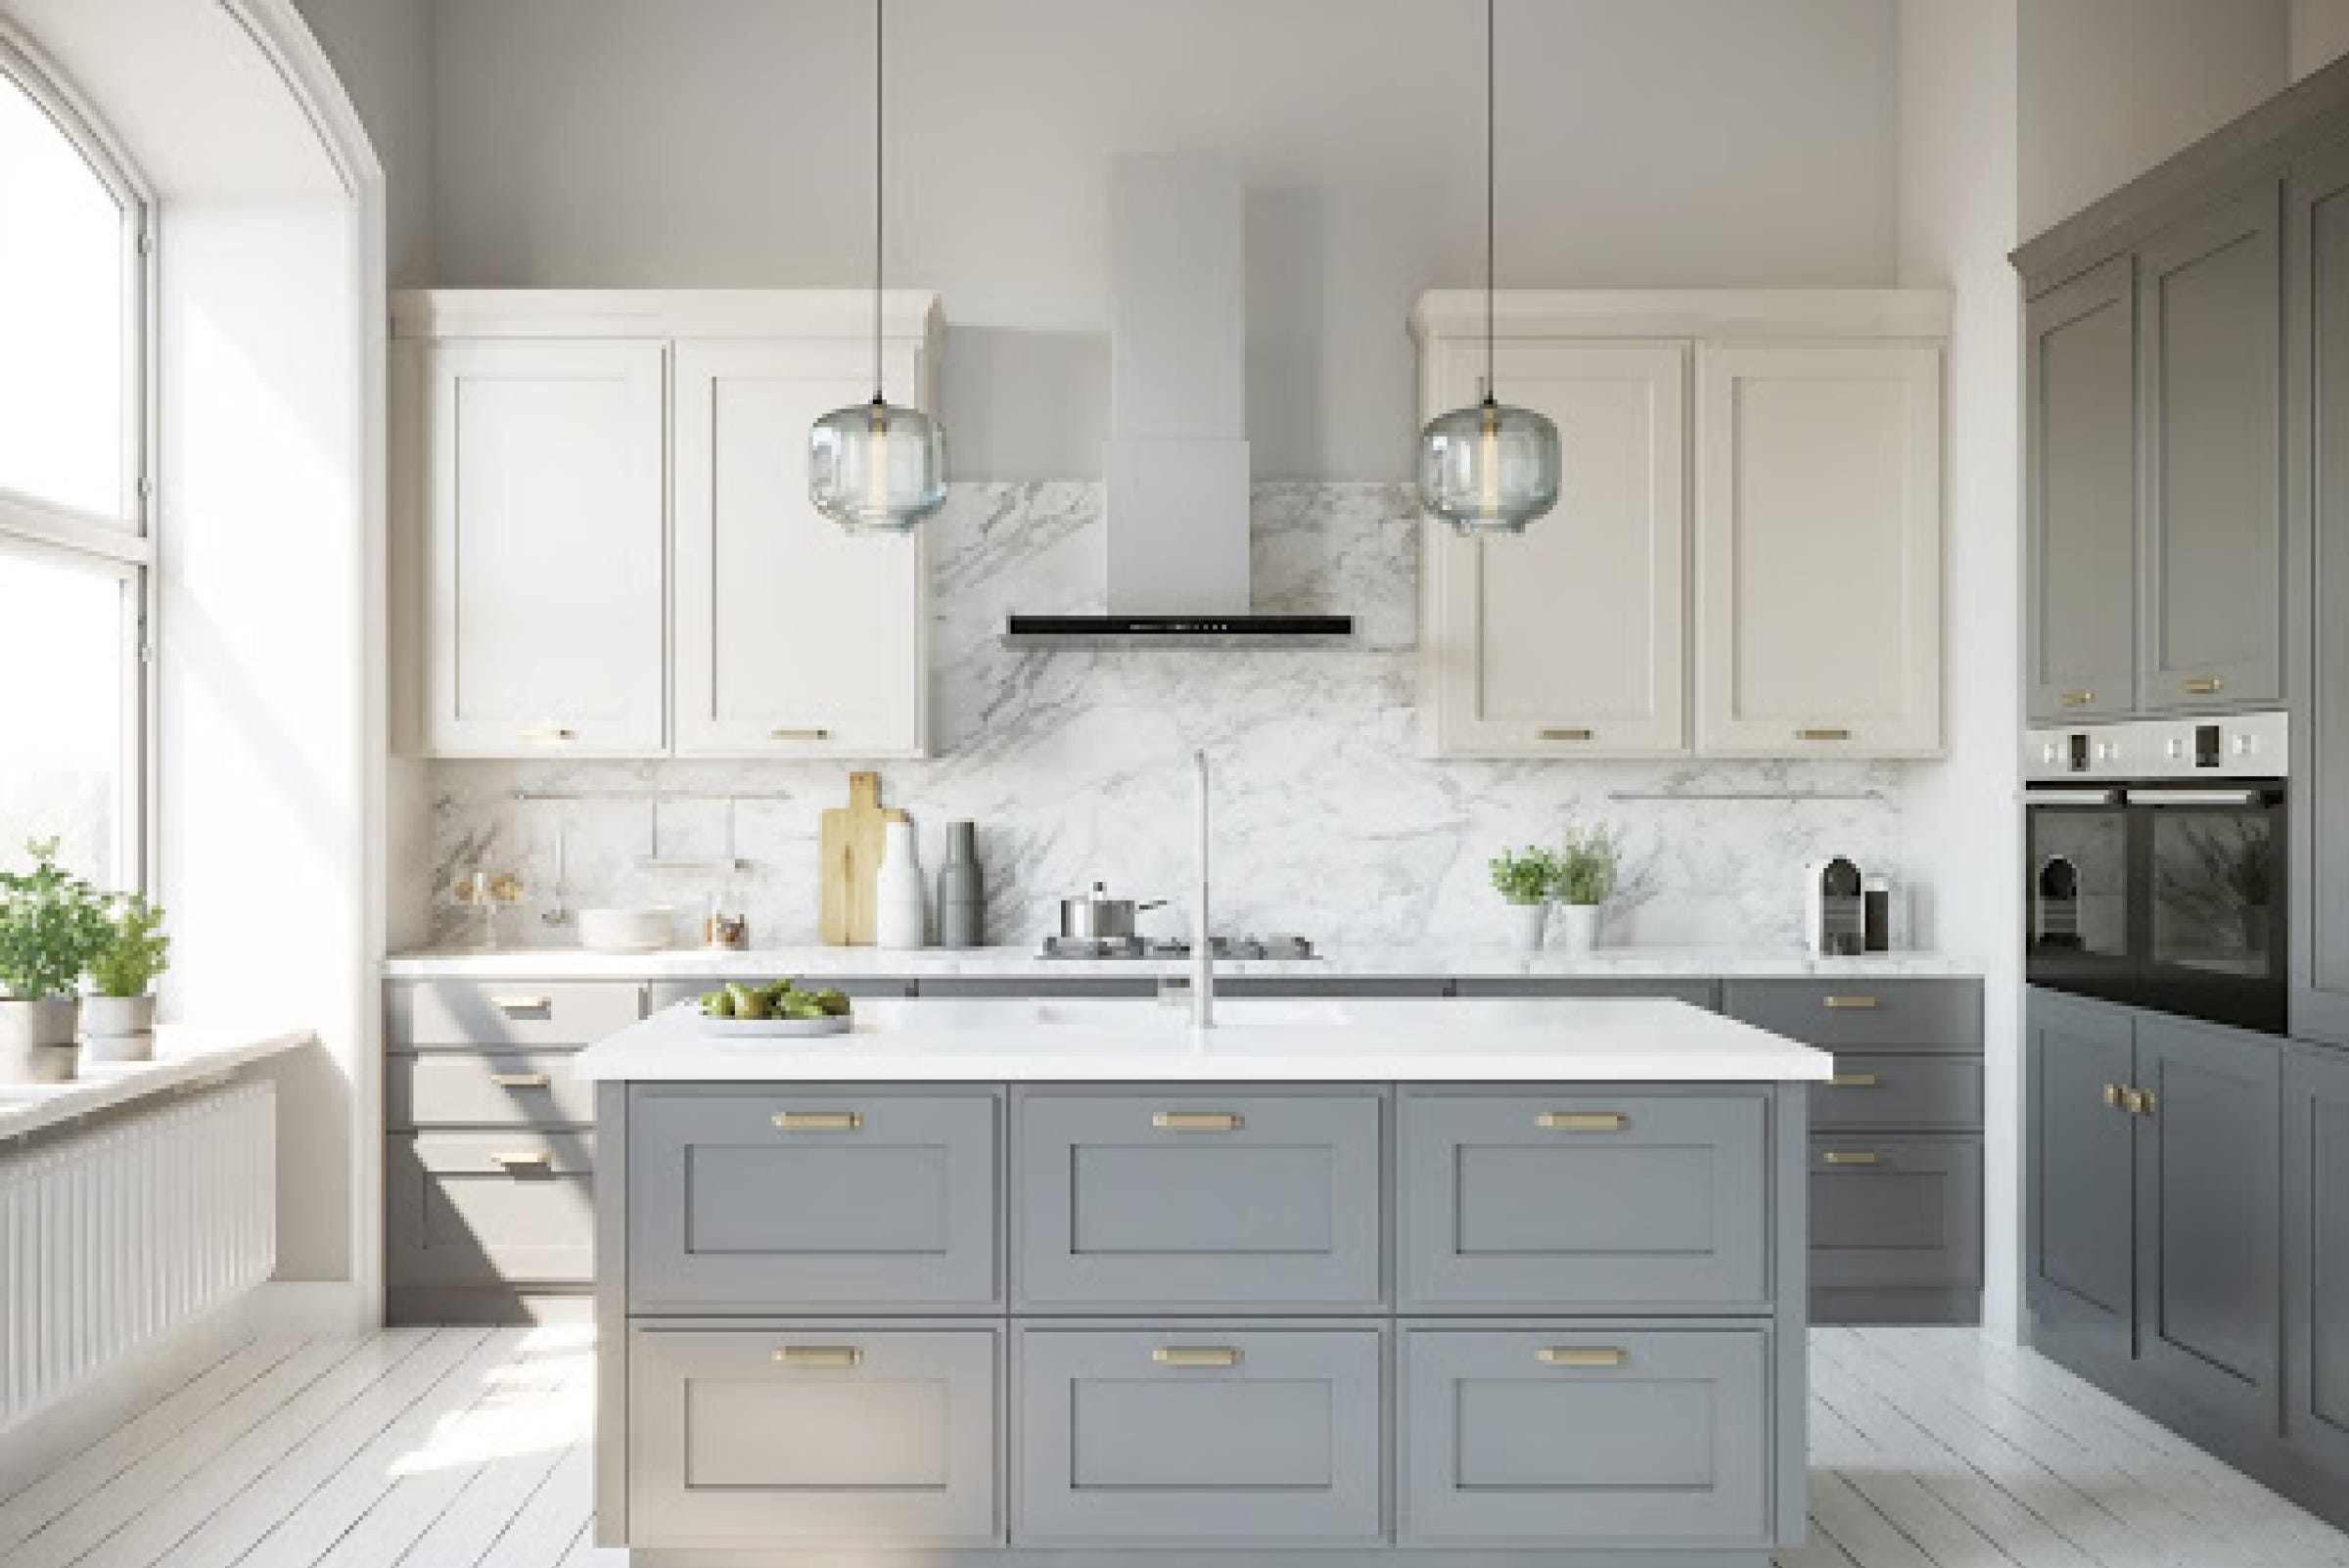
How to Build a Kitchen Island
Make your kitchen a space you can be proud of with a beautiful kitchen island. Building your own customized kitchen island is easier than you think. This project is beginner-friendly, and it will only take a weekend to complete from start to finish. Follow along with our guide and you’ll be one step closer to the kitchen of your dreams.
Project Overview

Note: The time-commitment, cost, and materials represent building an island with two pre-assembled cupboards and a 6' countertop. This tutorial is only meant to act as a guide and may vary based on individual skill level.
Materials:
Tools:
| Drill |
| Saw (optional) |
| Pin nailer |
| Clamps |
| Measuring tape |
| Paint brush/roller |
| Caulking Gun |
How to Build a Kitchen Island
1
Determine Your Island Layout
Start by determining the layout of your island on the floor, using painter’s tape to mark it out. Once you have your first piece of tape down, make sure it’s square and then line your cupboard up with the tape.
Using painter’s tape is a great guide to use to help visualize the layout of your island before committing to it, so feel free to test out different layouts before moving to the next step.
2
Cut Your Plywood
Once you have your cupboards in the layout you want, measure the length and width of the back. Using that measurement, cut your ¾ plywood to size so that it covers the back of your island. This plywood will be what holds your island together.

TIP
Don’t have a table saw or circular saw? Most KENT stores have a cut shop with skilled pros that would be happy to cut your plywood to size for you. Just bring the measurements you need, and we will do the rest of the work for you.
3
Attach the Back of Your Island
Once you have your plywood cut to size, use construction grade adhesive on the backs of the cupboards, attach your plywood and use clamps to hold it in place while the adhesive dries. We also used some pin nails and screws for a stronger hold. Don’t worry – we’ll be covering the screw holes.
Now, measure the height of your island and cut your MDF trim to size (you can also get your MDF cut at KENT). To attach it to your cupboards, use construction grade adhesive and pin nails for a secure hold. You can use wood filler in all your nail and screw holes and sand them down for a smooth finish.
4
Attaching Your Countertop
Now we can move on to the countertop – KENT offers a variety of wooden countertops in different sizes. We used two and glued them together for a larger countertop. To attach the countertop to the island, we used some adhesive and clamps and let it dry overnight. We also placed some heavy paint cans on top to ensure that it stays in place while it dries.
5
Paint Your Island & Add Finishing Touches
While your adhesive is drying, prime your entire island and use caulking to fill in any gaps in the trim. Then you can paint your island with your paint colour of choice.
You can also add cabinet hardware to your island for a finished look. Some cabinets come with pre-drilled holes, but depending on the style you may have to drill holes for your hardware. We added beautiful gold drawer pulls and door handles, it really completes the look of the island.
The last step is to add a clear coat to your countertop. To do this, you can use a paint roller to smooth out your clear coat of choice, ensuring that you have an even layer on your countertop. Now your countertop is done!

6
Step Back, and Admire Your Finished Kitchen Island
See how easy it is to build your own custom kitchen island? Your new island will be the focal point of your kitchen, and you will be able to tell your guests that you built it yourself!

-
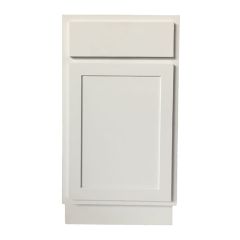
 Home Products Source12 Inch Base Cabinet - White ShakerRegular Price$299.00Special Price$279.00
- Ready to Ship
- 3 Available for pick up at
-
 Home Products Source18 Inch Base Cabinet - White ShakerRegular Price$339.00Special Price$319.00
- Ready to Ship
- 0 at
-
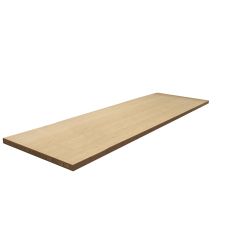
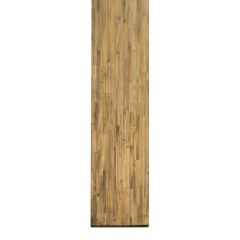 Gestion USD6' Acacia Wood Counter Top Brown$219.00
- Ready to Ship
- 5 Available for pick up at
-
 CTM International HardwareIsland Bamboo Counter Top$460.00
- Ready to Ship
- 12 Available for pick up at
-
 CTM International Hardware8' Bamboo Counter TopRegular Price$329.00Special Price$309.00
- Ready to Ship
- 13 Available for pick up at
-
 CanWel Building Materials3/4" x 4' x 8' Birch Plywood Good 1 Side$114.00
- Ready to Ship
- 3 Available for pick up at
-
 Alexandria Moulding3/4" x 4" x 8' MDF Primed Board$17.98
- Ready to Ship
- 0 at
-
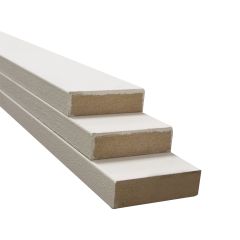 Alexandria Moulding3/4" x 3" x 8' MDF Primed Board$17.98
- Ready to Ship
- 39 Available for pick up at


Recommended Articles
-
The most high use areas of your home deserve special attention when it comes to design and function. The finishing touches in your kitchen are equally as important as floors, cabinets, and counters. Find KENT devices that make everyday more functional and more beautiful!
-
Countertops are a key ingredient in your dream kitchen! Make the best choice for your home with our handy guide and avoid counters that can’t take the heat. Shopping for your price range, utility, and style will be easier than ever with help from the KENT Project Centre! Find your new KENT countertops today and make your kitchen a space you love to use.
-
See your space in a brand new light with the perfect plans for your kitchen lighting. From pot lights to pendants, there can be multiple styles of lighting in your space for multiple purposes. Whether you DIY your new lighting or rely on a KENT PRO, your first stop is your local KENT Project Centre to browse styles, bulbs, and bonus features.
-
Kitchens are without a doubt one of the most used spaces in any home. From cozy dinners to classic kitchen parties your kitchen needs to serve up high function and style every day of the week. One of the largest components of any kitchen redesign will be your cabinets! Choosing the foundation for countertops, appliances, and hardware is no easy feat, but the KENT Project Centre is ready to help you find the perfect cabinets. It’s time to stop trying to make poor storage and style work, and create a kitchen that works for you!